


The ultimate motogadget mo.unit blue buying guide
In case you've never heard of the mo.unit blue: It's the digital brain for your bike that replaces all the old stuff like fuse boxes and relays. If you already know what it's all about and want to get started right away, skip to the next article [placeholder internal link] . Here we'll start with the basics.
You want to install a motogadget mo.unit blue in your bike? Then put the tools aside first. Before you pick your bike apart and hope that you already know what you need, you should think about a few things - especially when choosing the right parts.
This is your pre-installation checklist and mo.unit blue buying guide, based on the first episode of our motogadget installation series on YouTube [watch the video here]. Whether you're refloating an old machine or completely rewiring a custom build, this will get you there and save you the stress in the middle of the project.
Want the complete video instructions with all the details? Watch the video here.
Why motogadget mo.unit blue?
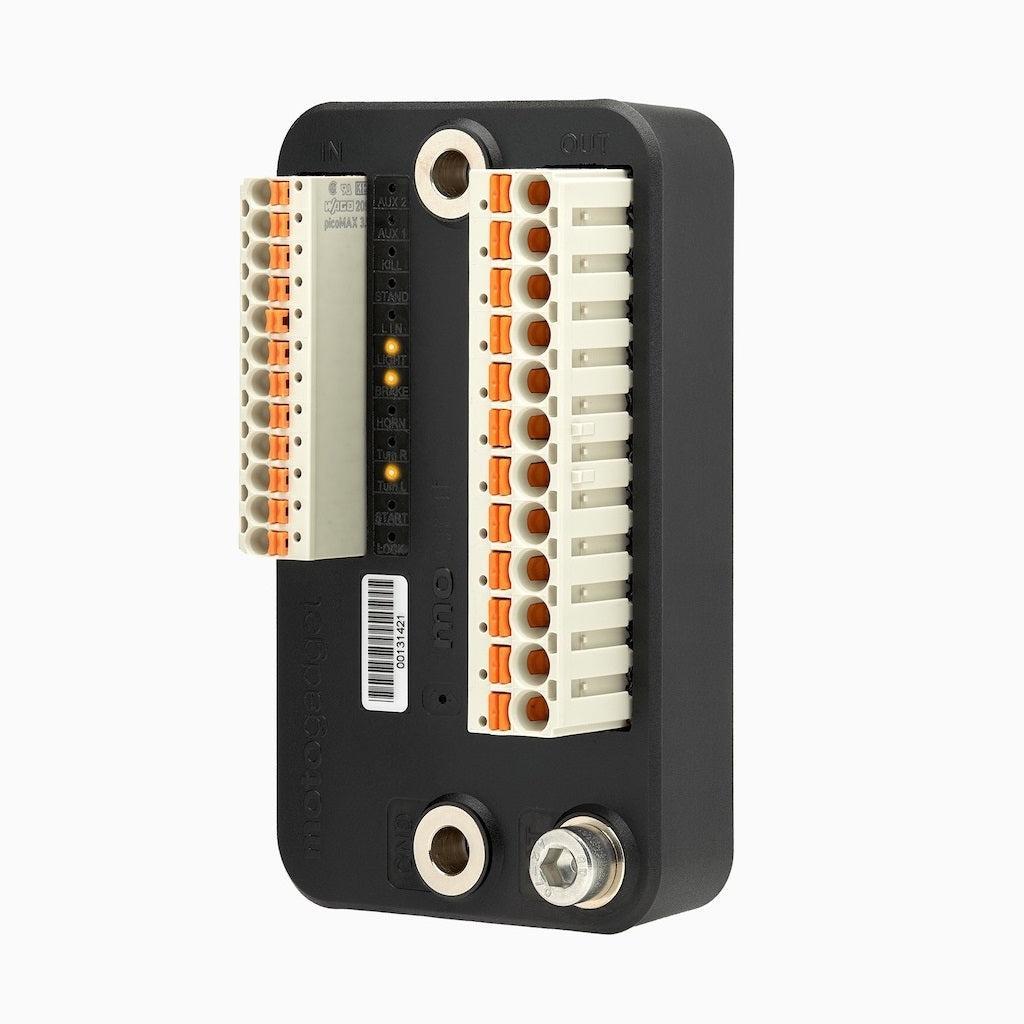
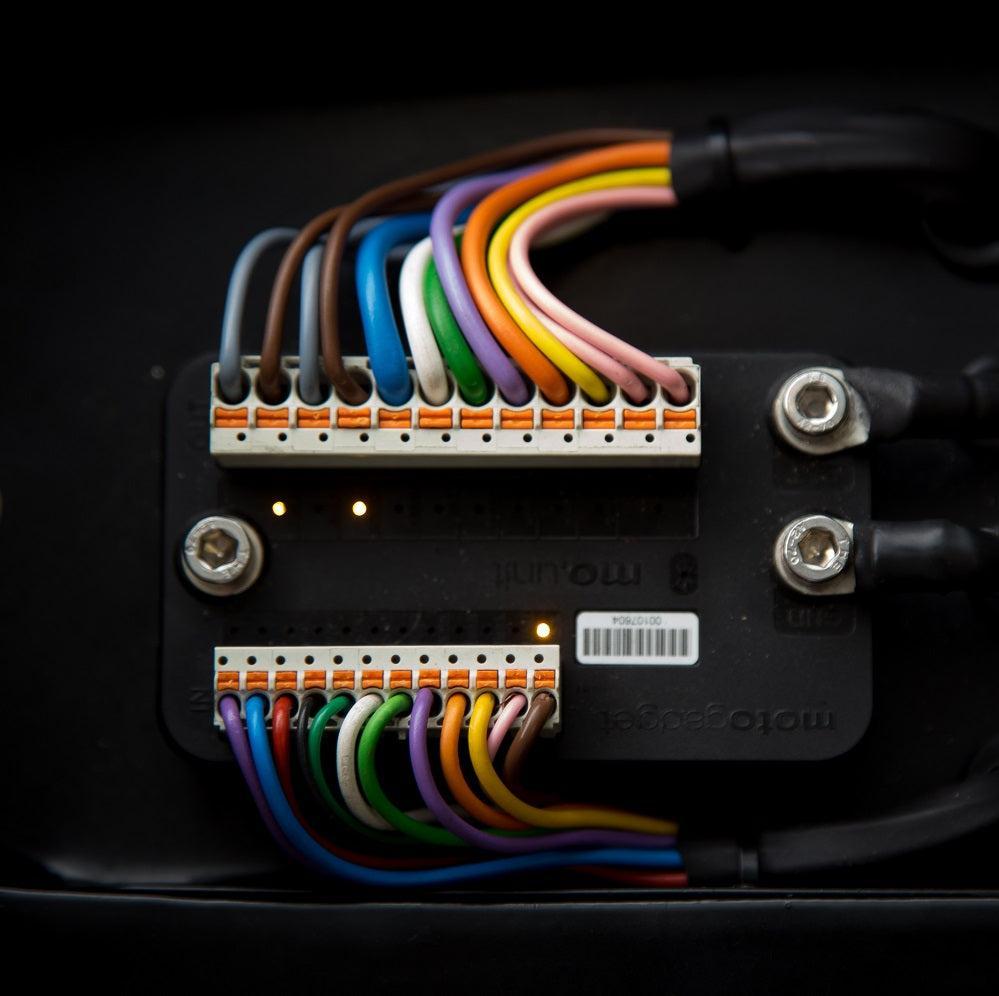
The mo.unit blue is a digital control unit with Bluetooth that replaces the classic fuse box and relays on your bike. Imagine it's the brain of all your electronics - it gives you features like:
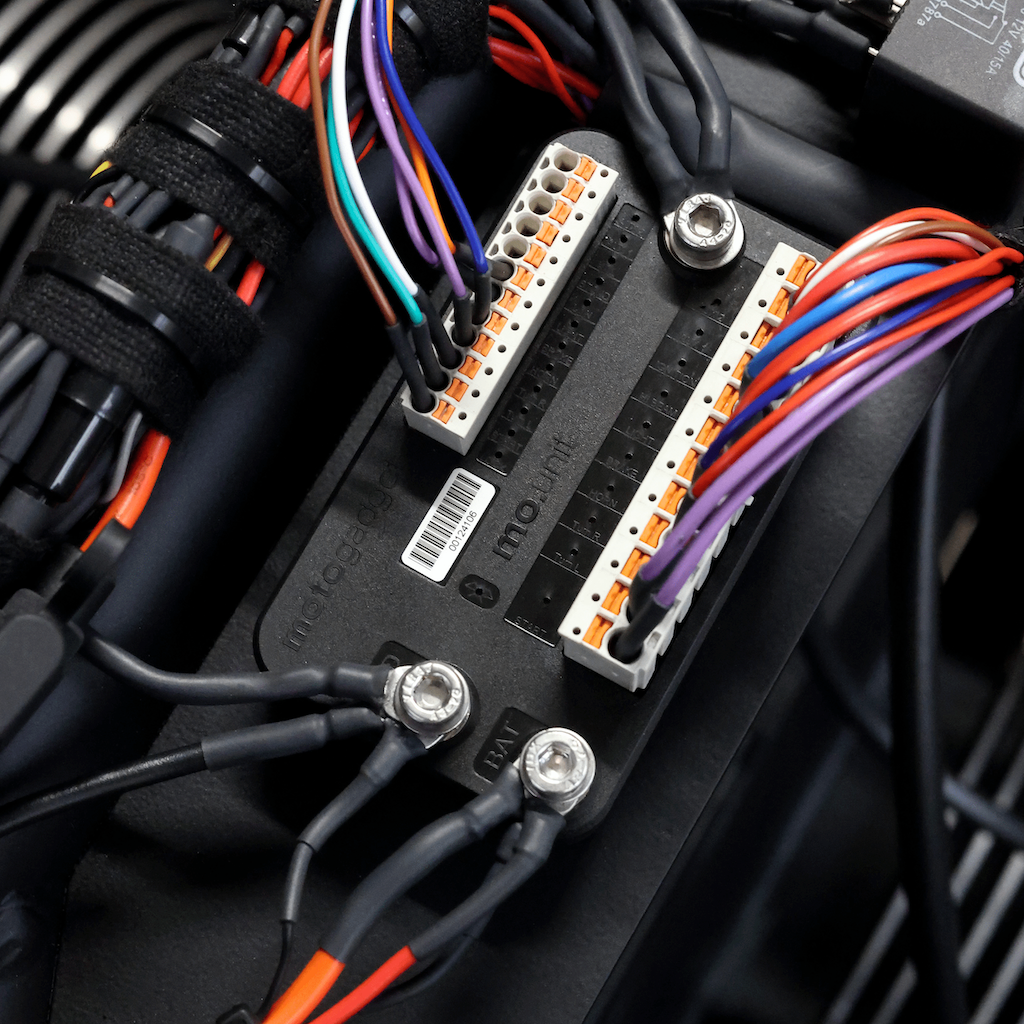
- Significantly simpler cabling
- Keyless ignition
- Diagnosis via cell phone
- Intelligent system control
Screwdrivers change over for a variety of reasons:
- The old cabling is annoying or spinning around
- You want modern features such as alarm systems and app control
- You are building a completely new custom bike and have no idea where to start with the wiring
No matter where you start - the motogadget mo.unit blue makes motorcycle electronics cleaner, more flexible and more intelligent.
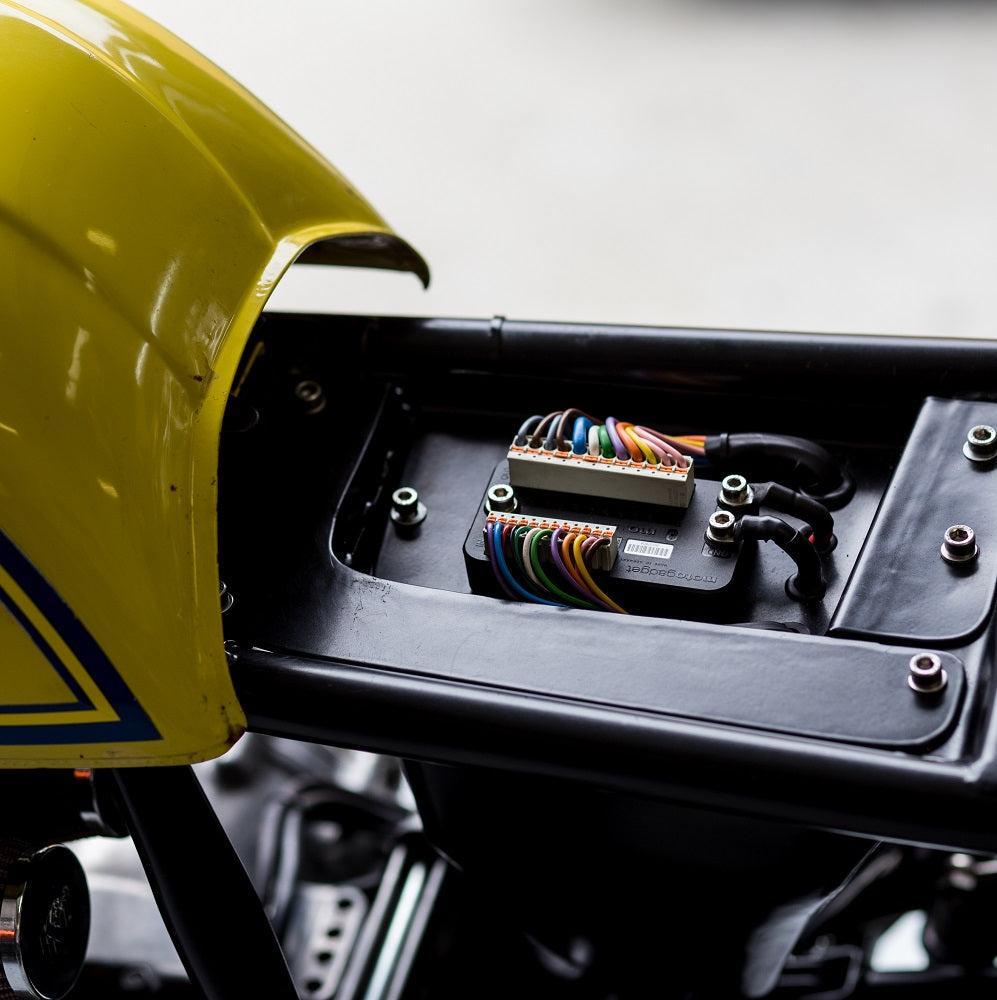
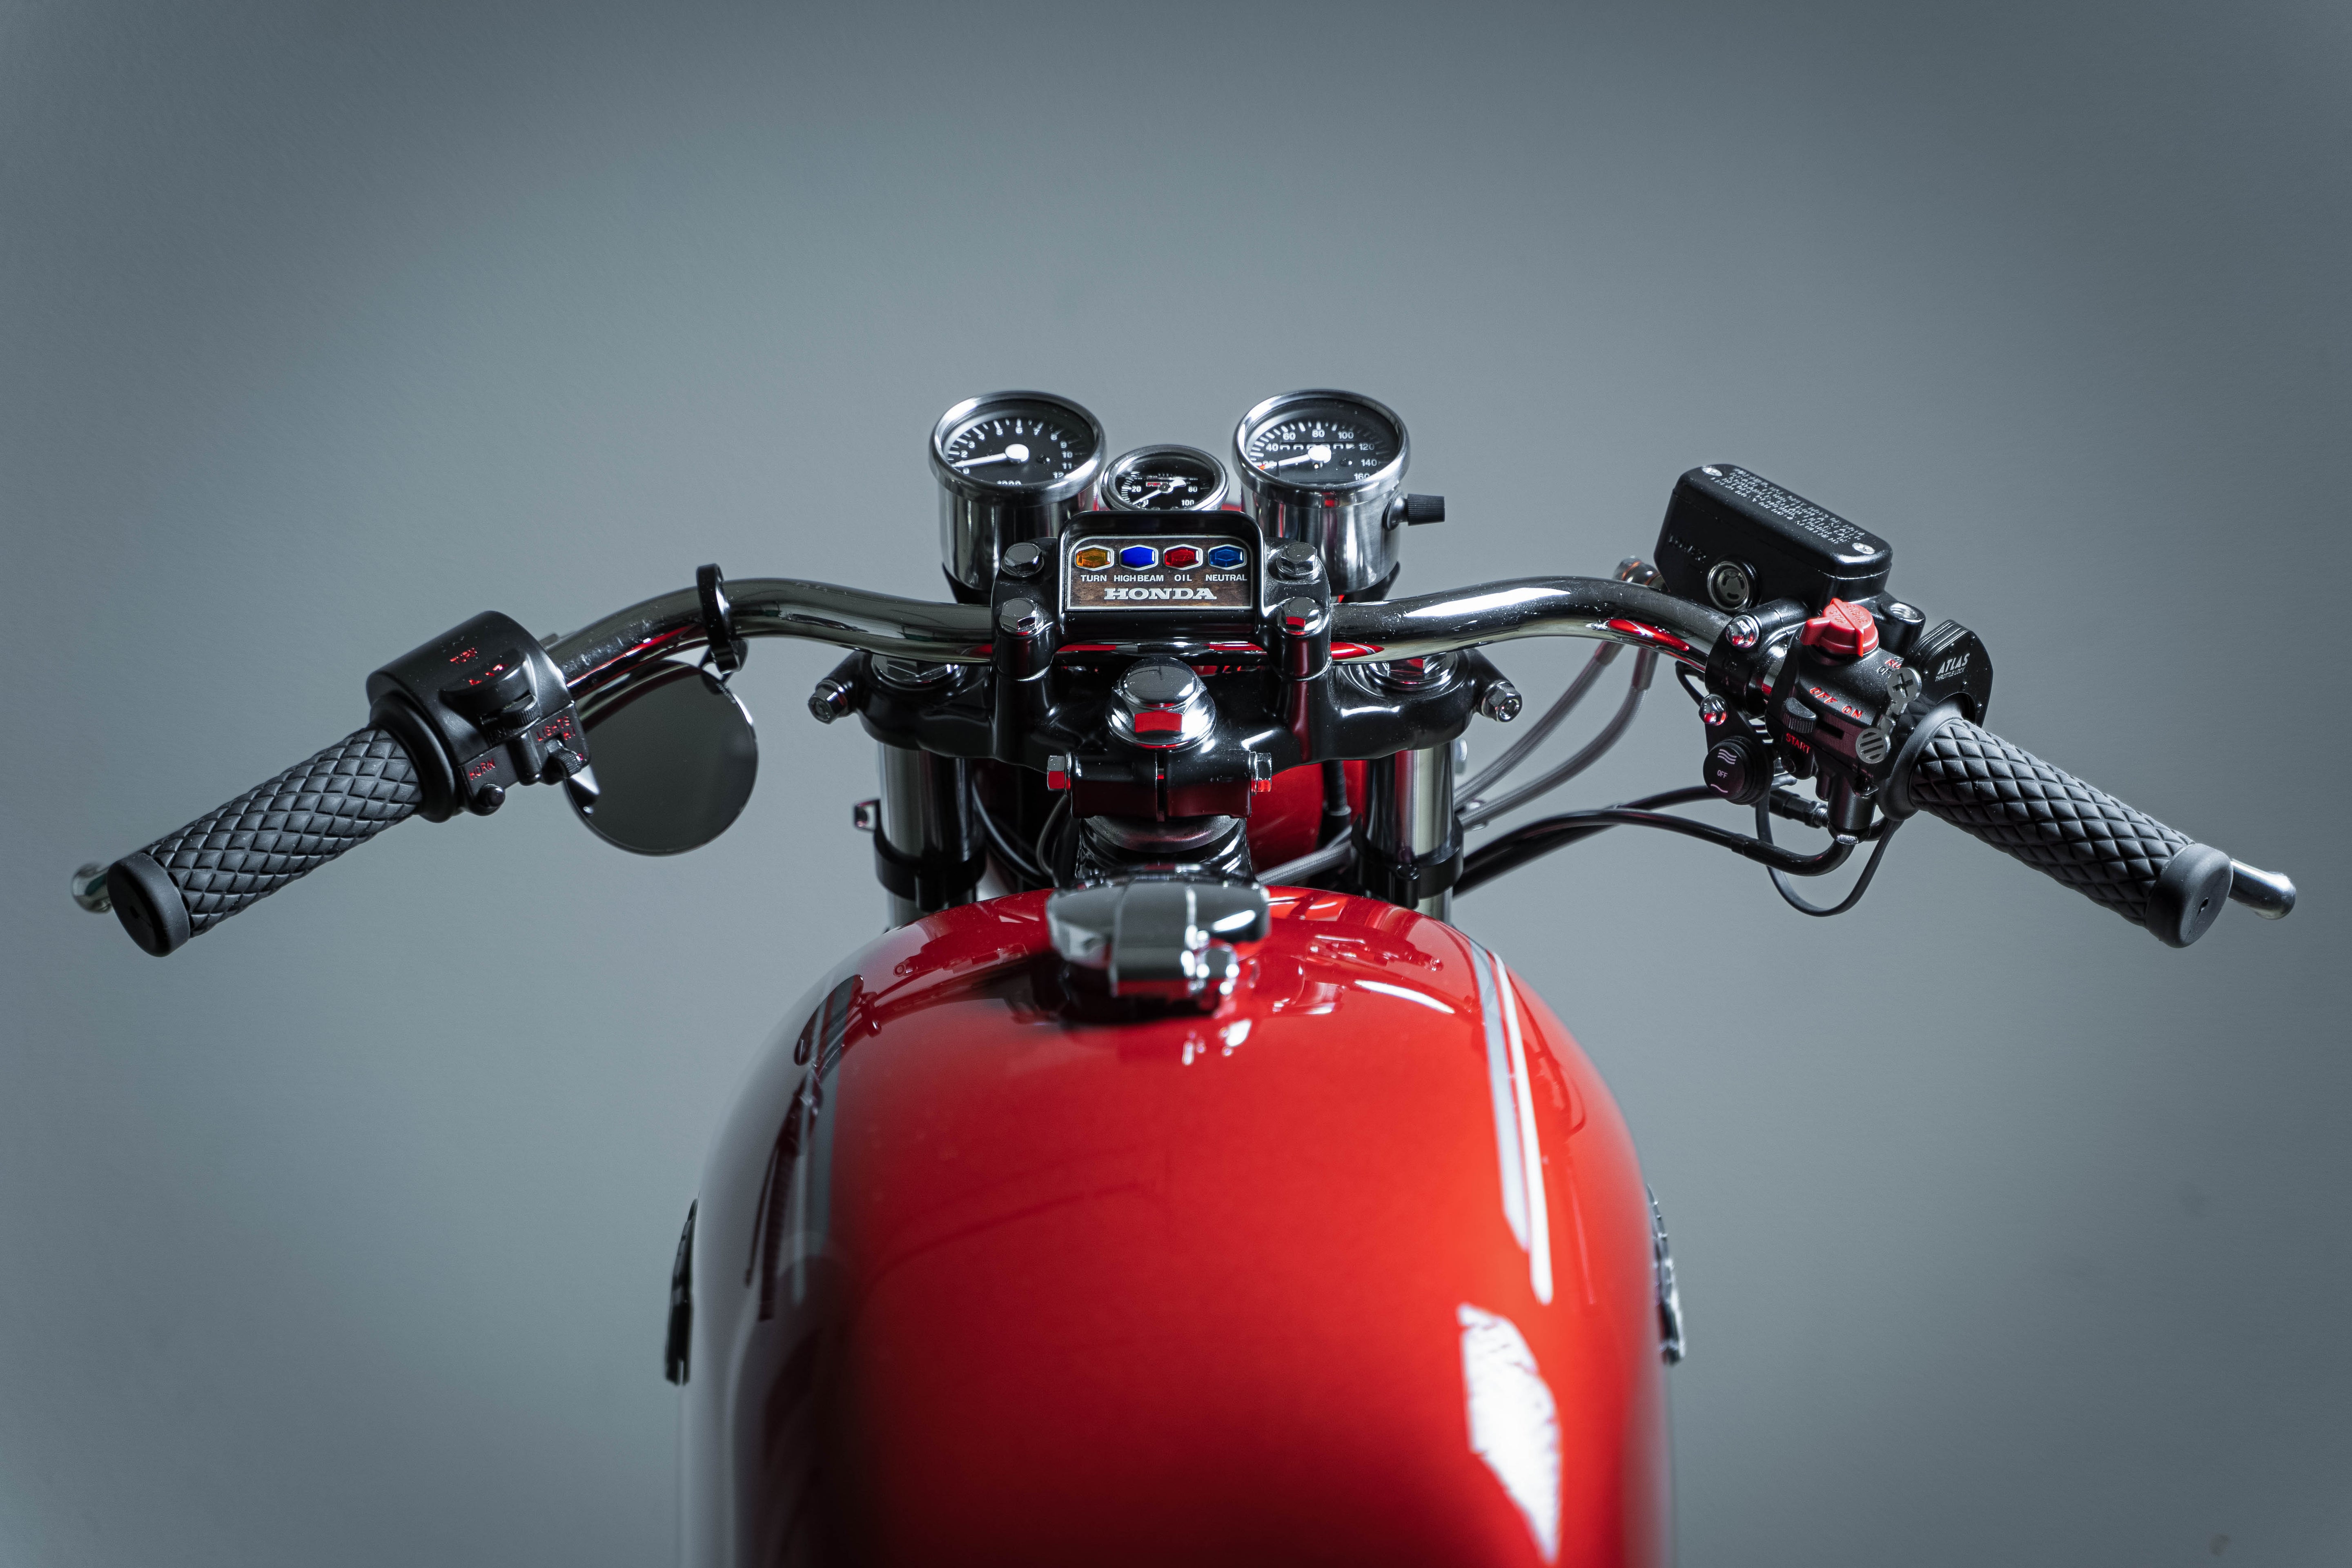
Our project: The test bike
In this series we are working on a 1981 BMW R65. First we build the mo.unit blue into the bike without any further modifications. Later, we'll do a complete conversion and show you how to reinstall it on a ground-up custom build. You will see all the steps for a successful installation - regardless of whether you simply replace the mo.unit with the original or integrate it into your complete conversion.
What you need first: The basic equipment
Let's put together your motogadget mo.unit blue shopping list. These are the most important parts to get you started:
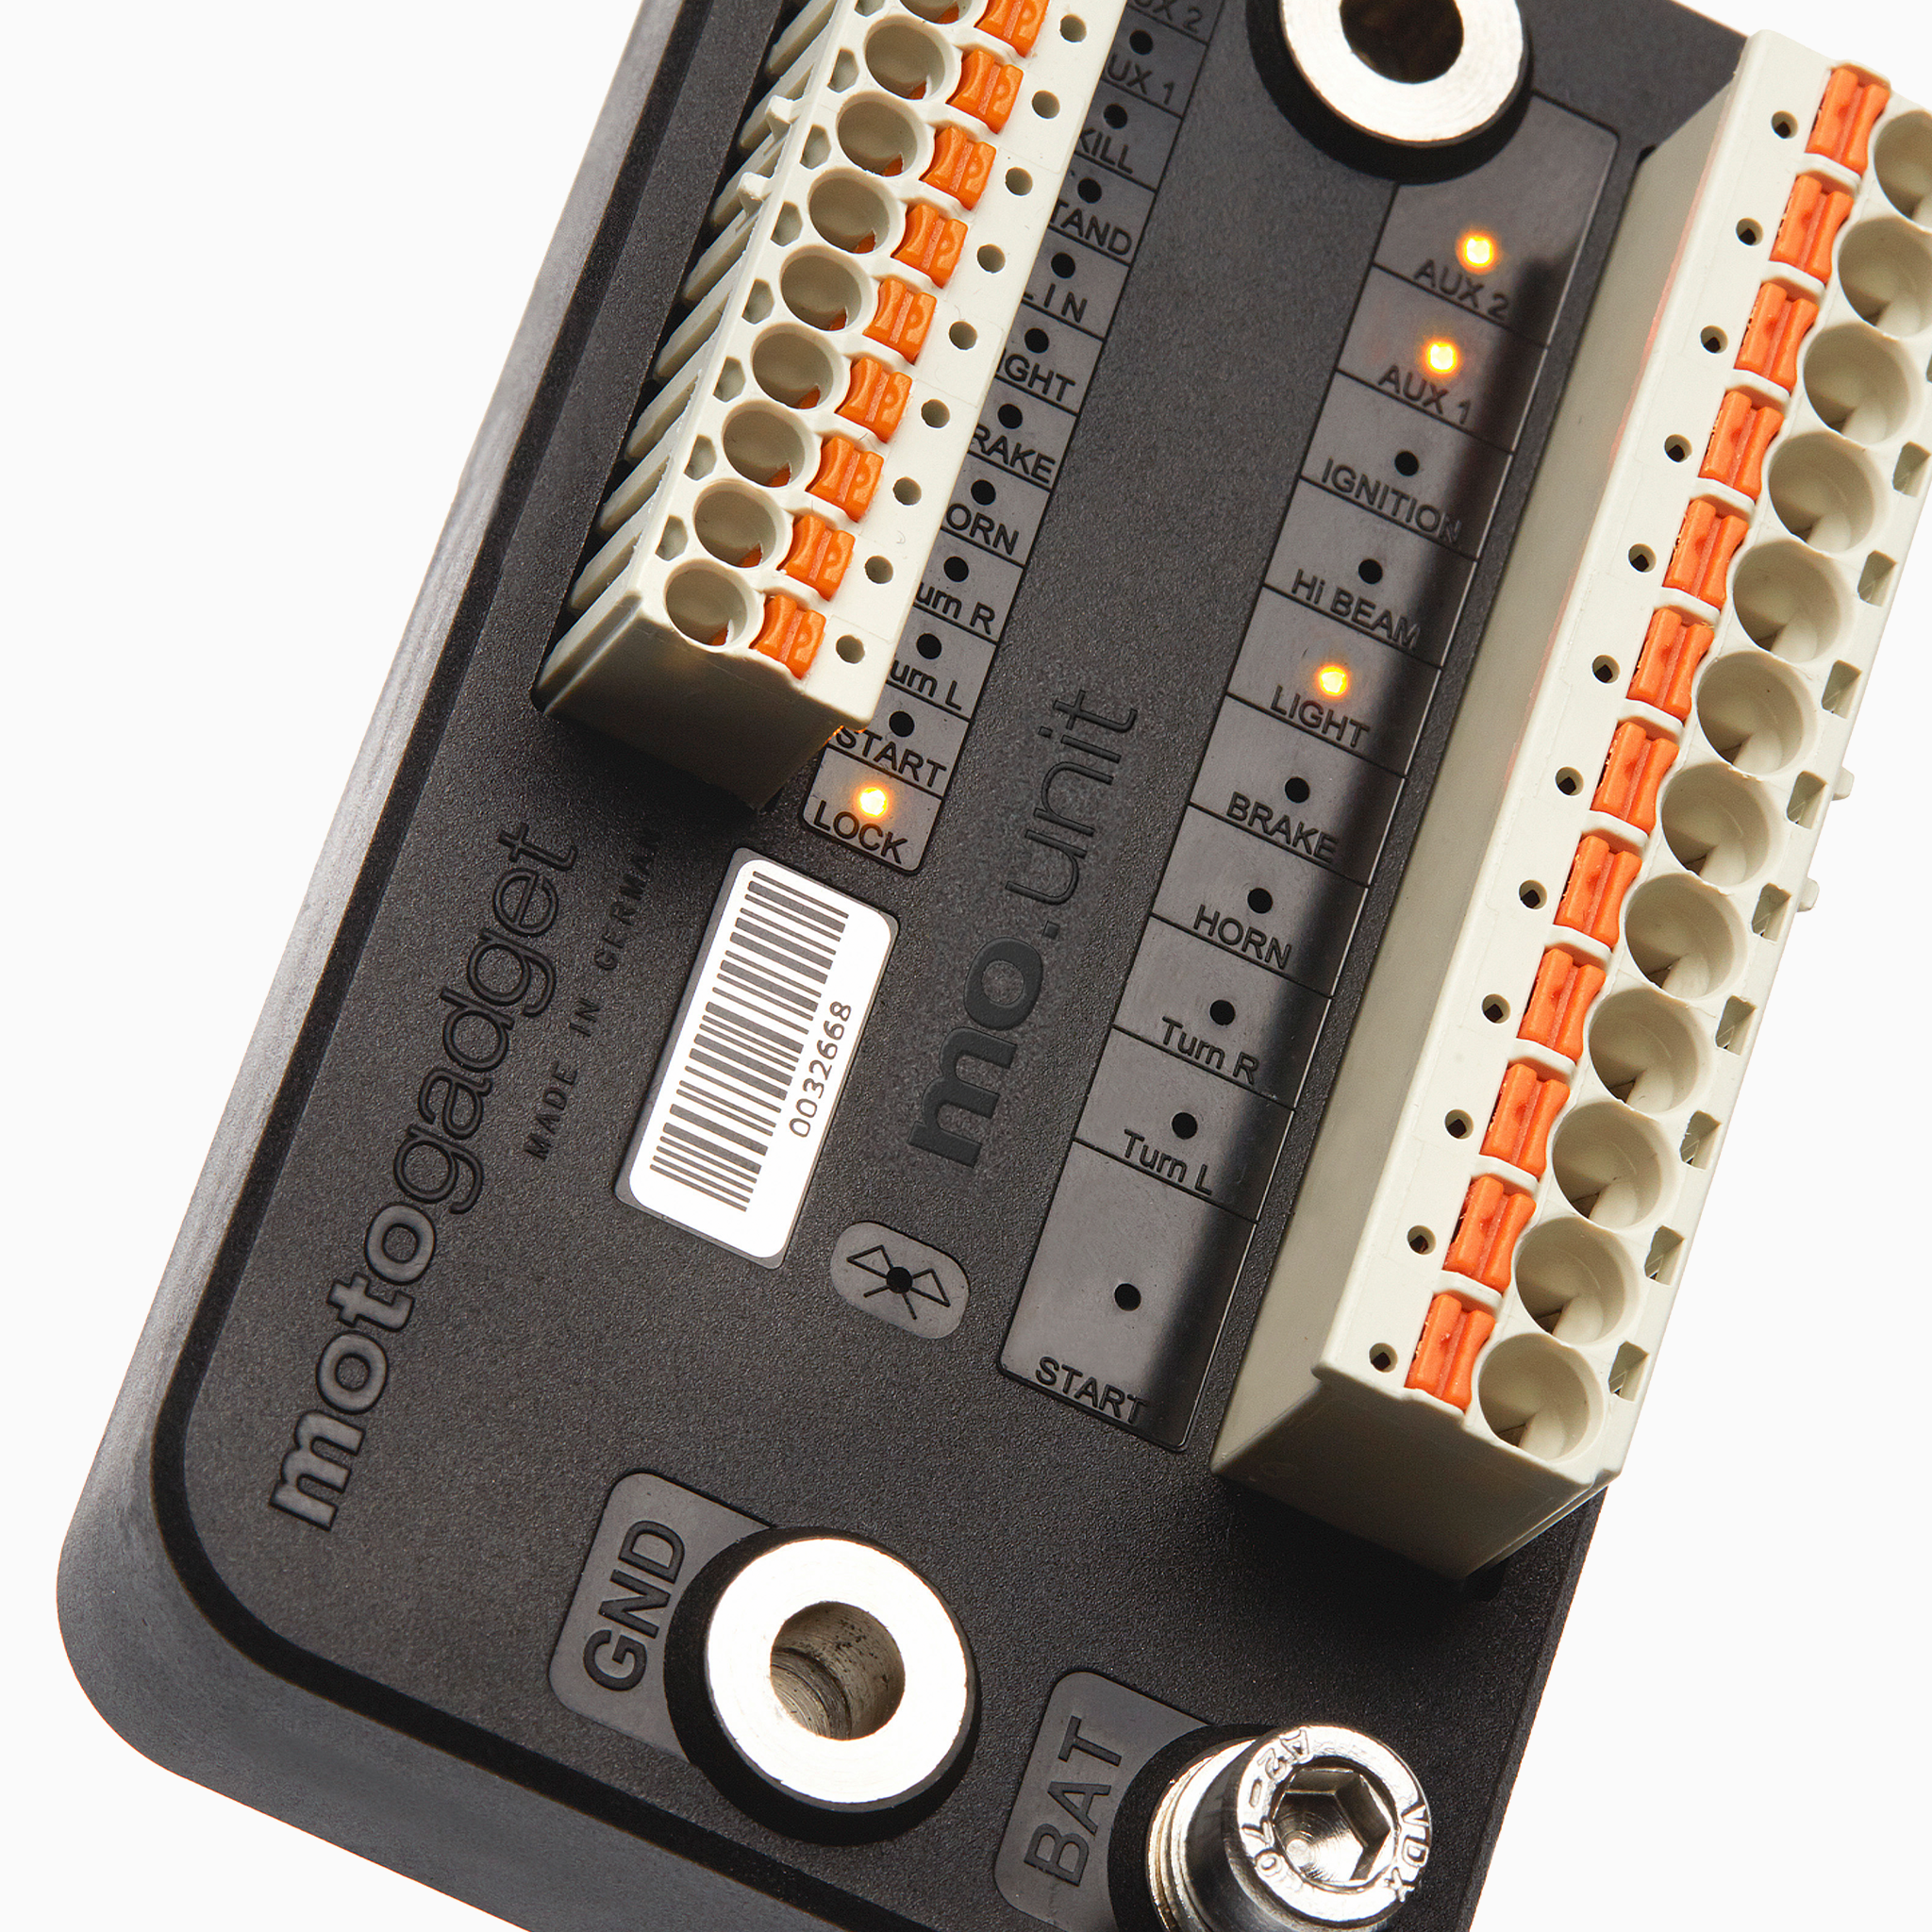
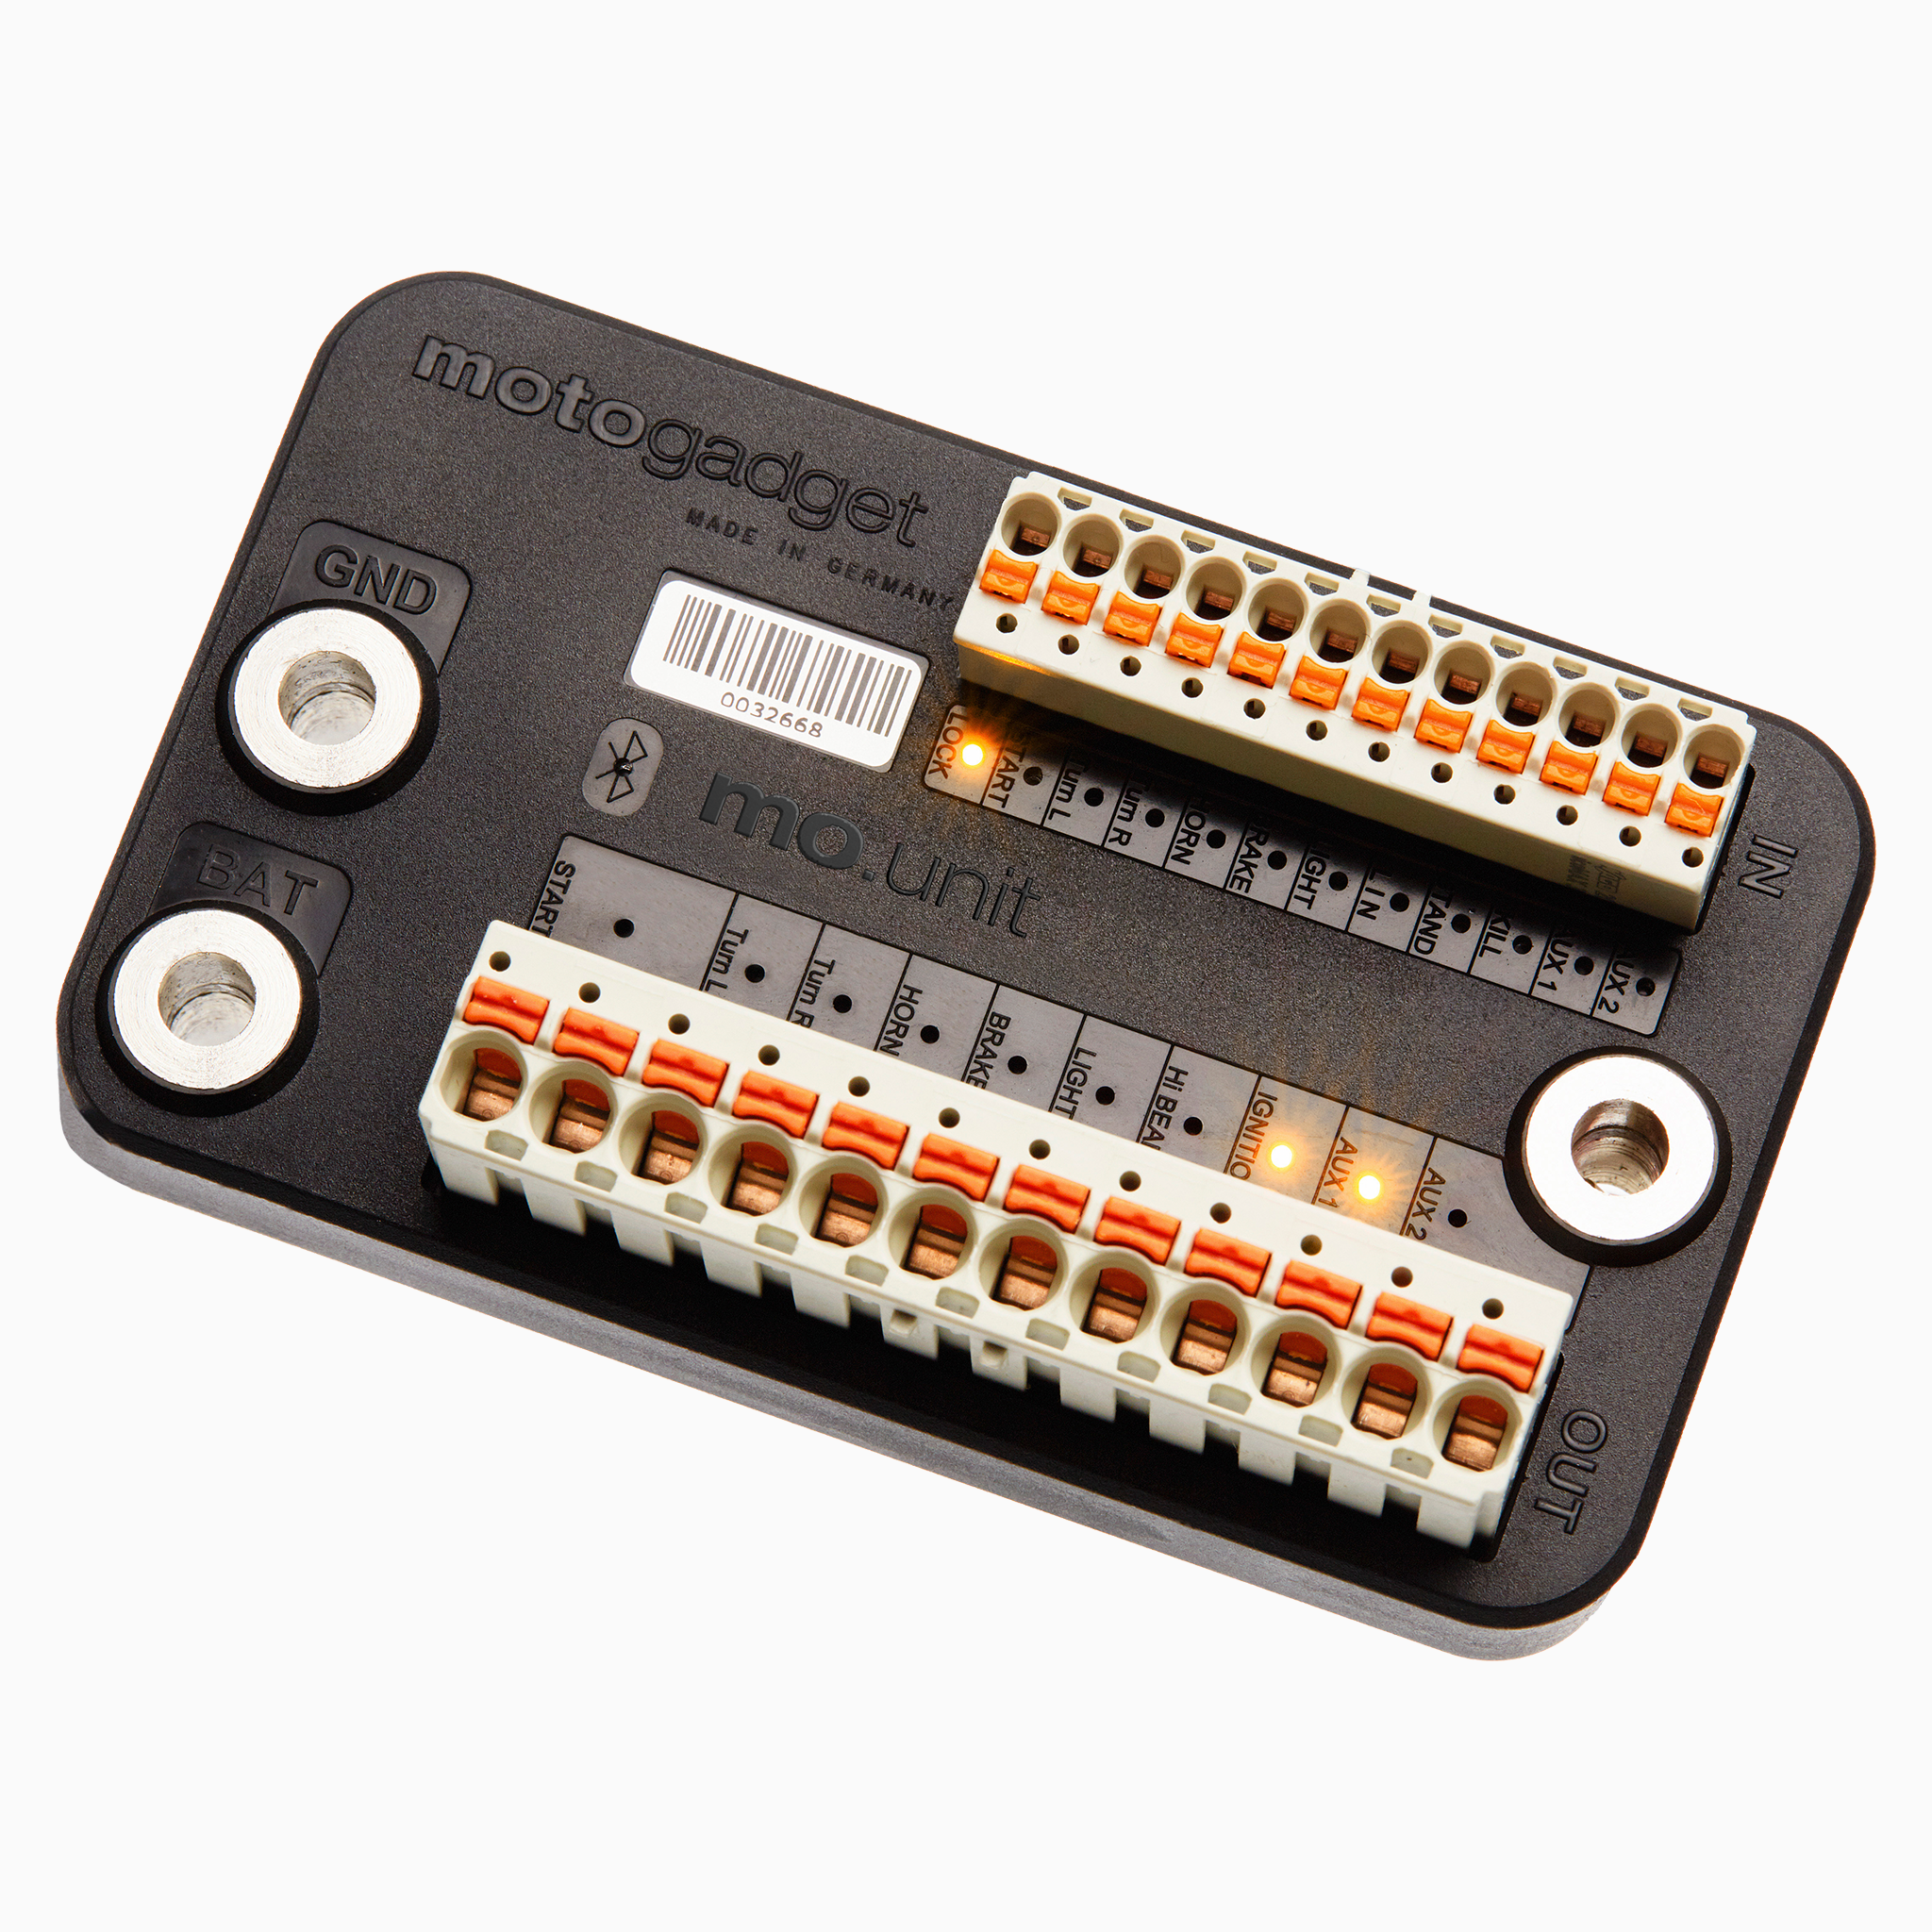
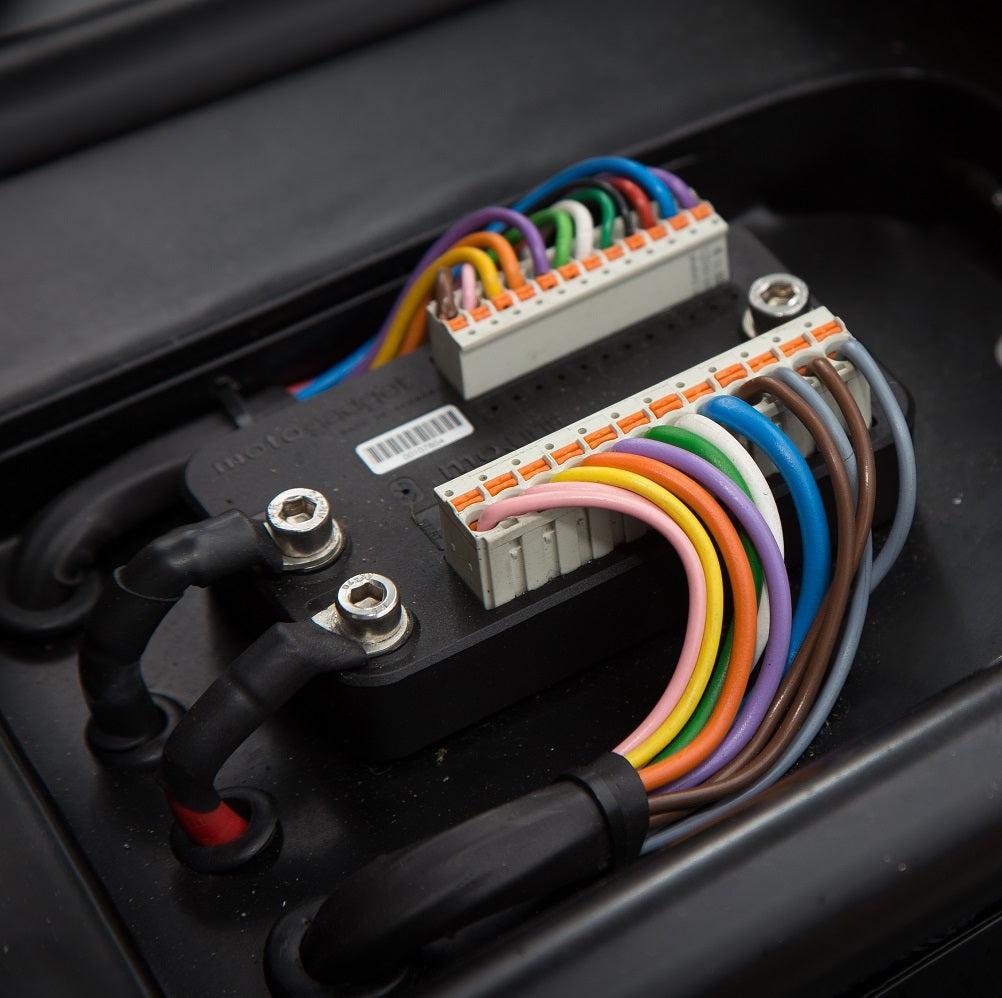
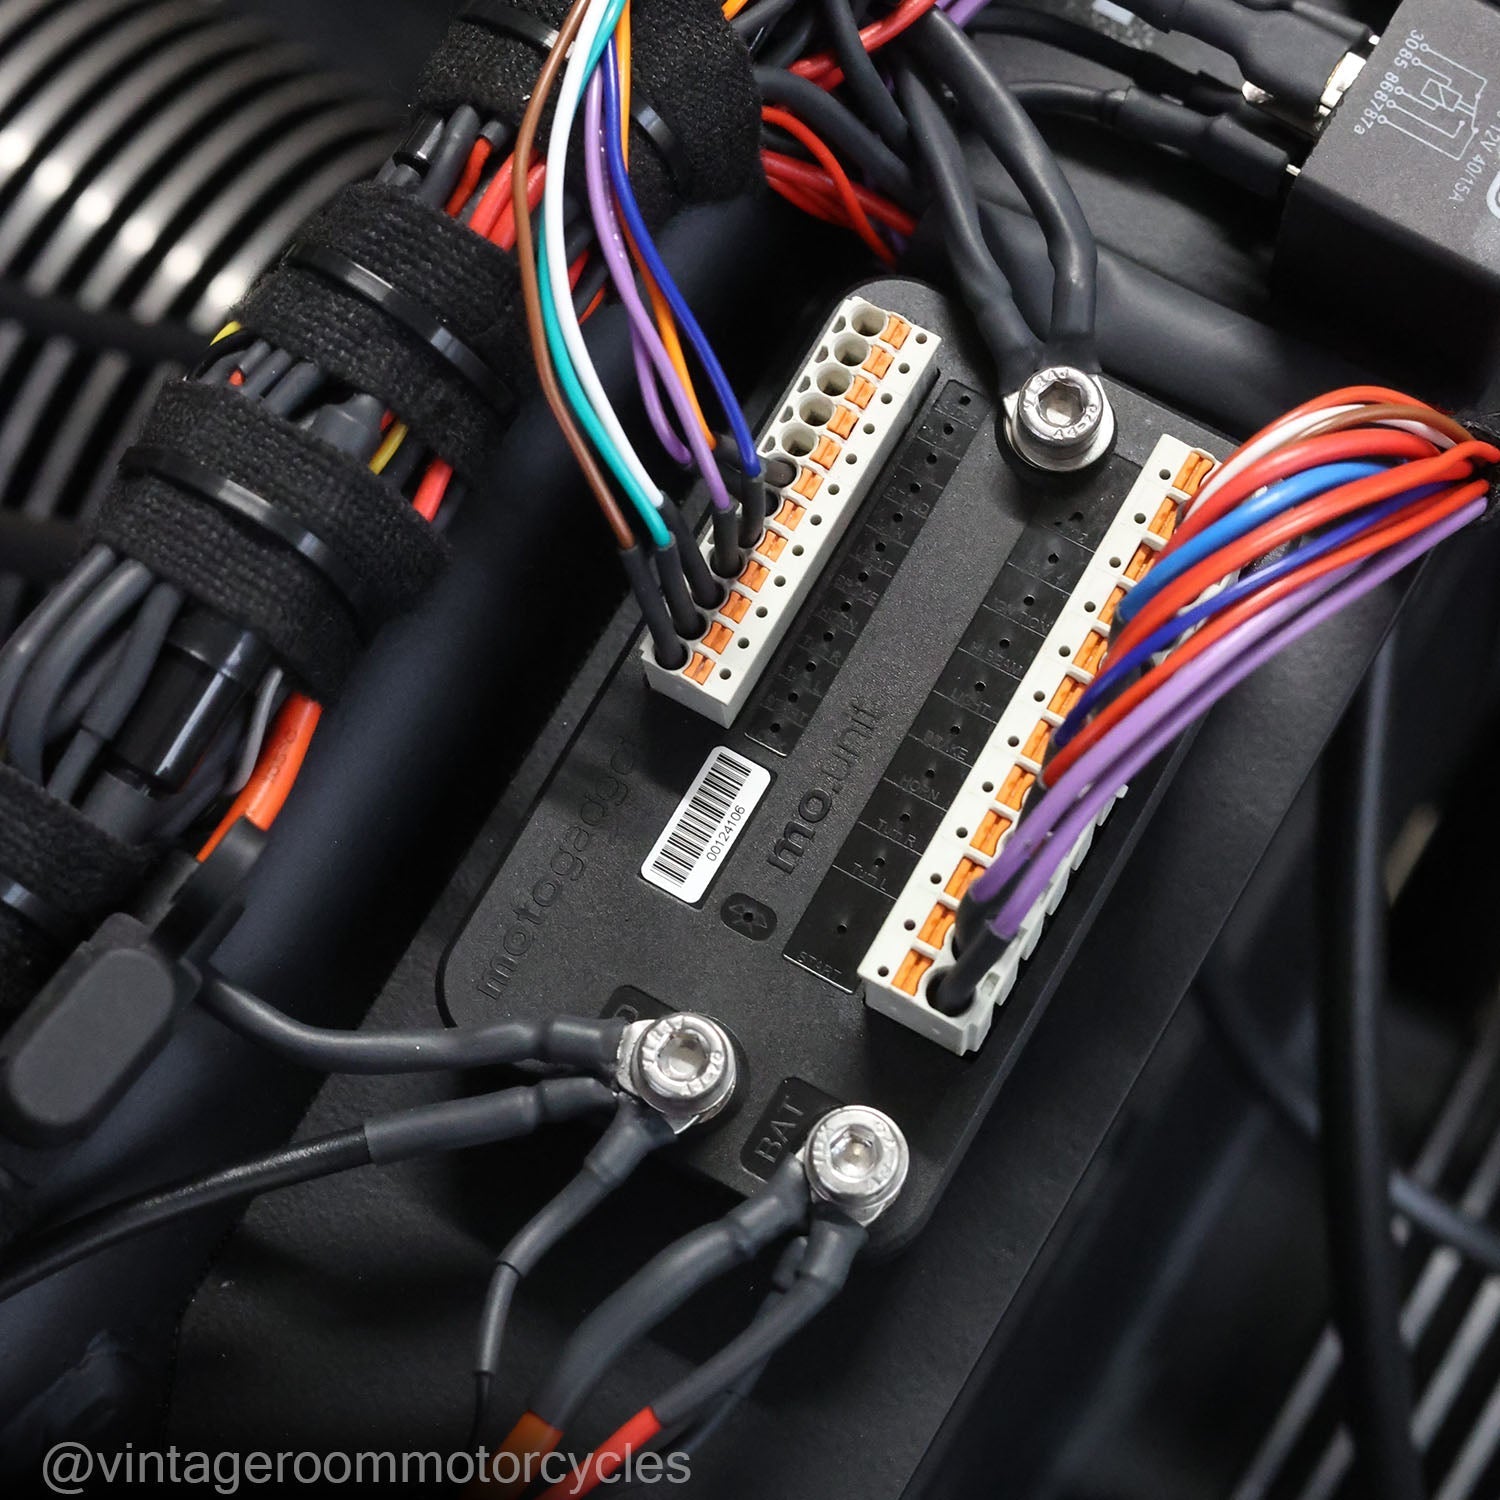
✓ mo.unit blue
This is the heart of the system. This is where all the cables come together. Nothing works without them.
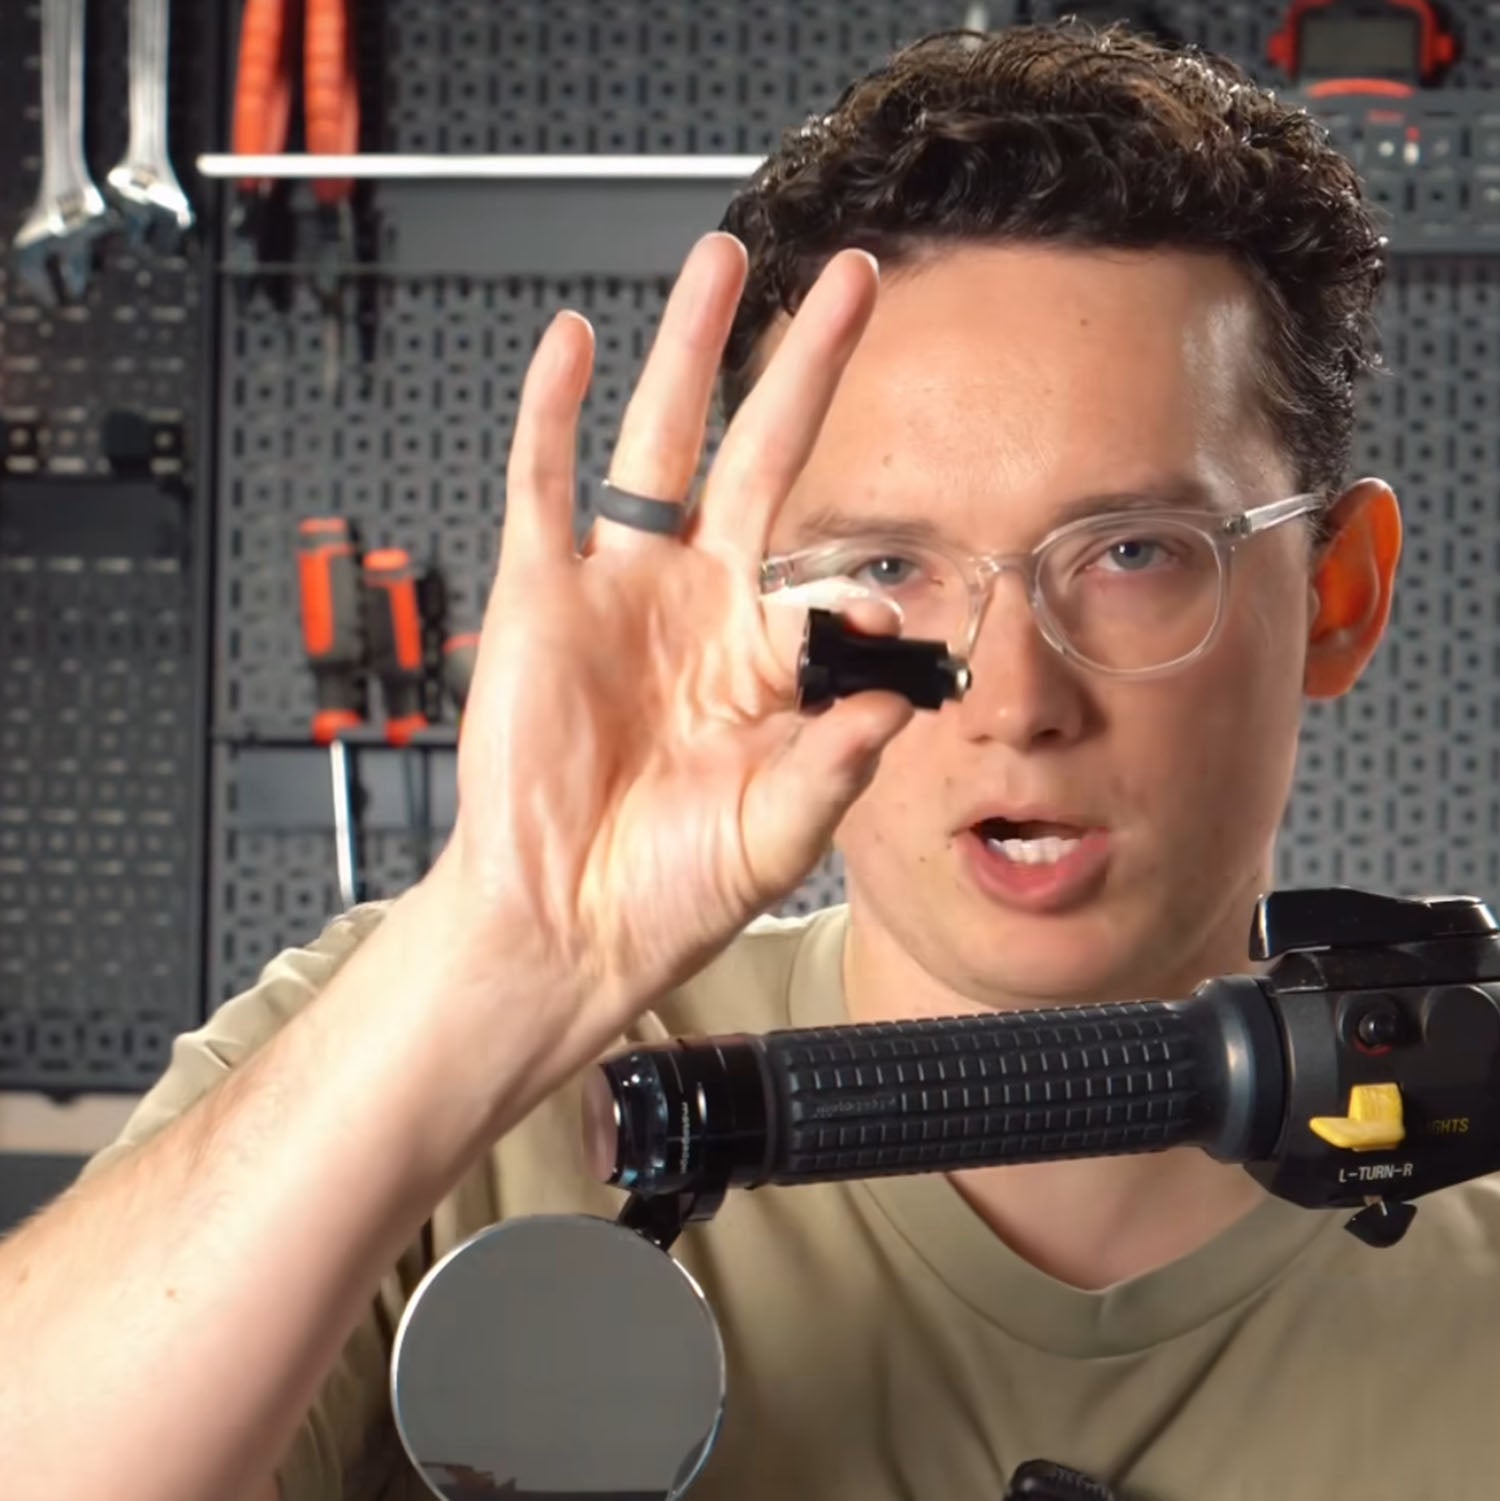
✓ Handlebar switch
You need new switches that can talk to the mo.unit blue. Here's how to find out what you need:
Take a look at your current switches and write down which buttons do what. Then think about whether you like the arrangement or whether you want to change something. Popular motogadget switches:
- mo.switch mini - super compact
- mo.switch basic - everything important included
- mo.switch pro - with all features
And plan an extra button for your new motogadget instrument. Speaking of instruments...
✓ An instrument
motogadget has different instruments, depending on what you like:
- motoscope mini - ultra-compact and puristic
- motoscope pro - modern and elegant
- chronoclassic 2 - Vintage look with smart technology
In this series, we show you how to install the pro and the chronoclassic.
Parts that you easily overlook
If you replace the original switches, this affects more than just the electronics. There are often other things integrated in the old switch housings:
- Throttle grip and housing
- Master brake cylinder and brake lever
- Brake fluid reservoir
- Mirror mounts
Take a close look at your switches and check what else is attached to them. Ask yourself: If I remove the switches, what else do I need to replace? This is exactly what you need as a replacement.
Important spare parts:
- mo.grip or mo.grip soft - ergonomic handles
- mo.view Mirror – minimalist and clean
Important accessories for installation
You will need these parts for the installation:
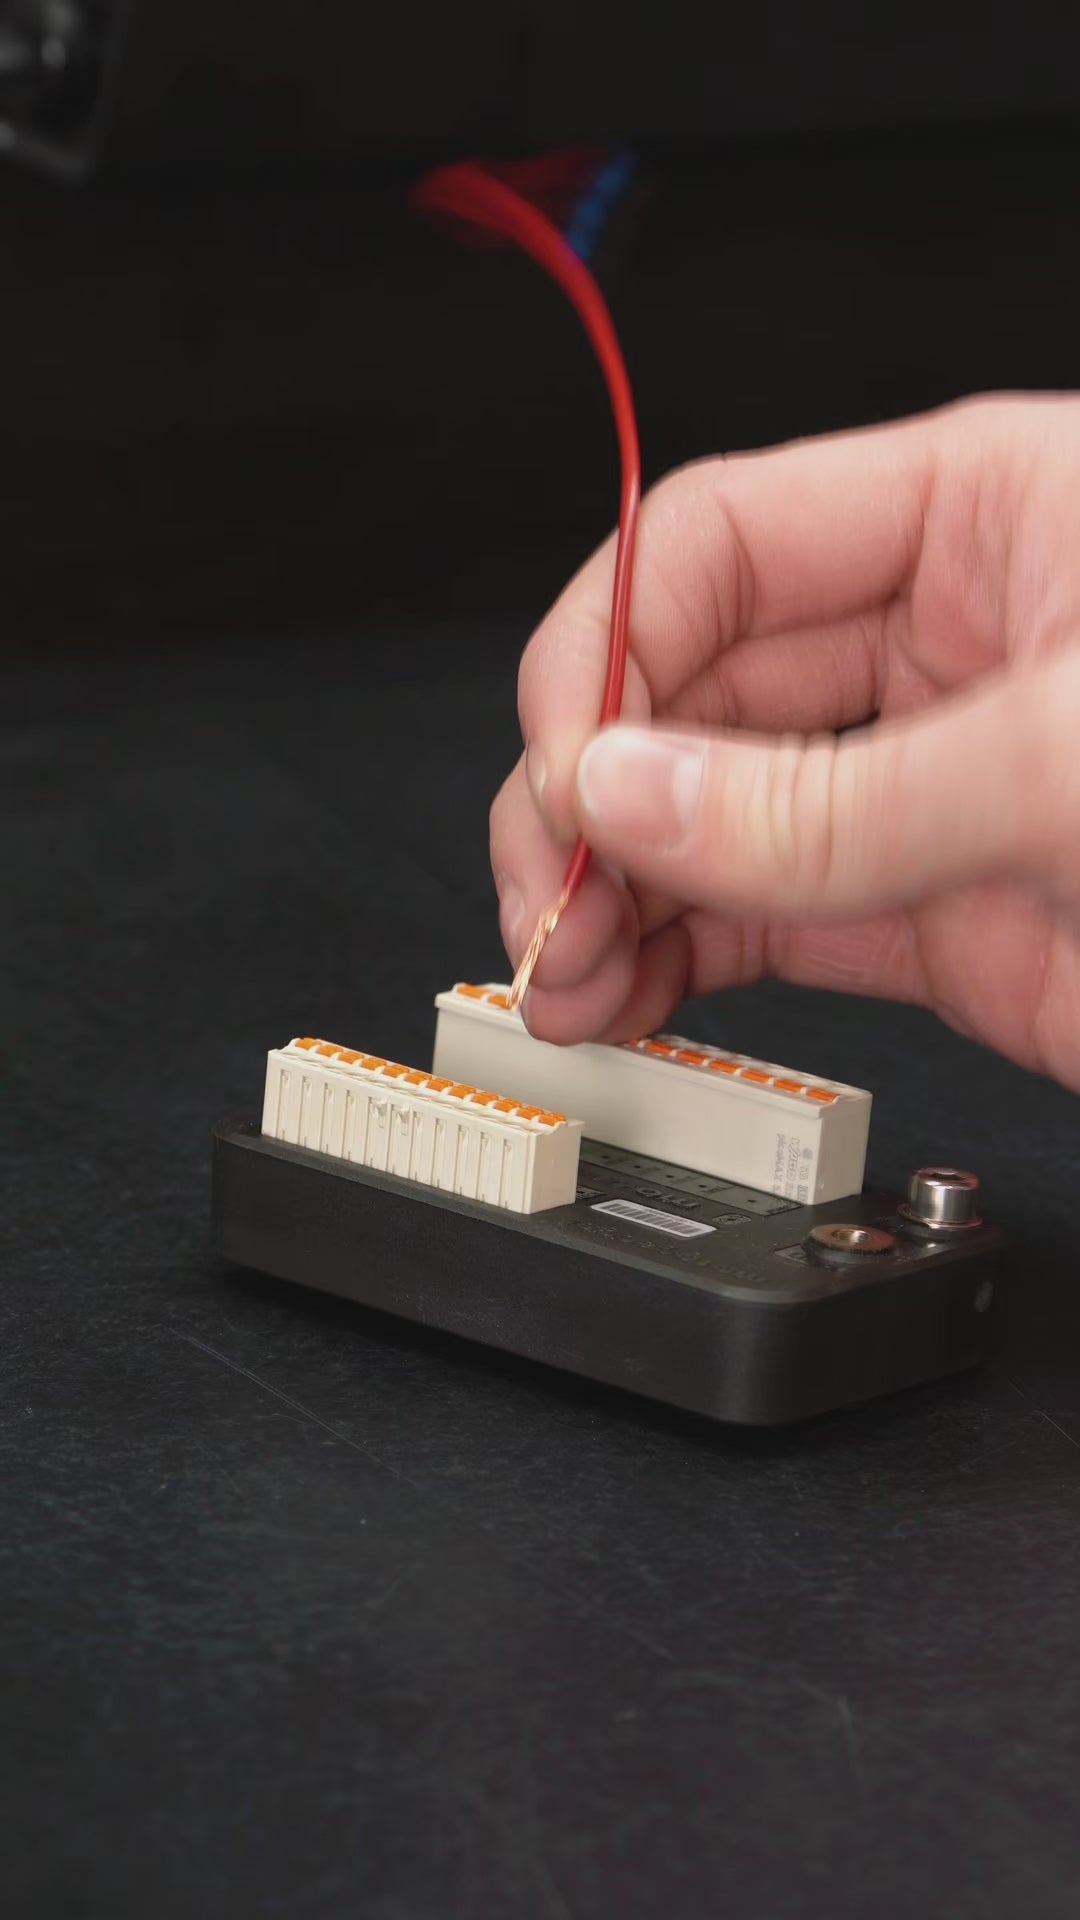
- mo.unit cable harness - Ready-made cable harnesses
- mo.unit Terminal Kit - Connection hardware
- mo.button - Additional buttons
- Breakout box - Cable distribution
For the complete installation there's the mo.unit Ultimate Builder Pack - which contains everything you need.
Optional (but cool) upgrades
If you're already browsing the motogadget catalog:
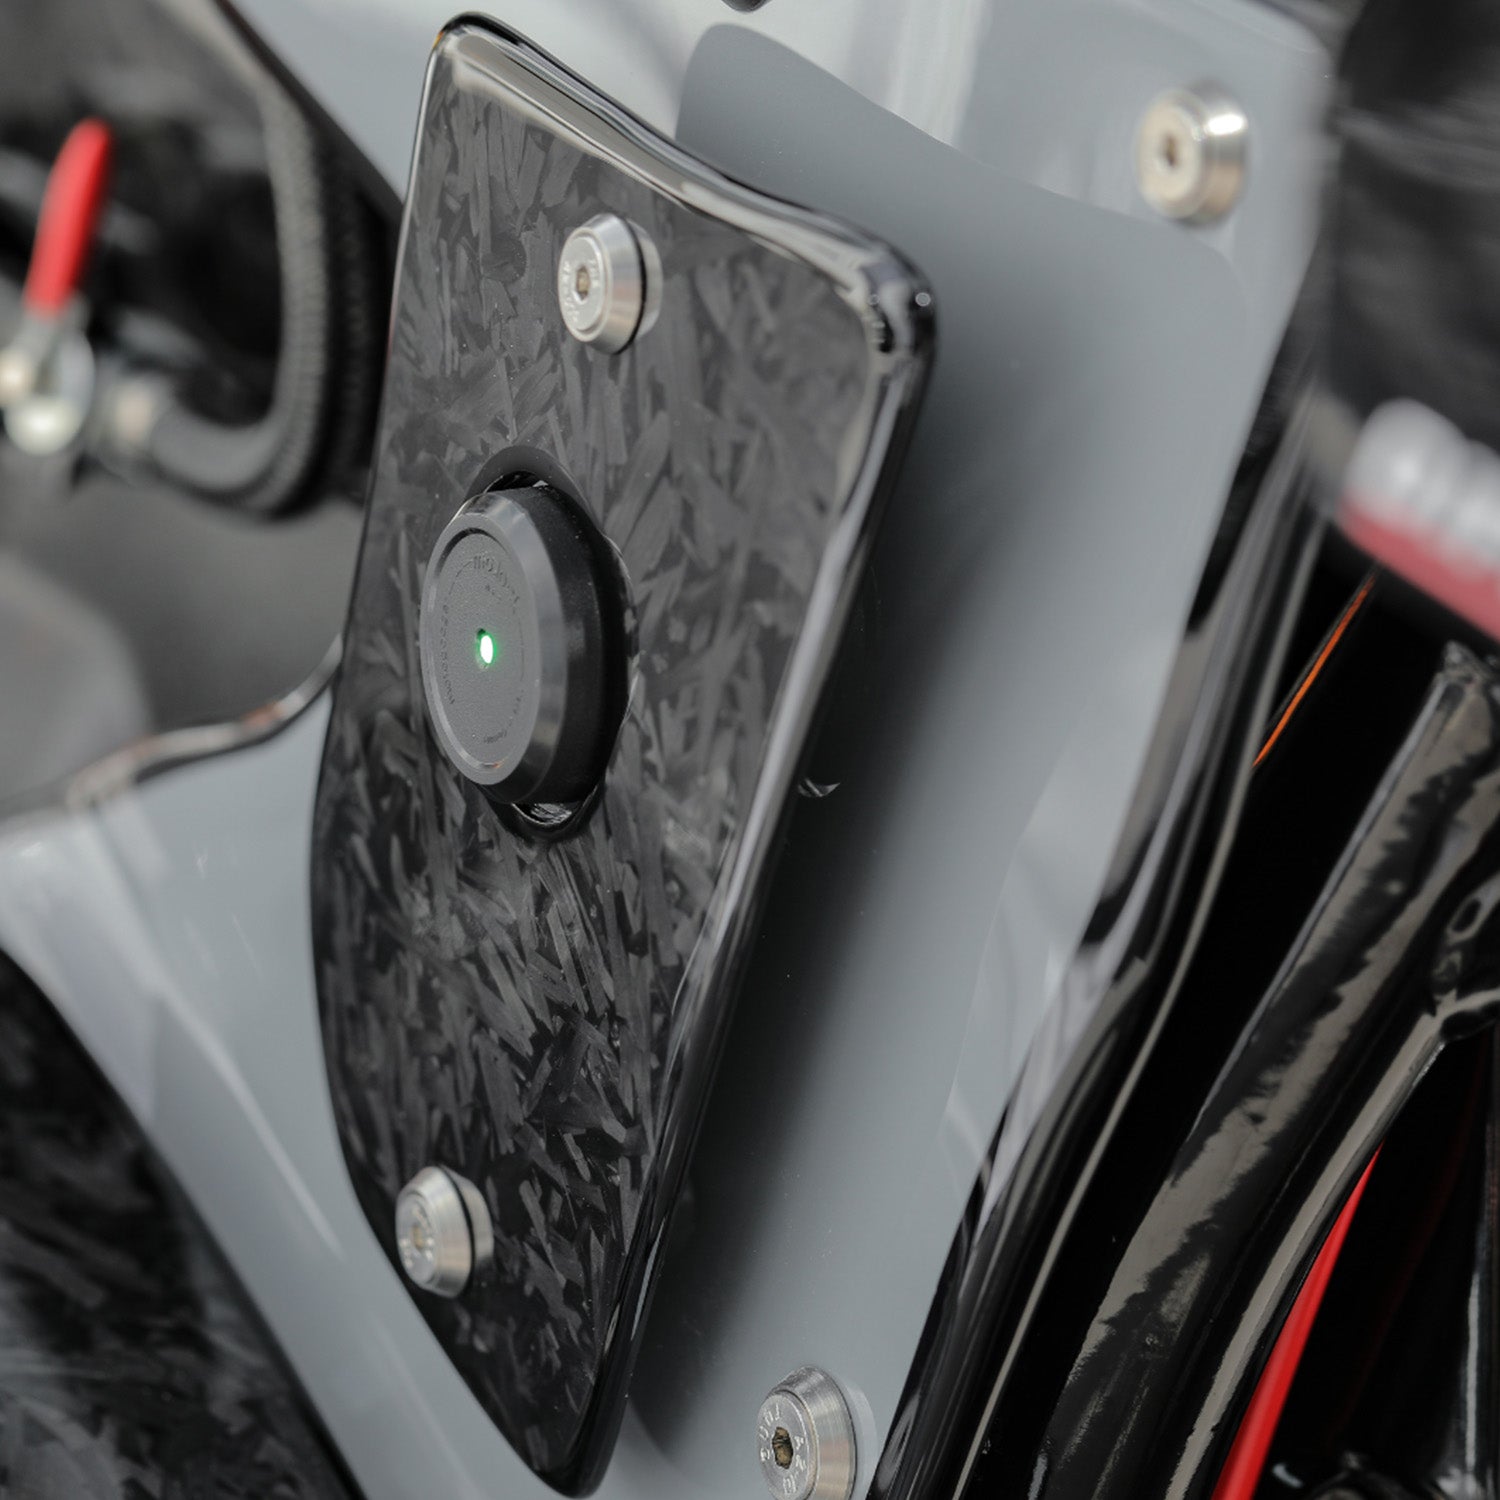
- mo.lock NFCKeyless ignition via NFC
- mo.pressureTire pressure monitoring
- mo.blaze disc: Chic LED turn signals
- mo.view Mirror: Minimal and ultra-clean
What's next?
This motogadget mo.unit blue installation guide covers the most important things you need to know before installation. Every bike is different, but we try to cover a lot of general points here. In the next video we explain how to understand your current wiring harness, recognize the electrical layout of your bike and what tools you need.
Want to see everything in action? Watch part 1 of the installation series now.
Stay tuned
motogadget is on Instagram and TikTok with quick tips, installation inspiration and product features. And if you're unsure about a particular part or detail - on the website you'll find detailed PDF instructions for almost every product.
Until next time - have fun screwing.
- Jacob Baldry, for motogadget


