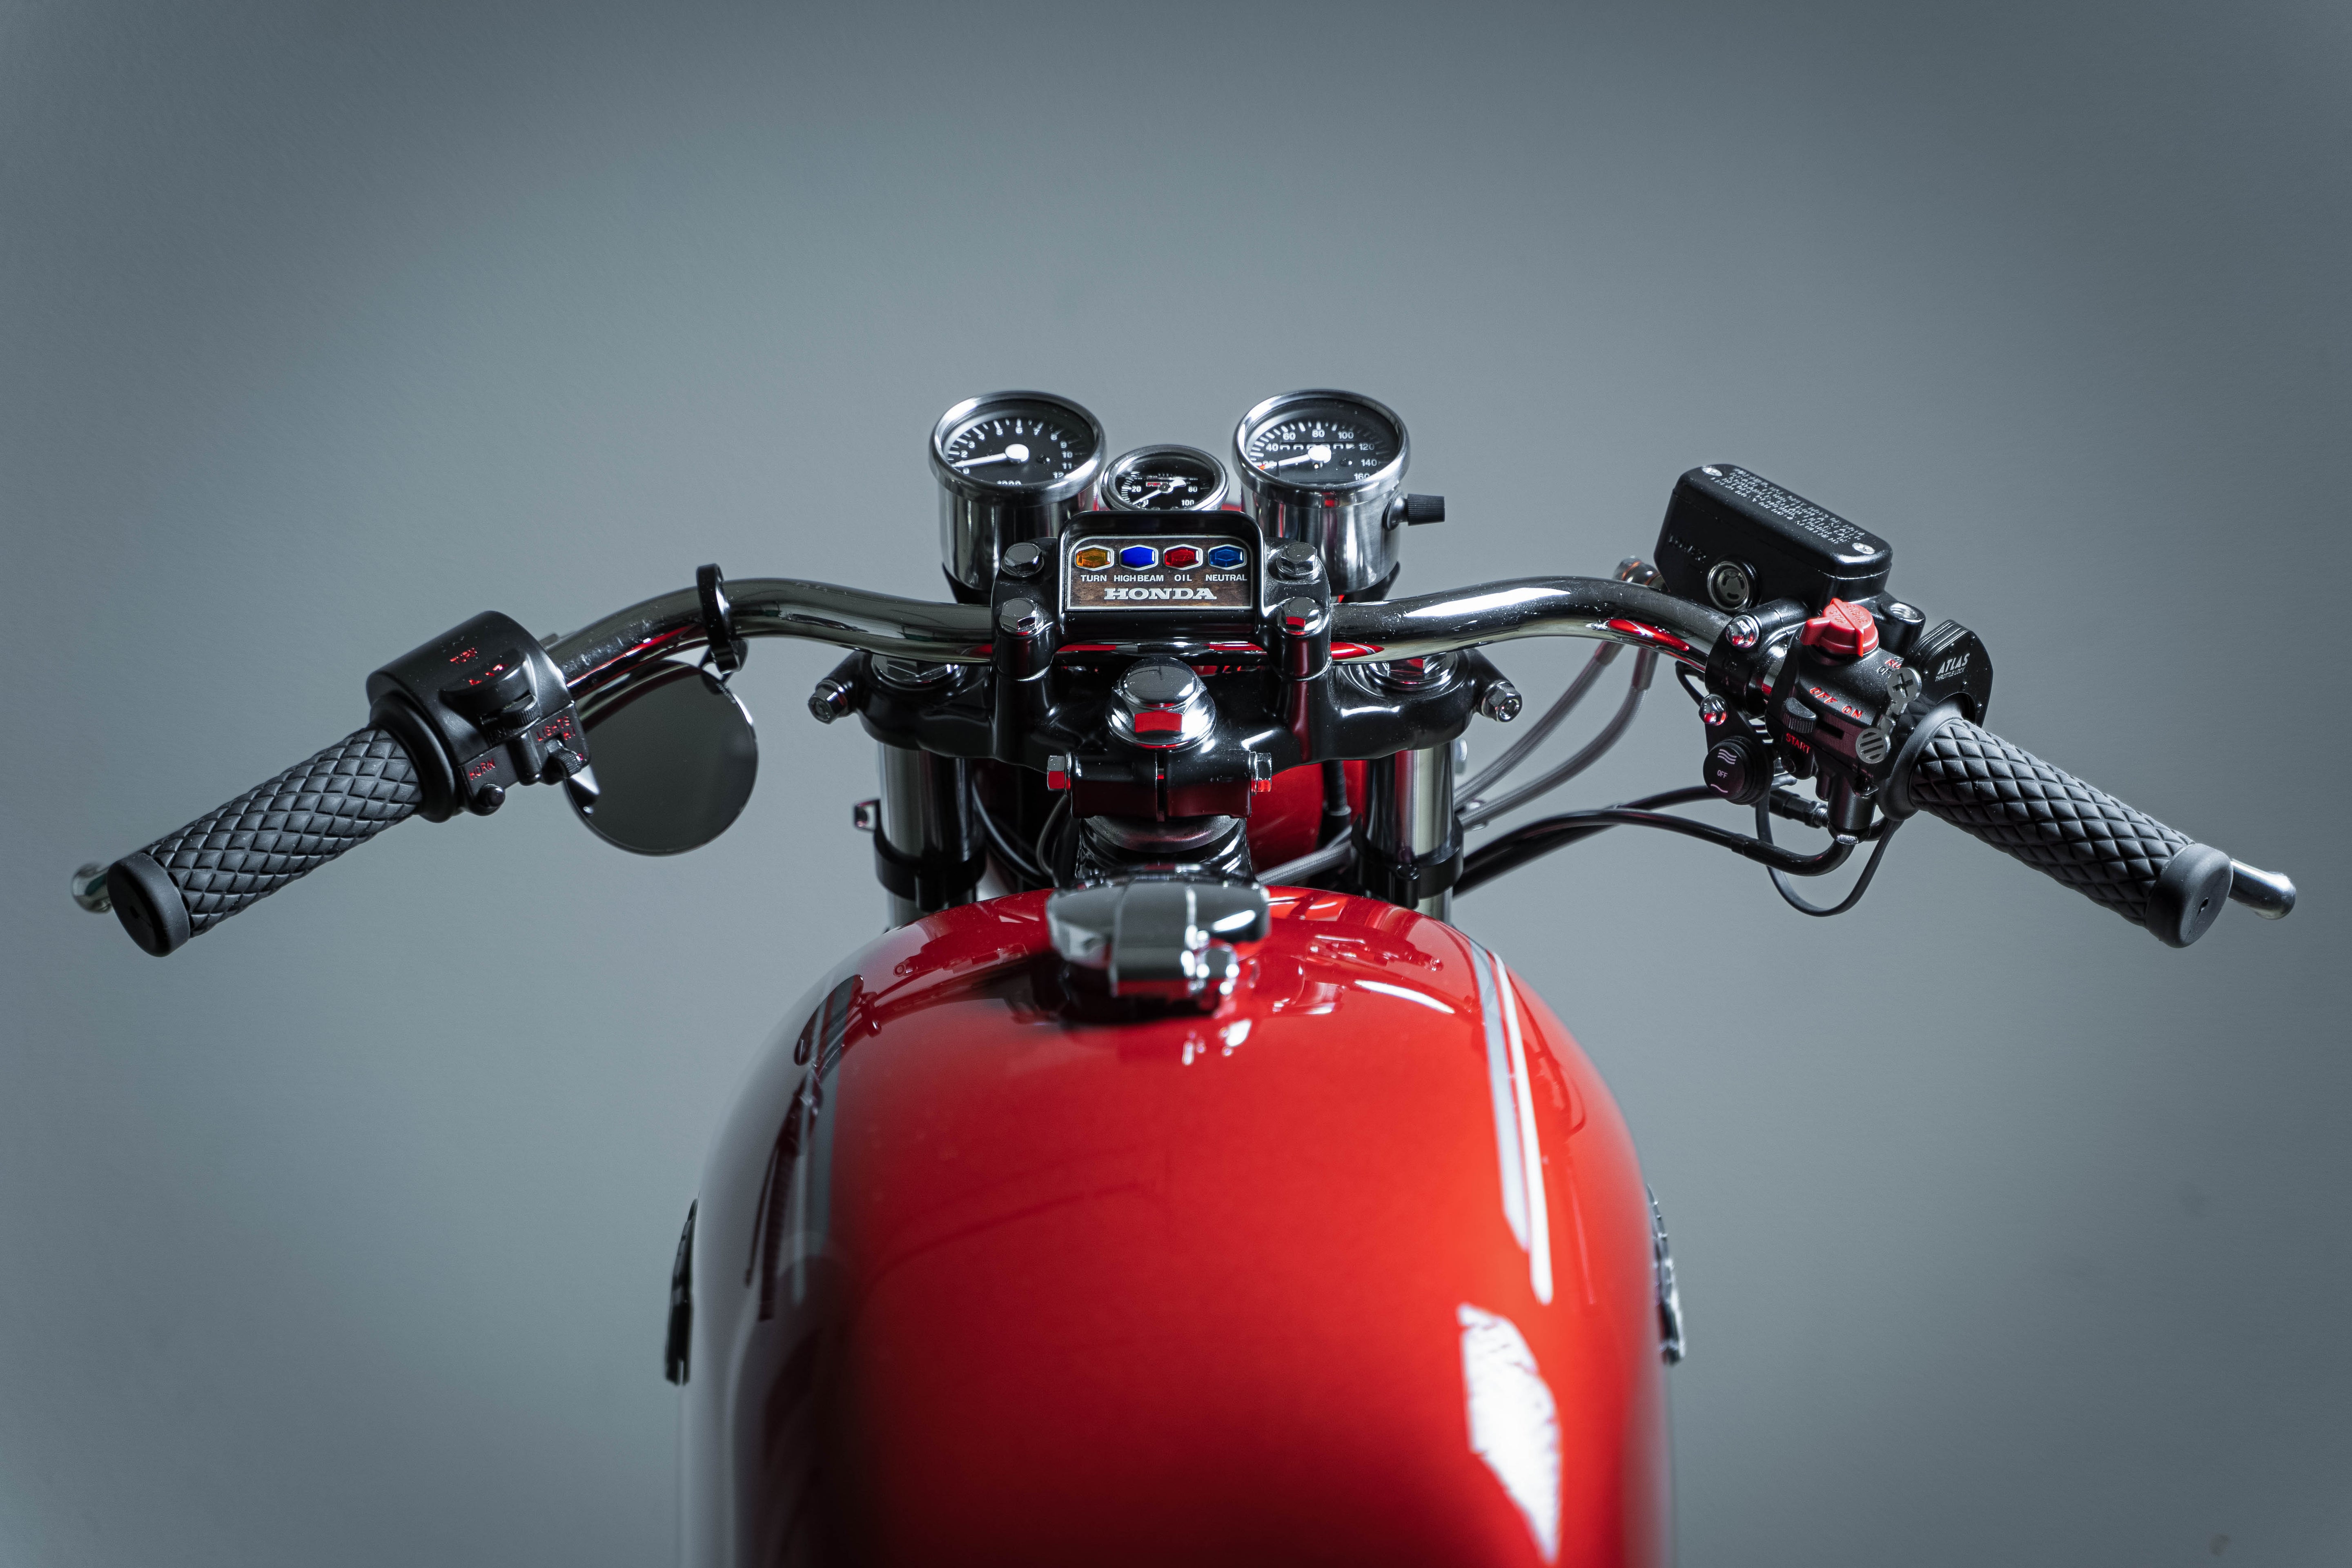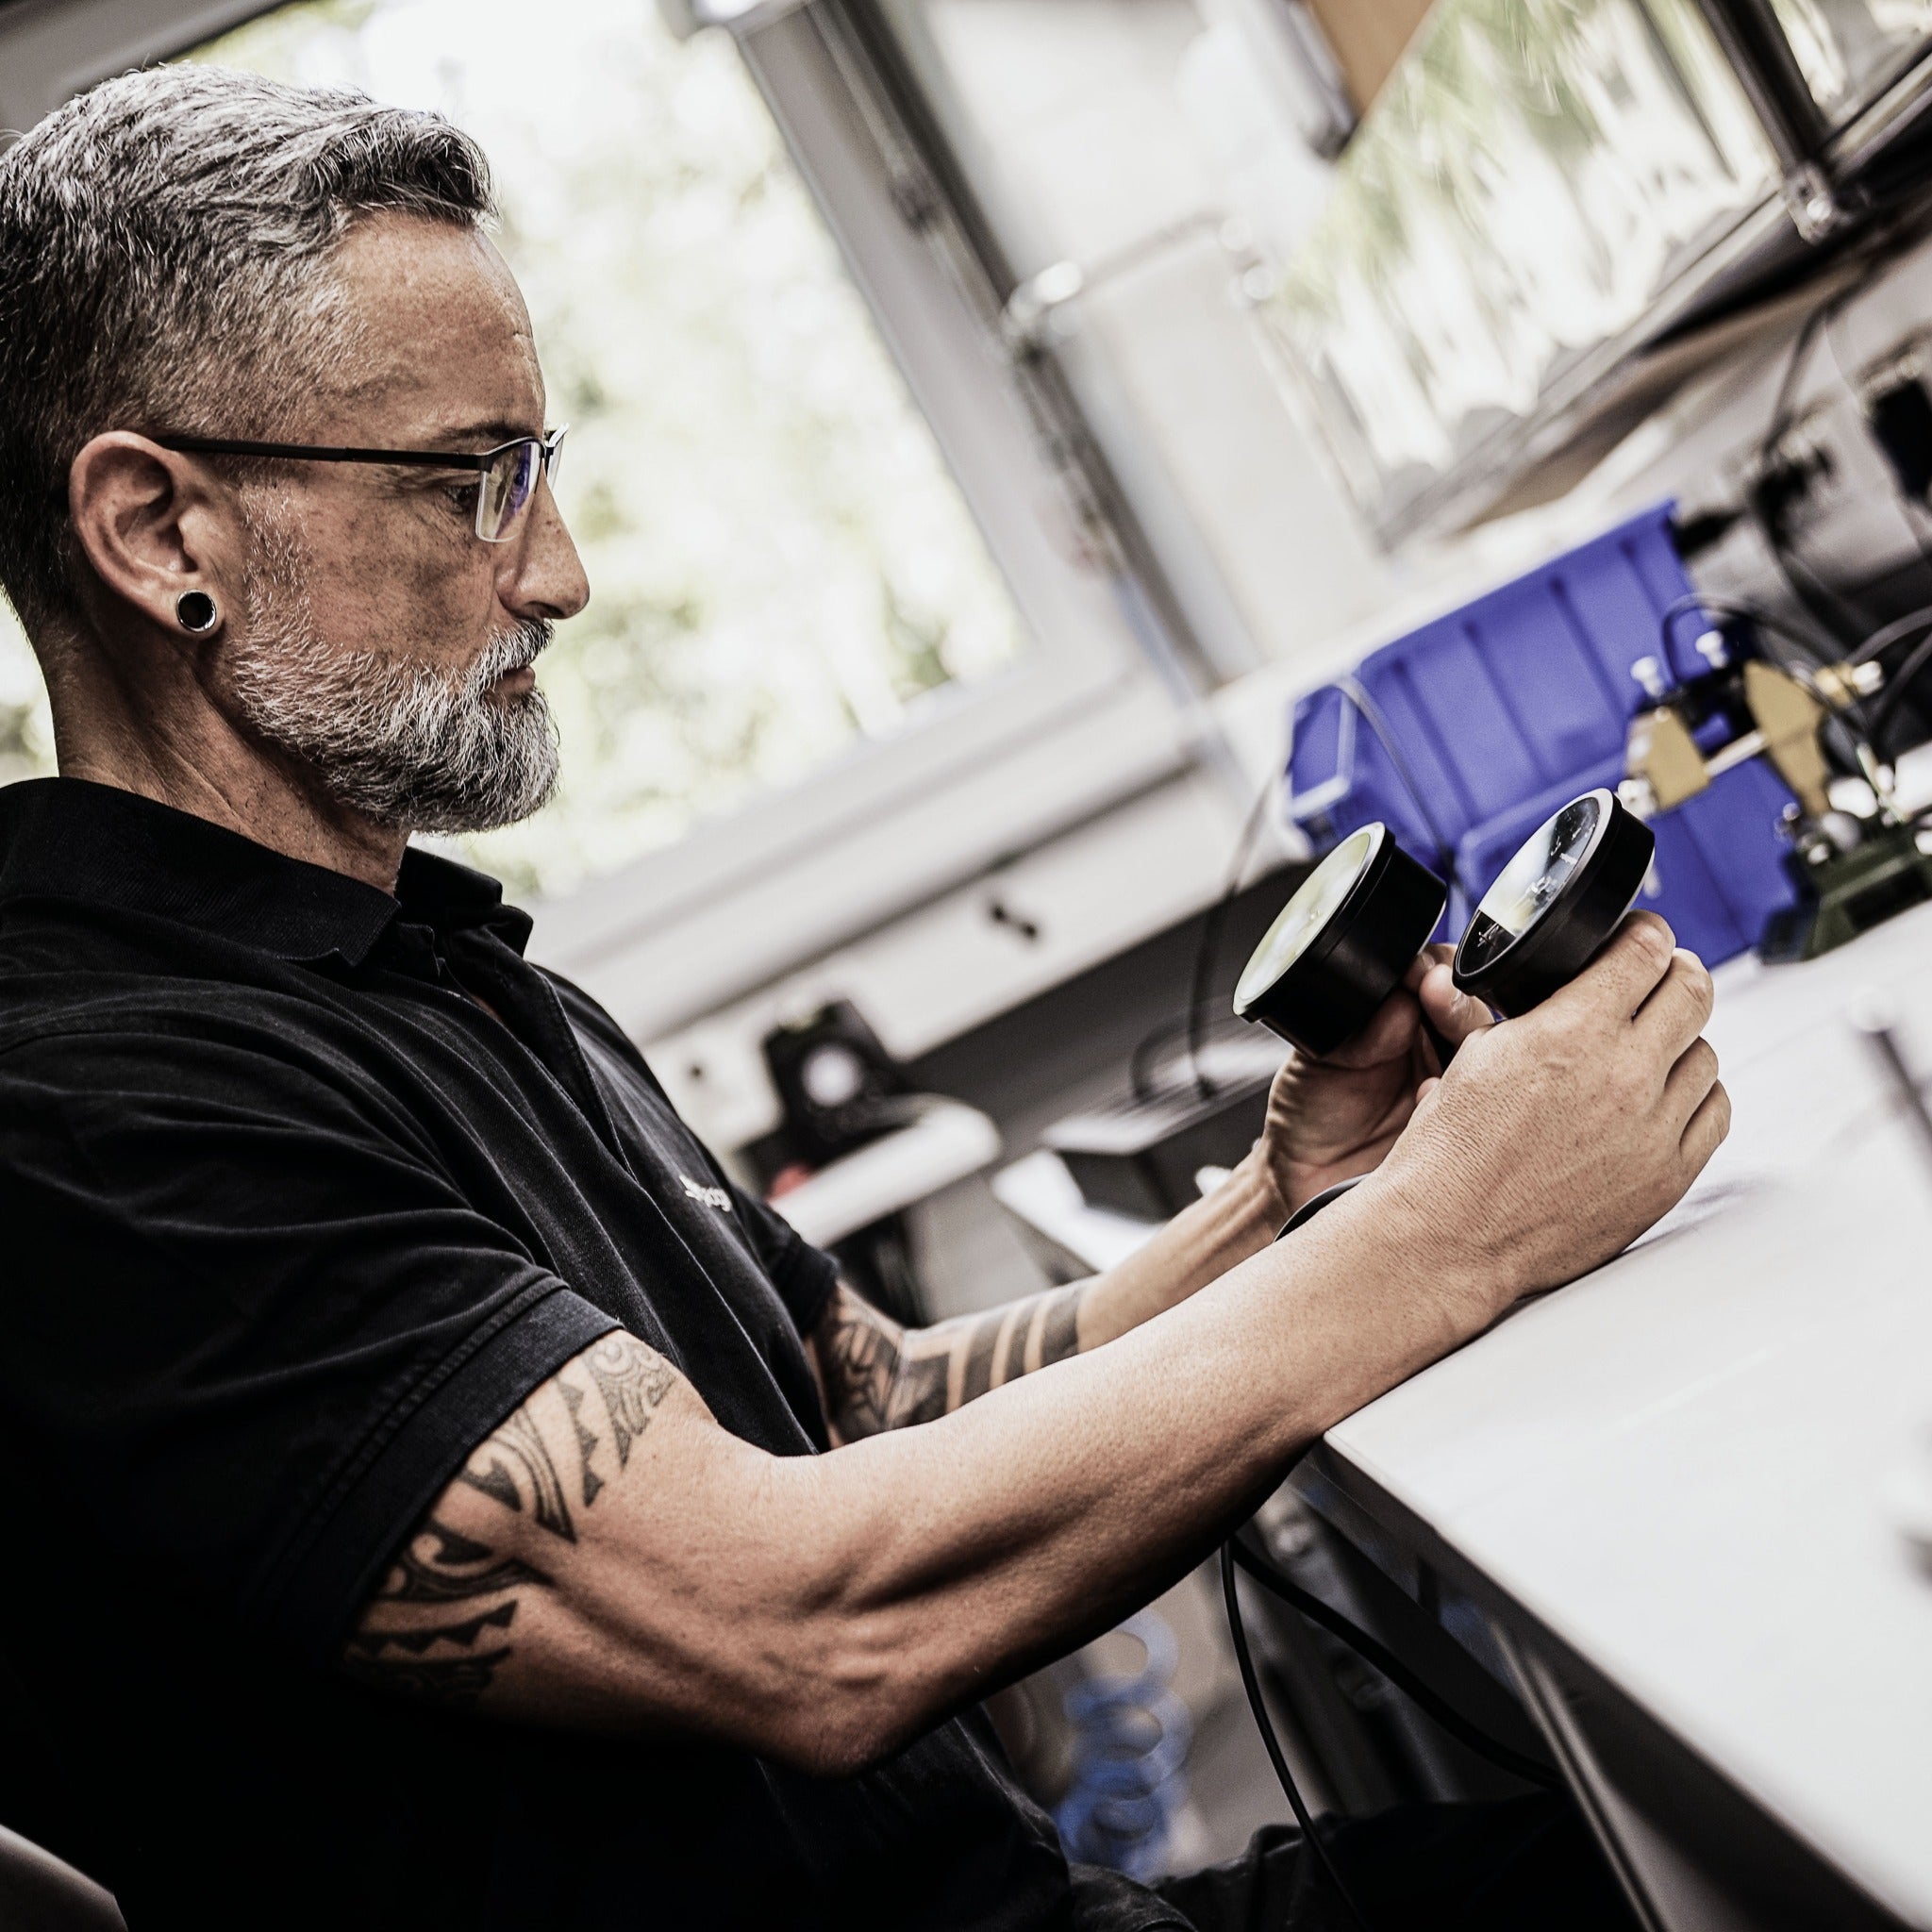


A new handlebar end mirror can significantly enhance the look of your motorcycle and improve your safety on the road at the same time. With this simple step-by-step guide, we'll show you how to install your motogadget handlebar end mirror in just 90 seconds.
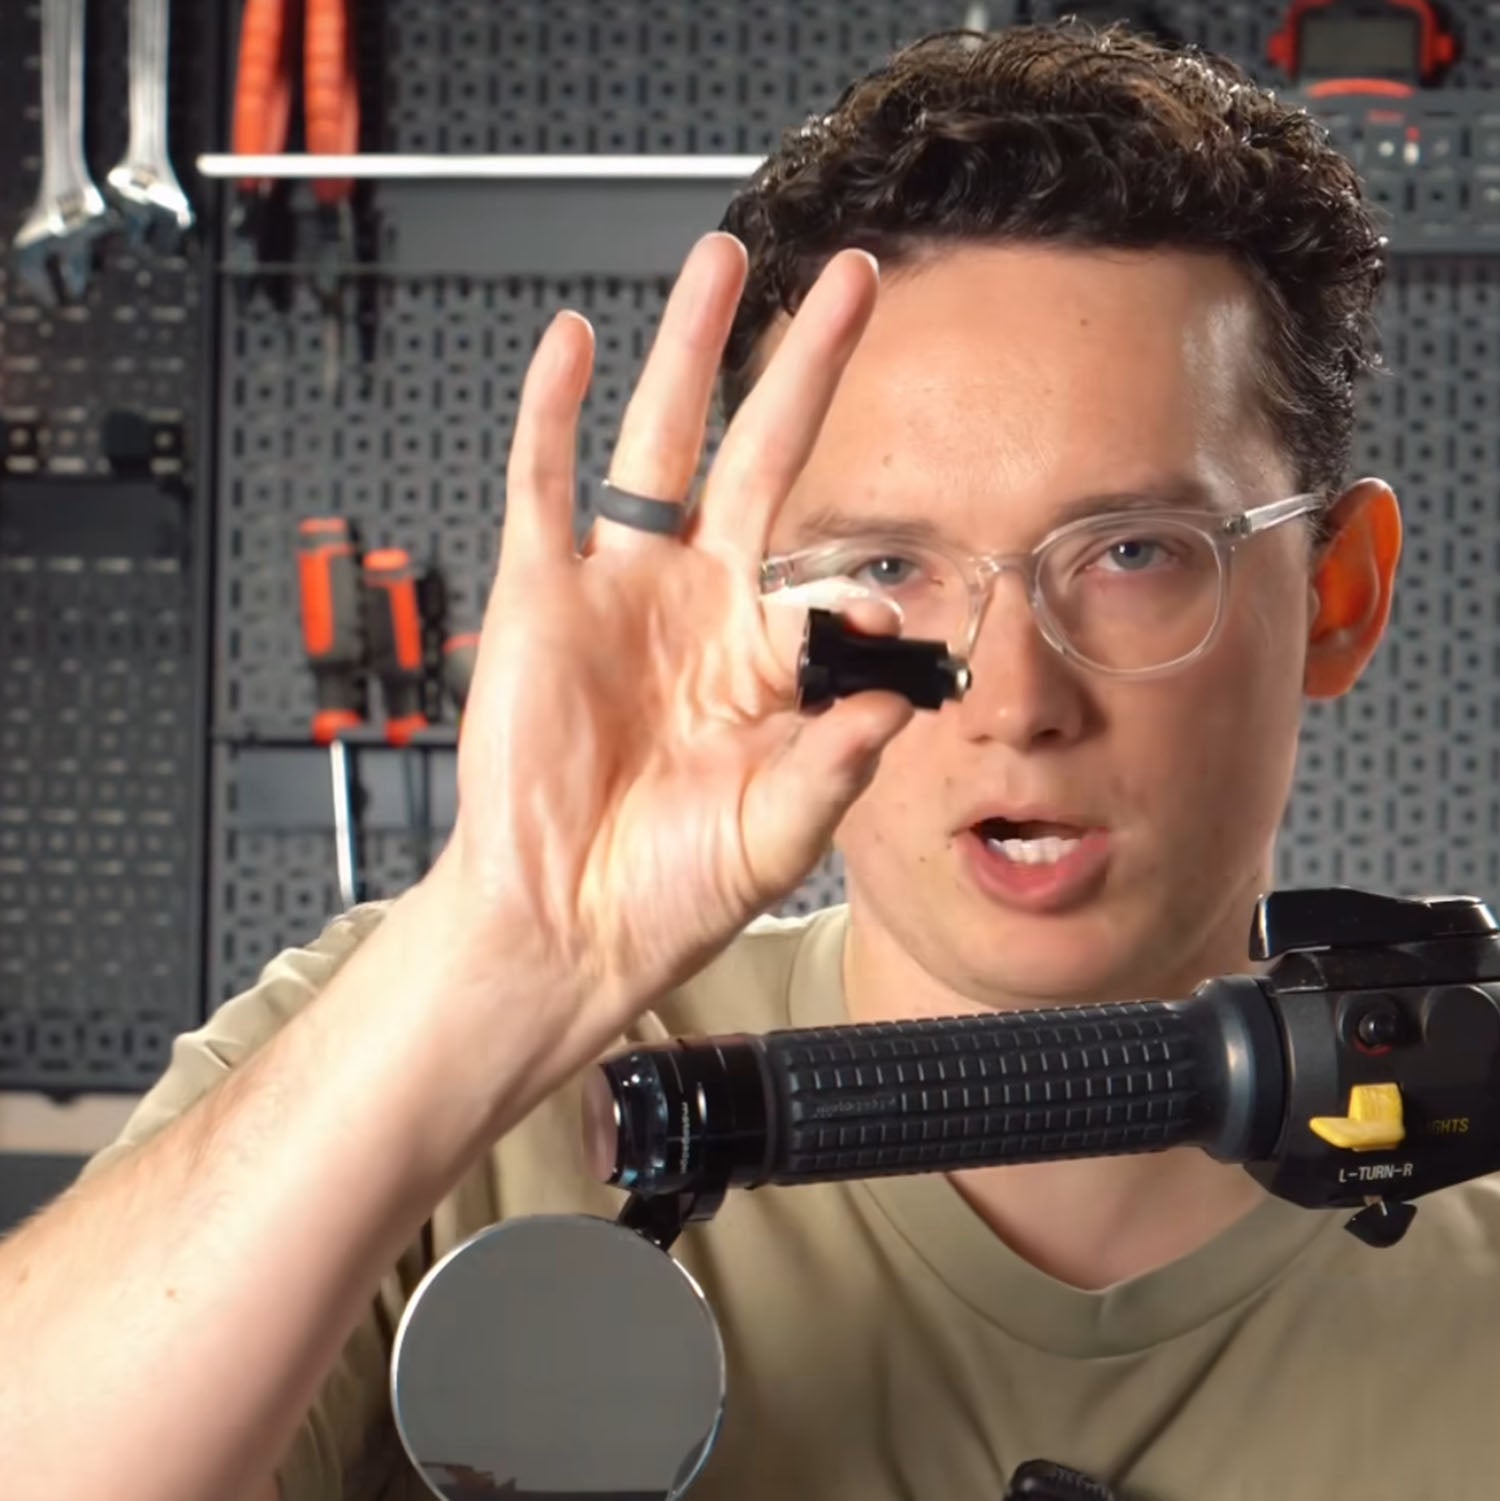
Step 1: Remove excess rubber
Start by removing excess rubber from the handlebar end. Use a hammer to carefully tap off the rubber. A screwdriver can help you to loosen the rubber completely. Then briefly clean the exposed area to ensure that no residue remains.
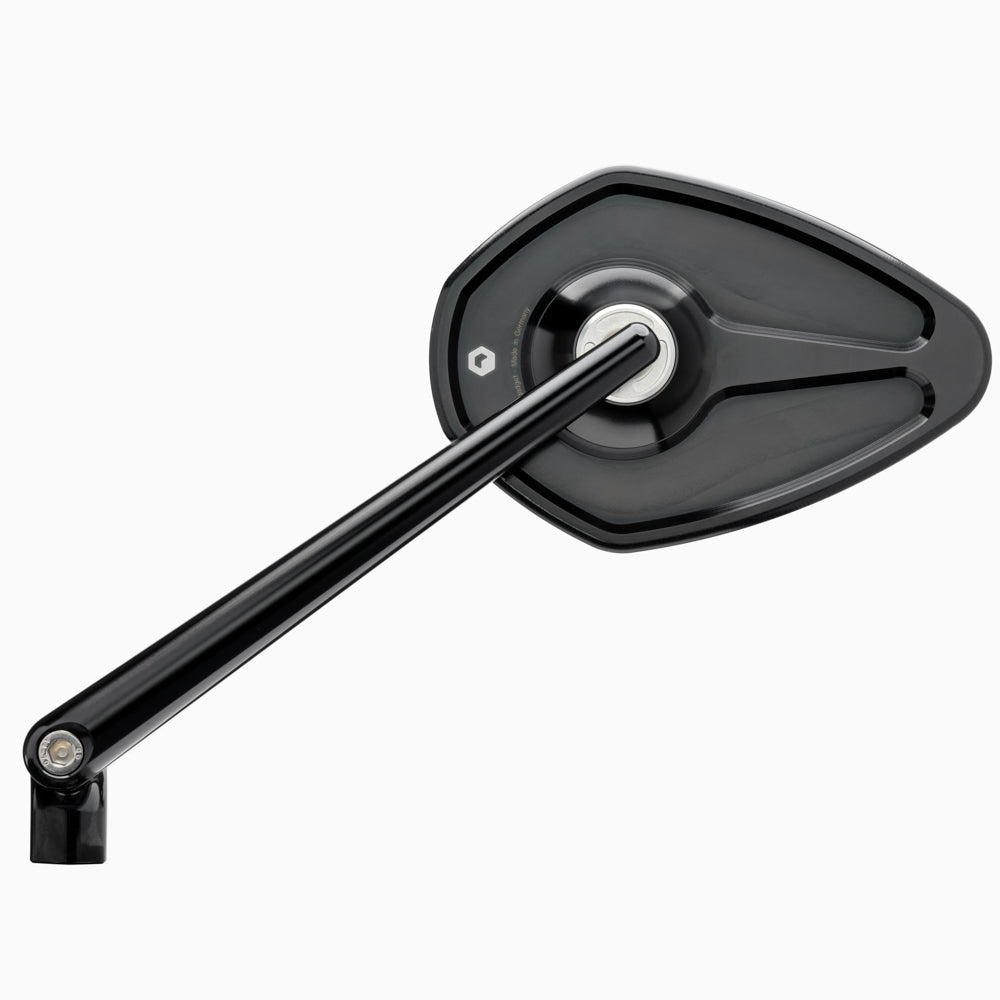
Step 2: Mount the handlebar end adapter
Insert the handlebar end adapter into the end of the handlebar. Then tighten the screw with an Allen key to fix the adapter securely in place.
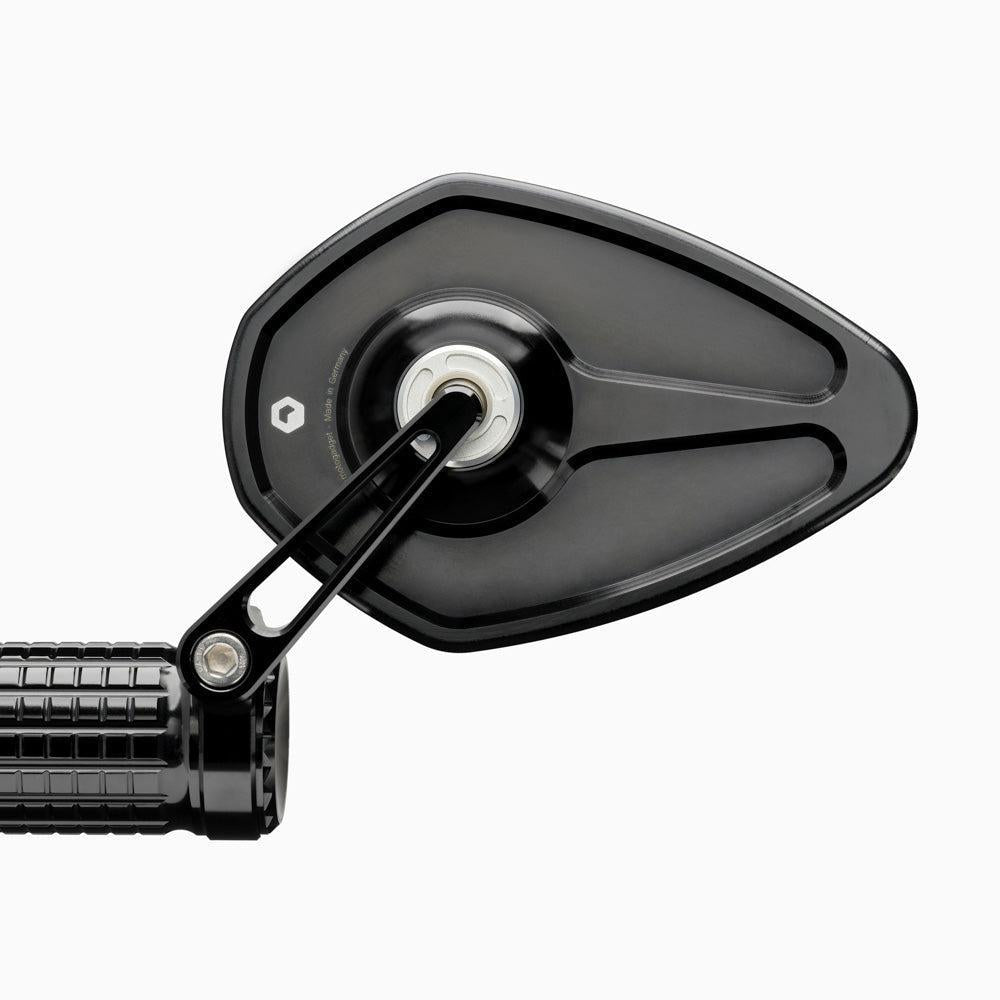
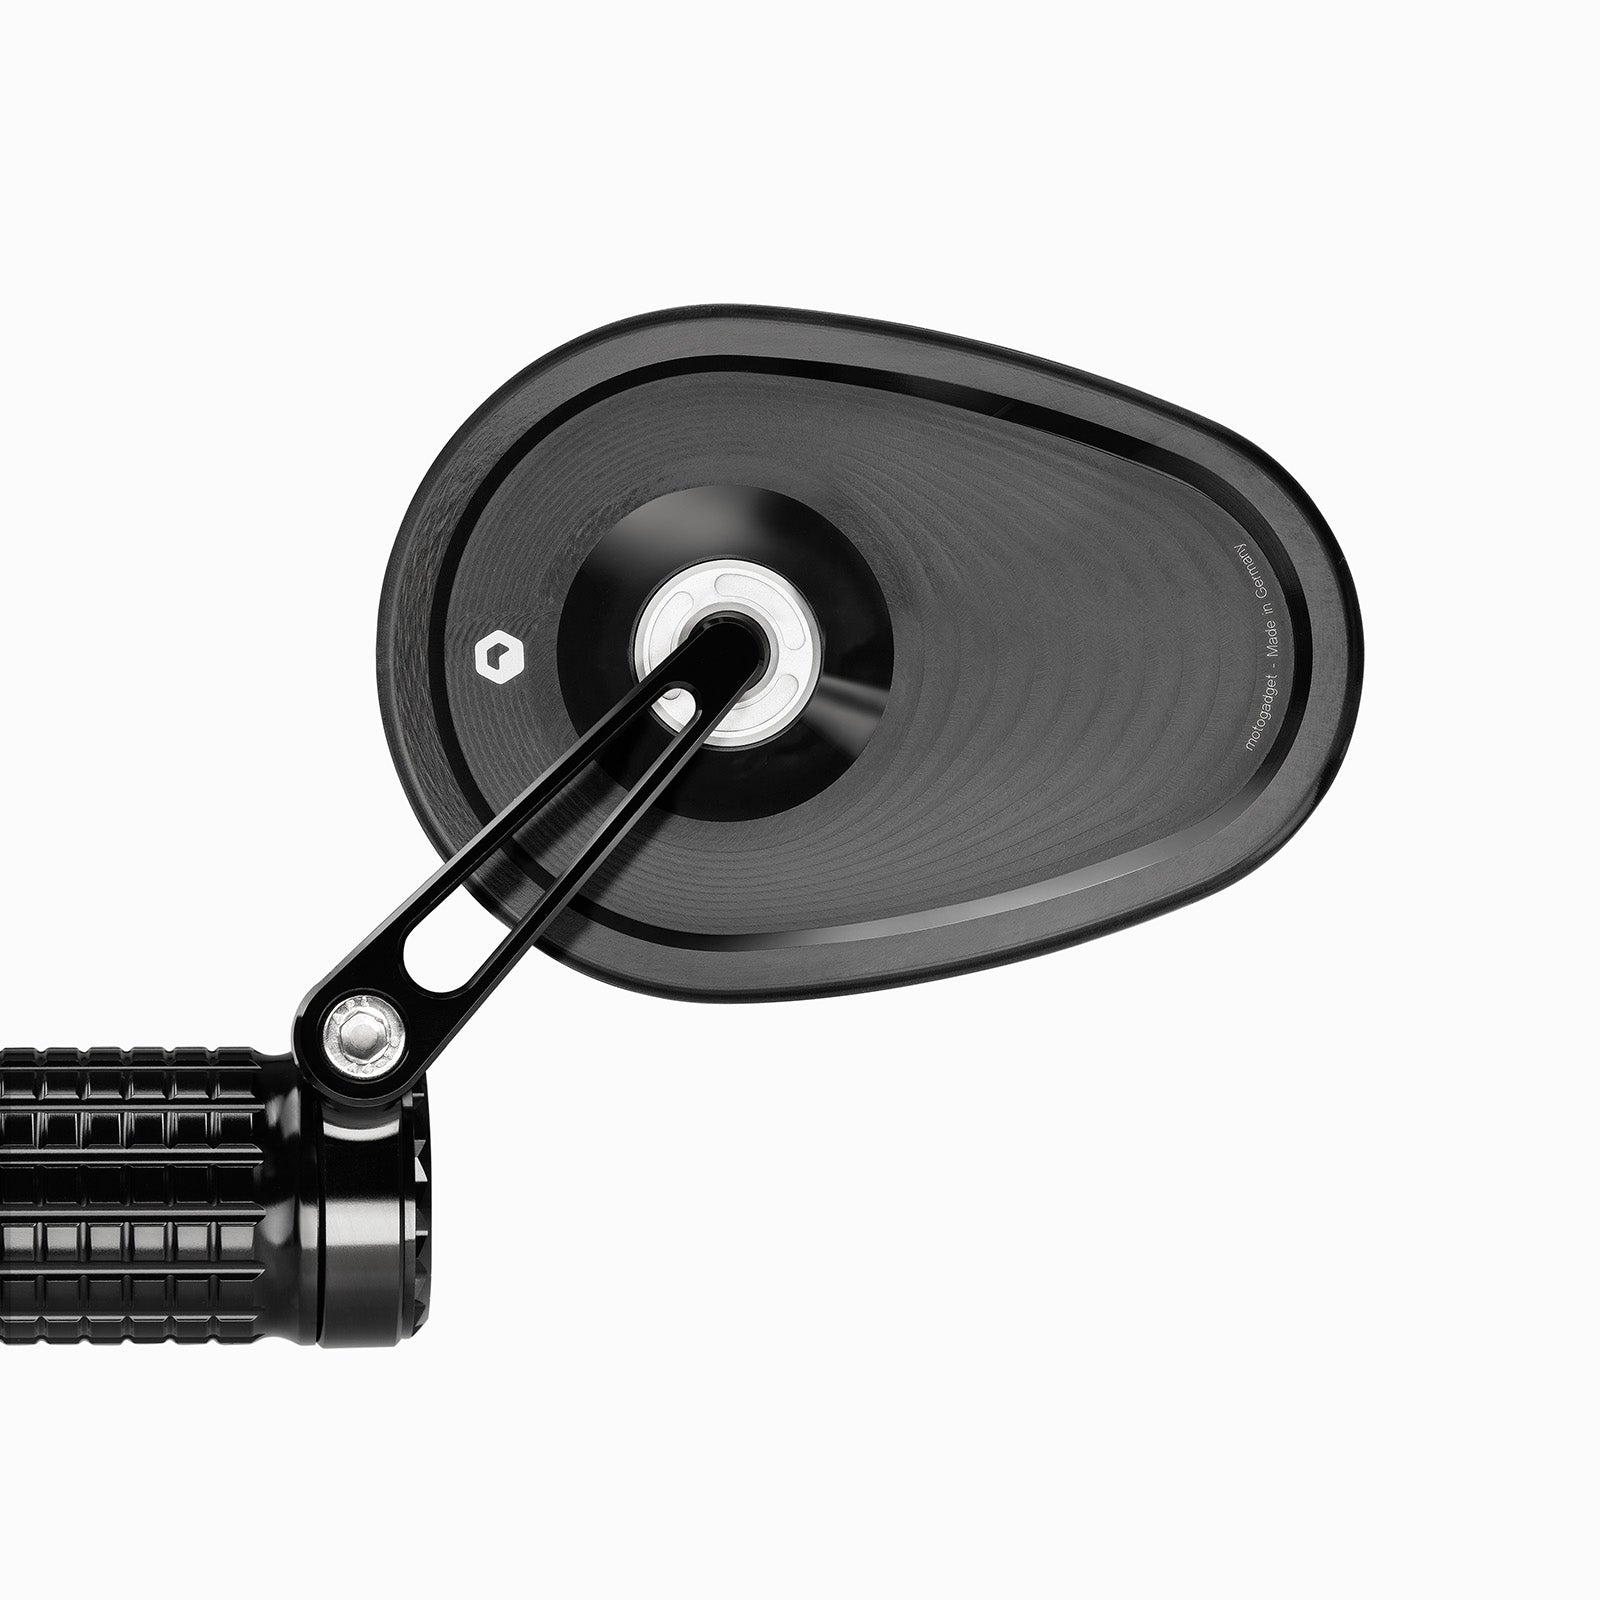
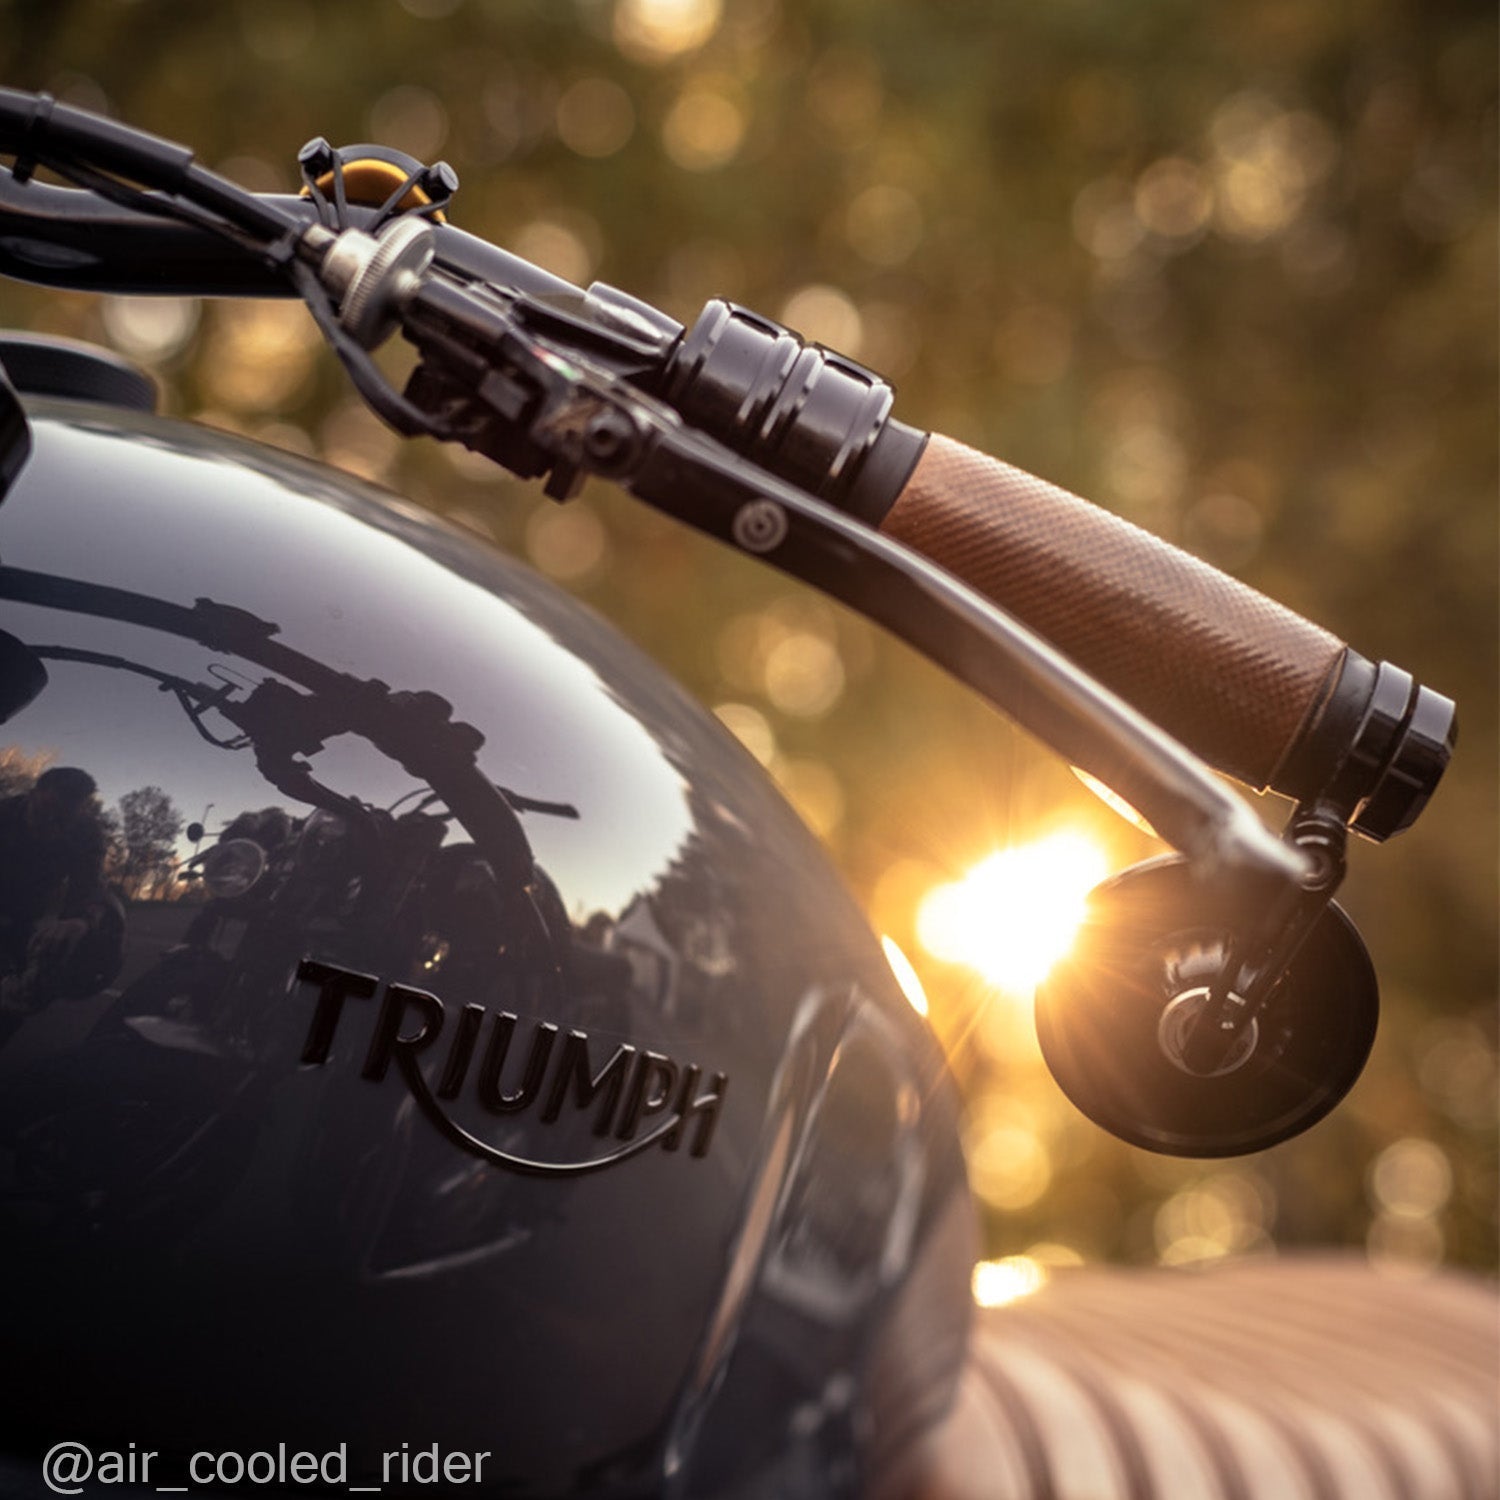
Step 3: Add the mirror
Slide the mirror over the adapter. Bring it into the desired position and tighten the fastening screw slightly.
Step 4: Mount the end clamp
Add the threaded end clamp by screwing it on by hand.
Step 5: Tighten the mirror
Now it's time to tighten the mirror to ensure that it remains stable while driving.
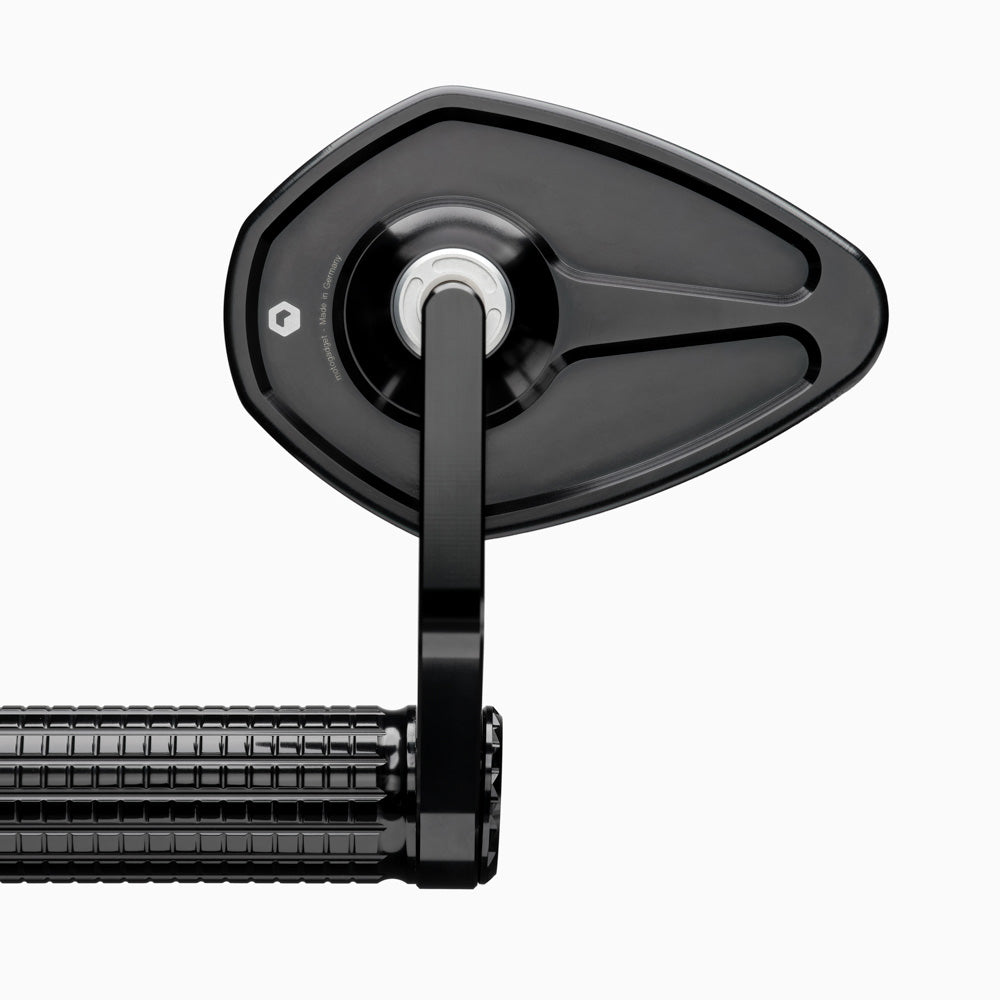
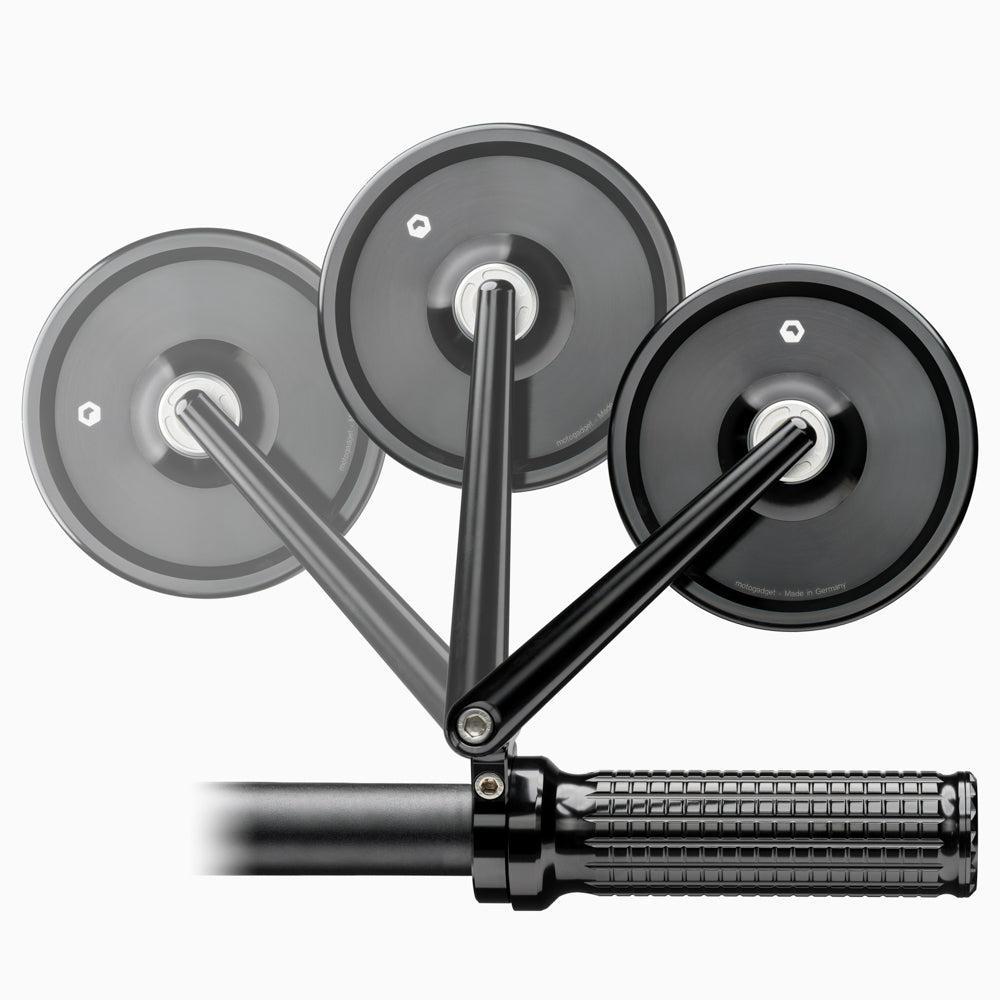
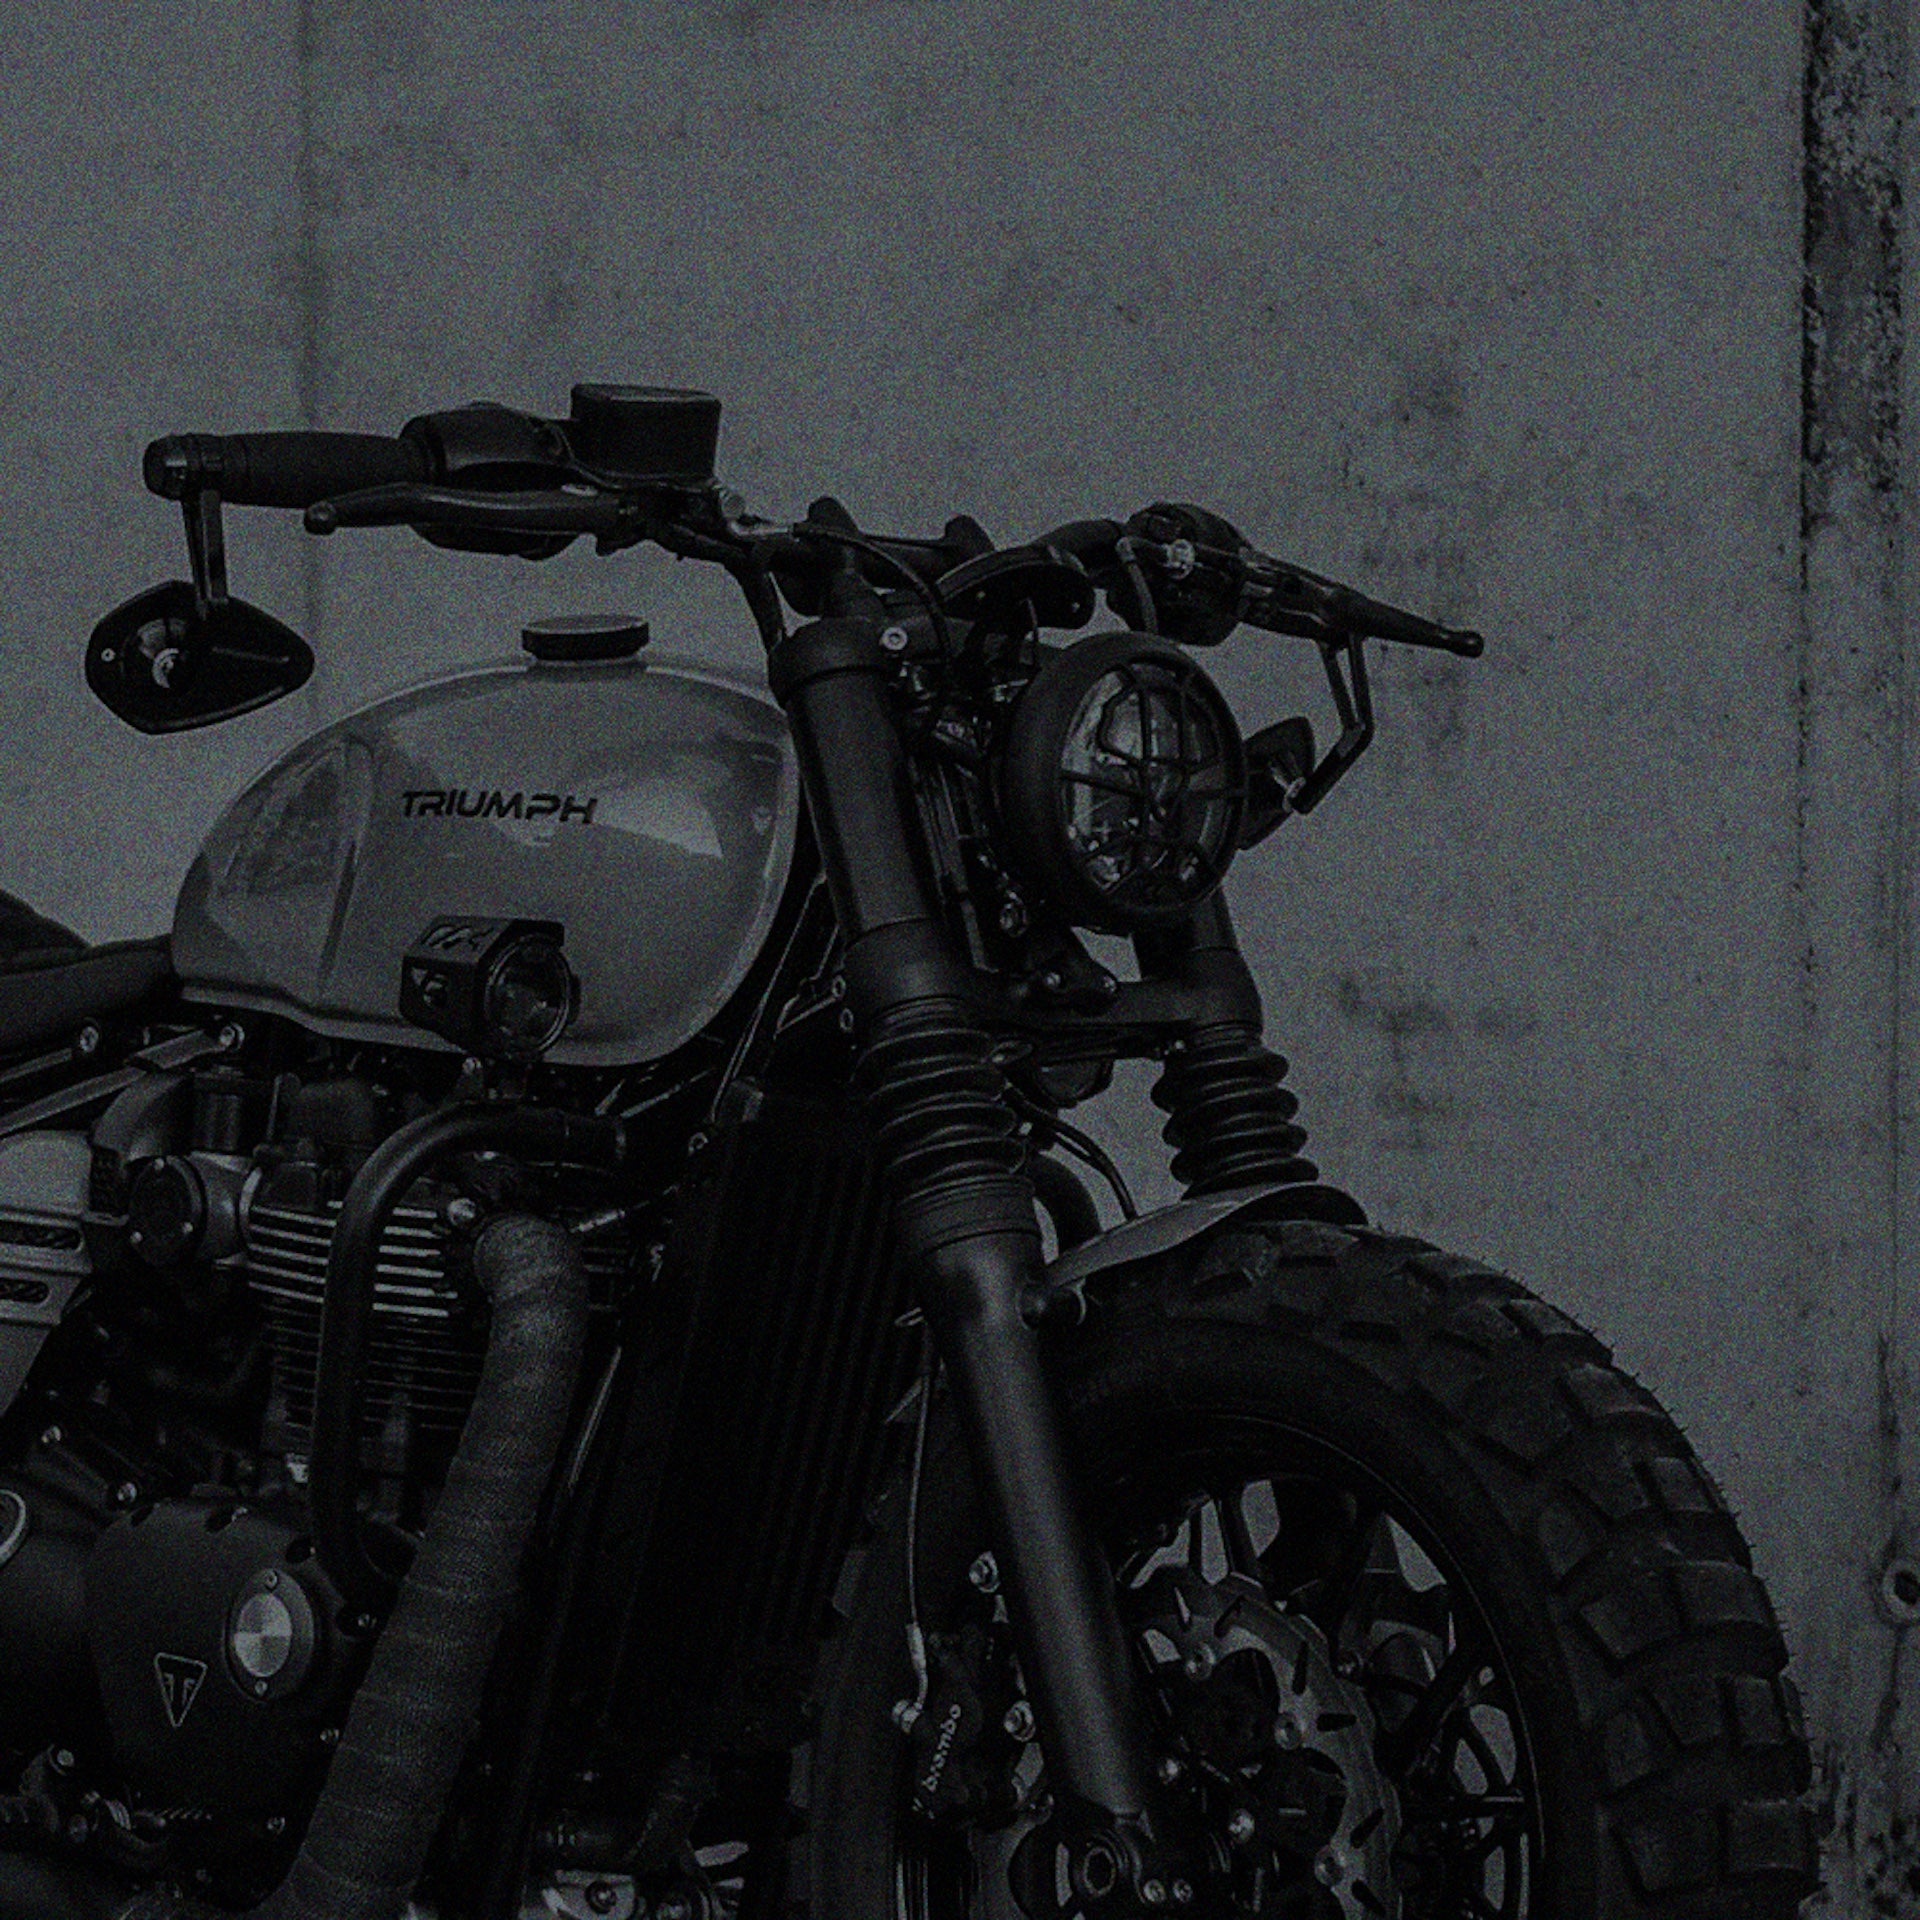
Step 6: Adjust the mirror position
Adjust the position of the mirror. Once you have found the ideal setting, tighten the fastening again to secure the position.
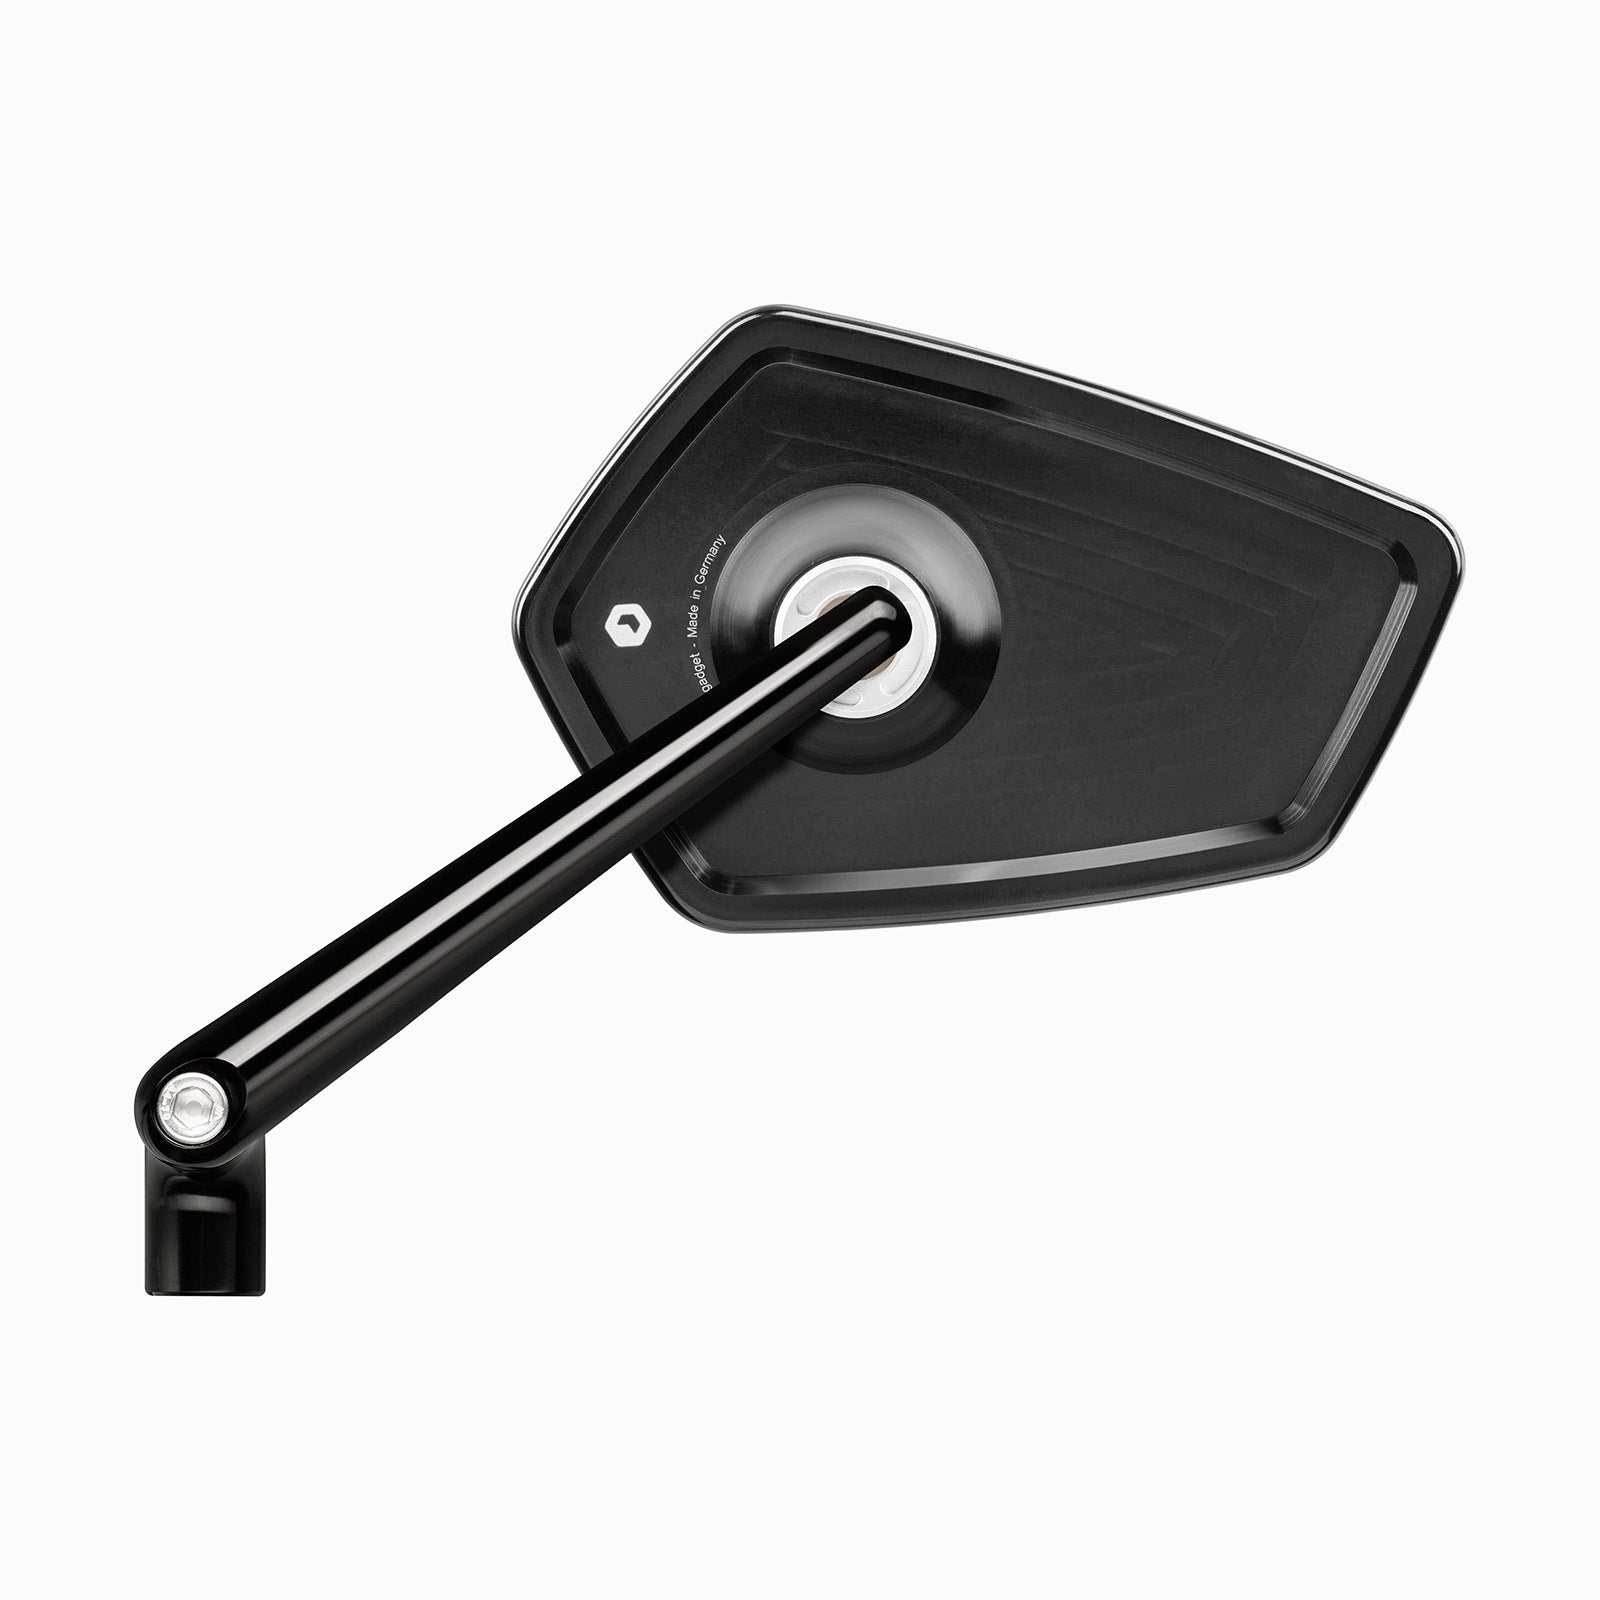
Step 7: Check the folding function
Finally, you should check the mirror's folding function to ensure that the mirror folds up easily and remains firmly in position.
Congratulations! You have successfully installed your motogadget handlebar end mirror. This simple installation not only improves the aesthetics of your motorcycle, but also increases your visibility and safety.