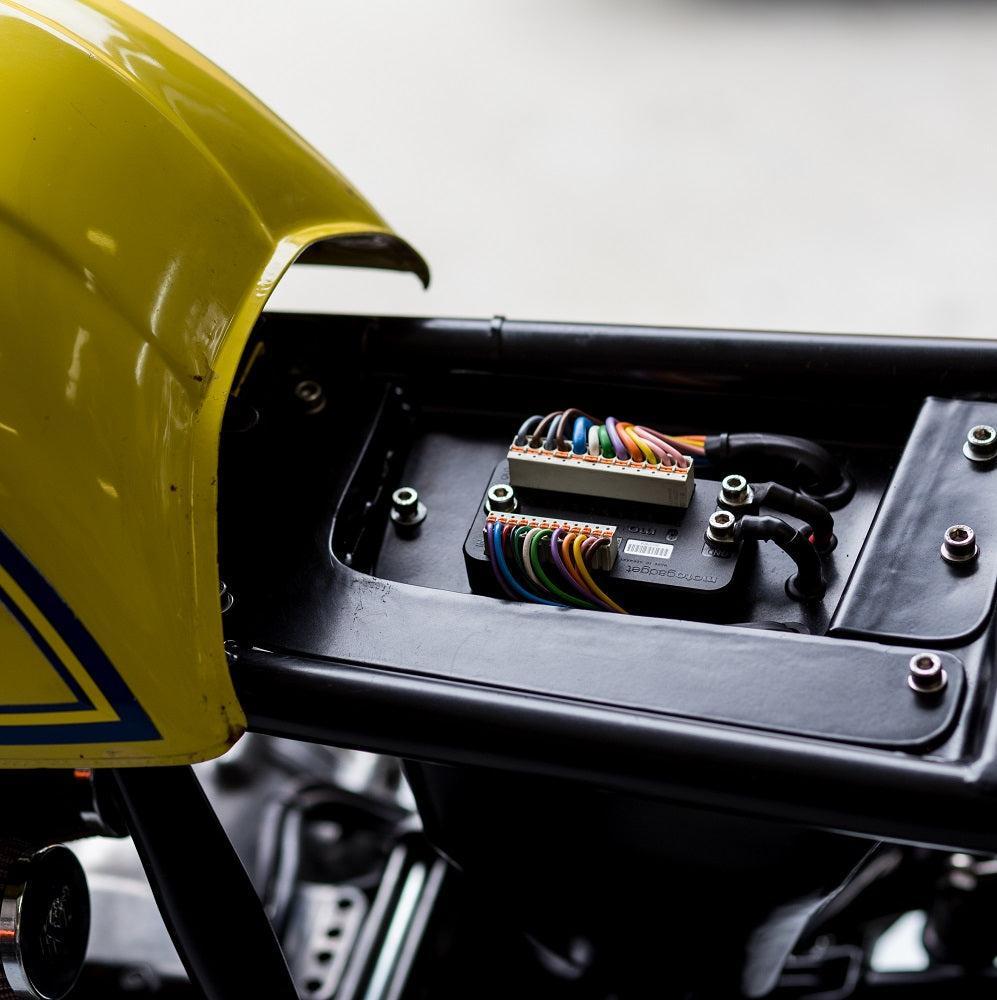
Preparing the wiring: mo.unit blue motorcycle control box for installation
You have bought about 90% of your motorcycle electrical parts and they are on your workbench. The mo.unit blue, various indicators, your choice of mo.switches. Everything is staring at you. But before you can even think about wiring everything up, there's a big step ahead: understanding your bike's current electrical system and deciding what stays, what can go and how to integrate the motogadget components.
This post is based on the second part of our motogadget installation series on YouTube:
This is Part 2 of our comprehensive mo.unit blue installation series. If you missed Part 1, we covered the complete motogadget shopping list and project overview there. Now it's time to get your hands dirty and prepare the wiring harness for installation.
Brief overview: What we do in part 2
In this step of the motorcycle electrical system update:
- Let's go through the motogadget components we chose for this BMW R65 build (and why)
- Tear the machine apart to expose the complete wiring harness
- Find out which electrical systems will stay and which will be replaced by the mo.unit blue
- Learn how to trace motorcycle cables, read wiring diagrams and label everything for the cleanest mo.unit blue installation
Let's talk about the parts (and why I chose them)
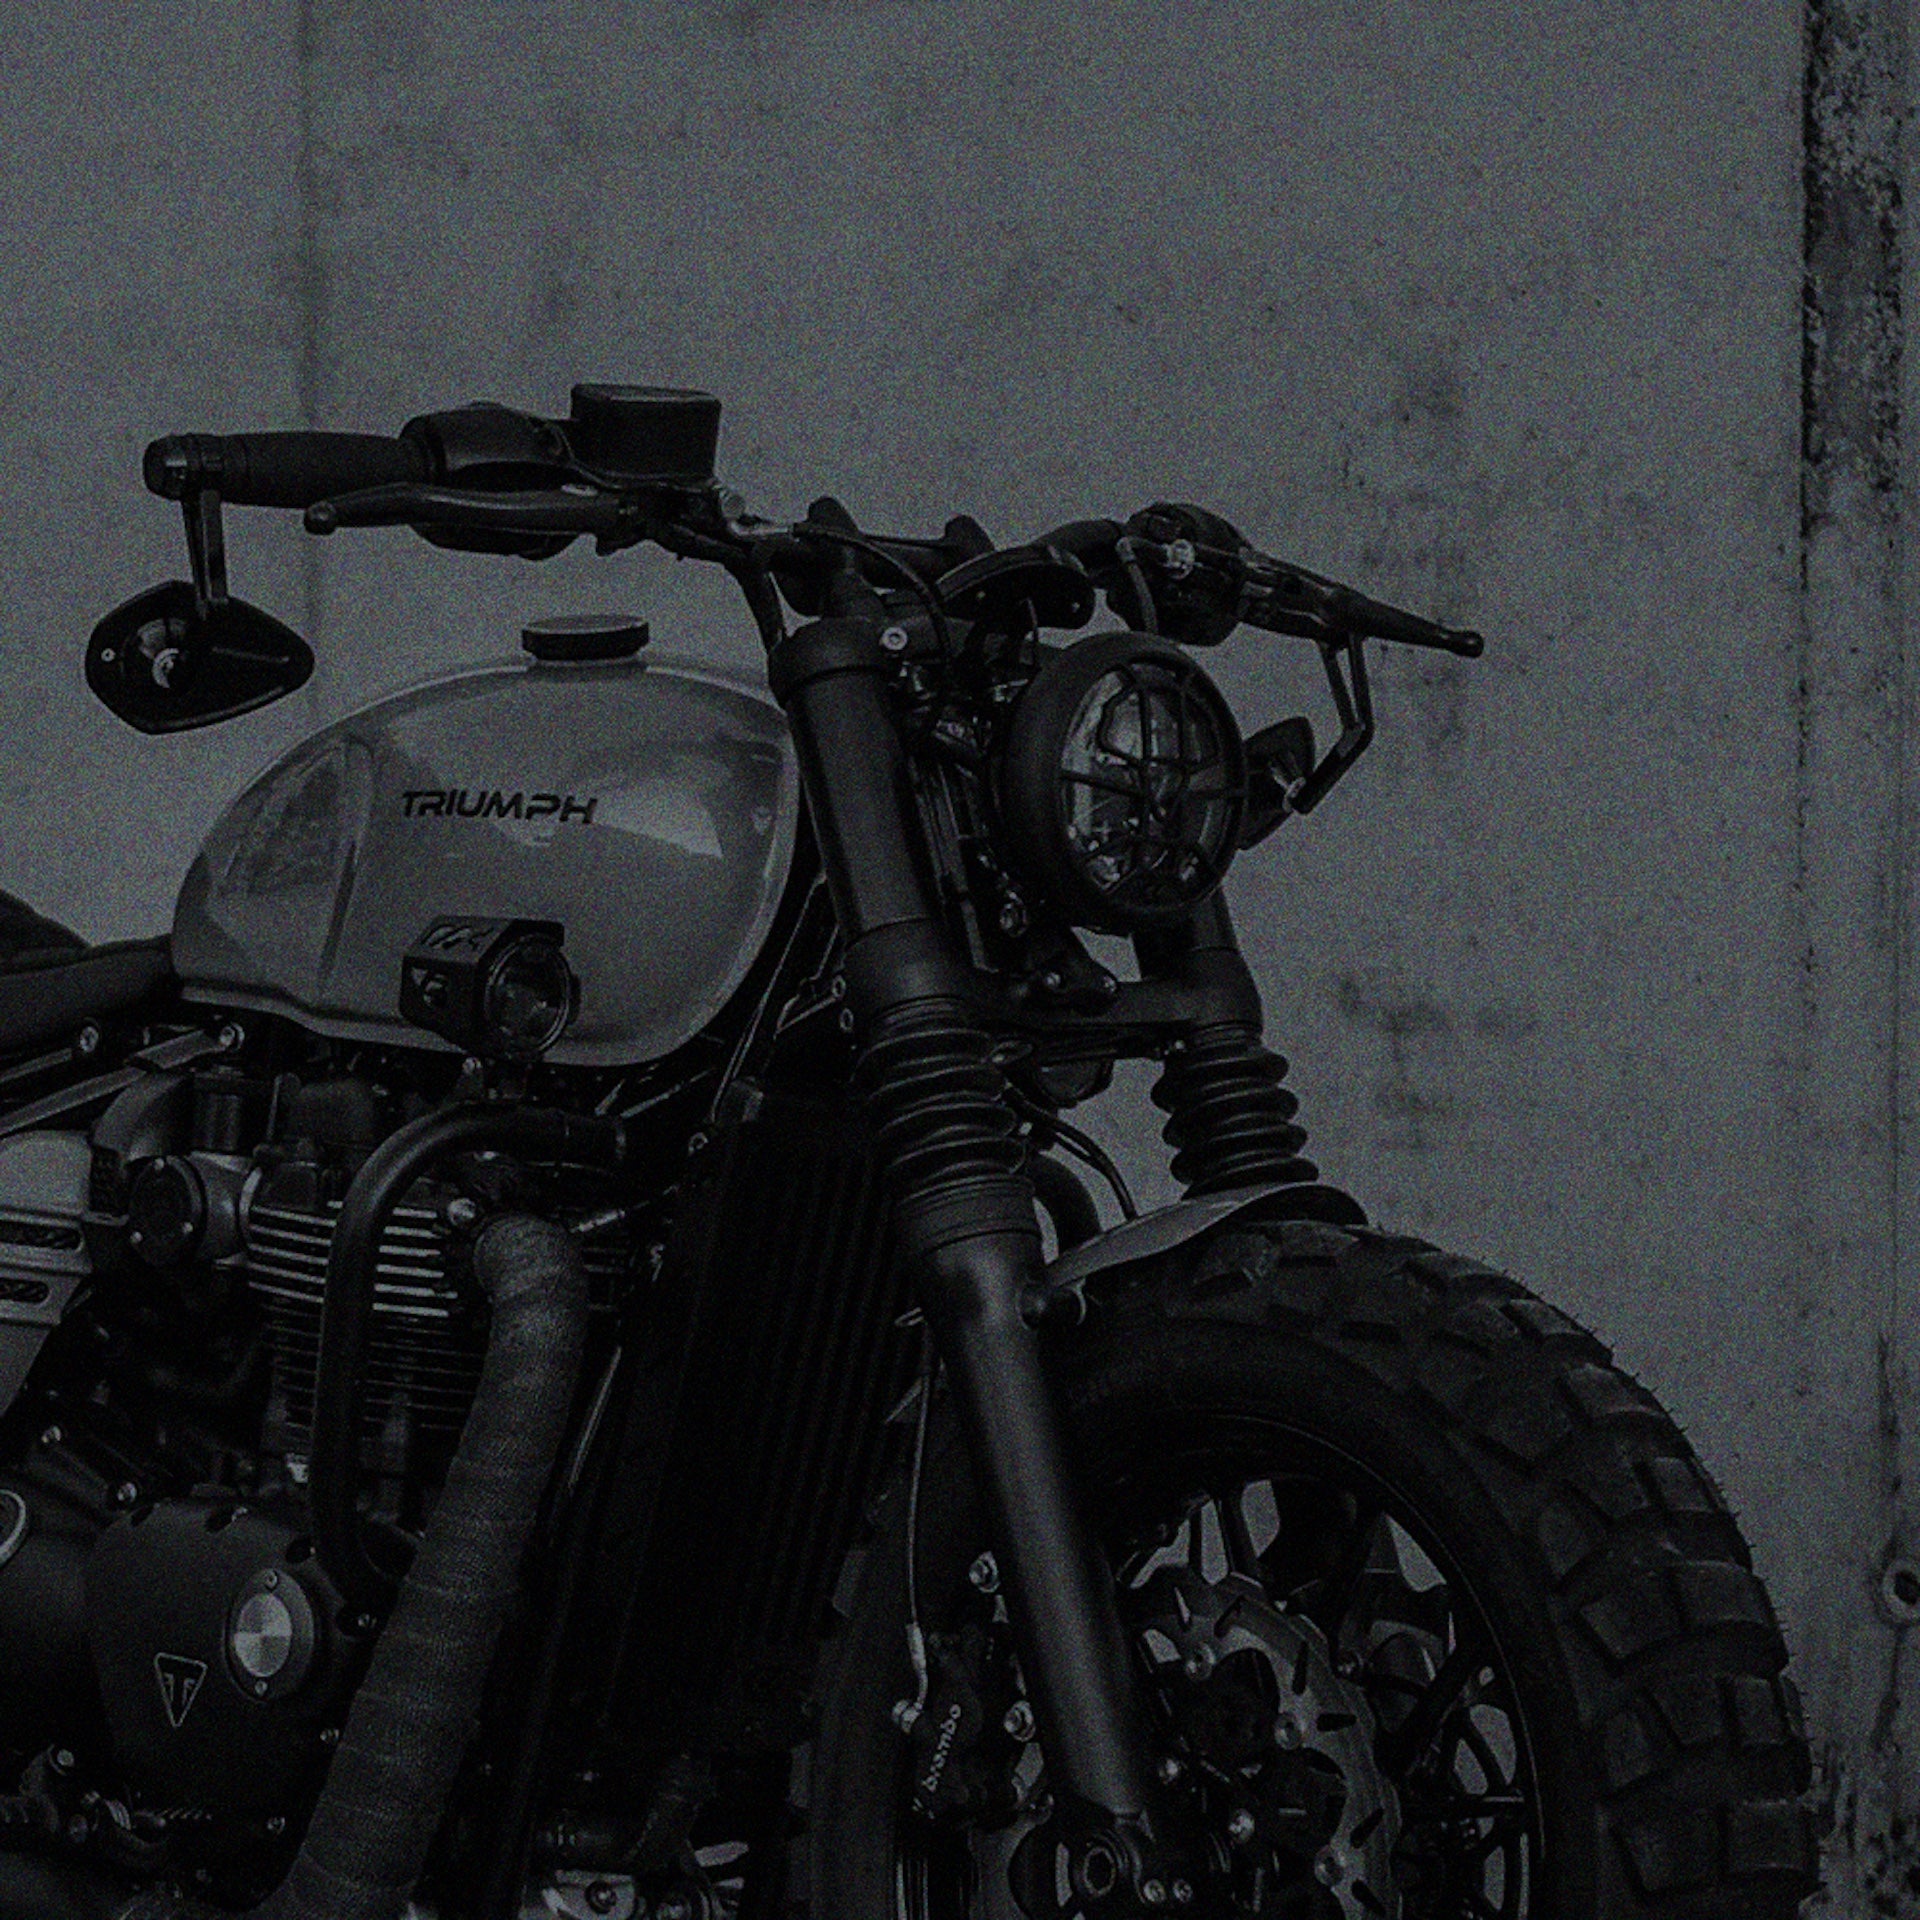
This build is based on a 1981 BMW R65 - the perfect platform for a clean motorcycle electrical overhaul. Here are the main motogadget components we work with:
Core mo.unit blue components:
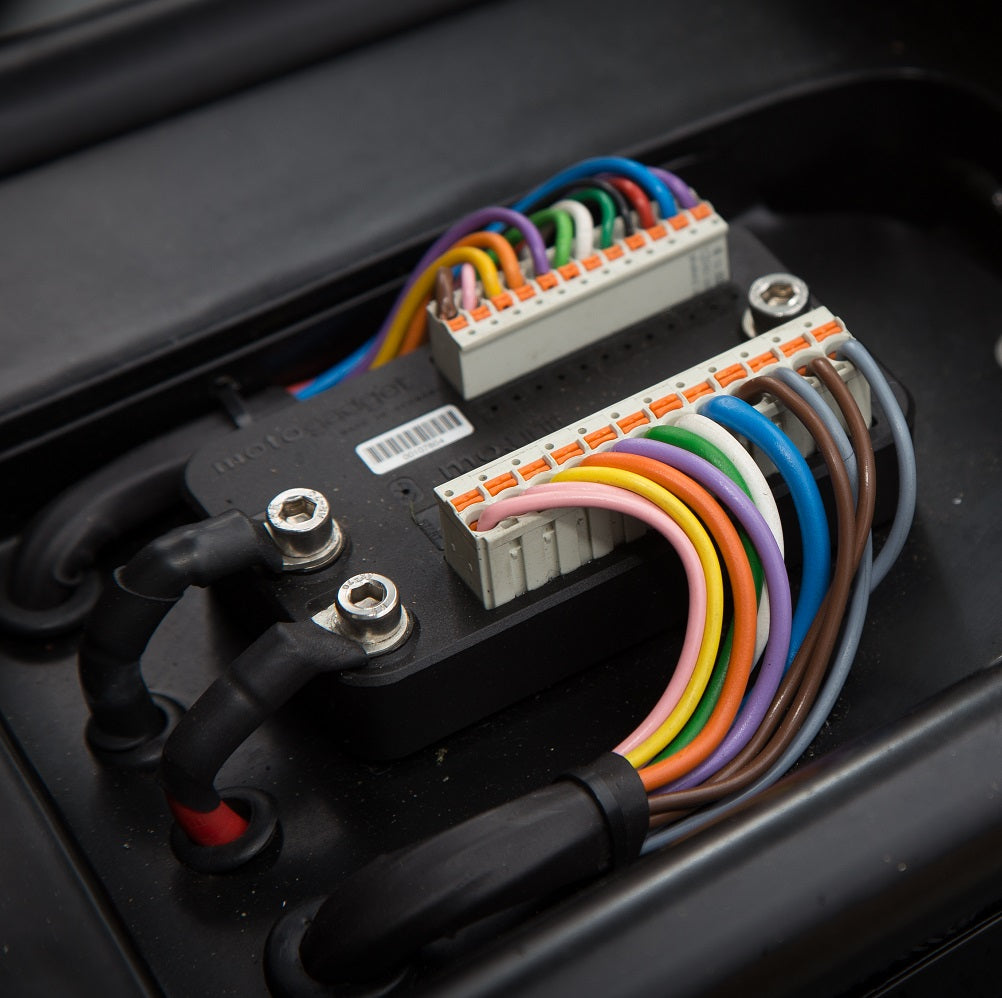
- mo.unit blue: The intelligent motorcycle control unit as the brain of the body
- mo.switches (with and without LEDs): I will install both types and show how to wire them. However, the LED versions will be added to the finished setup
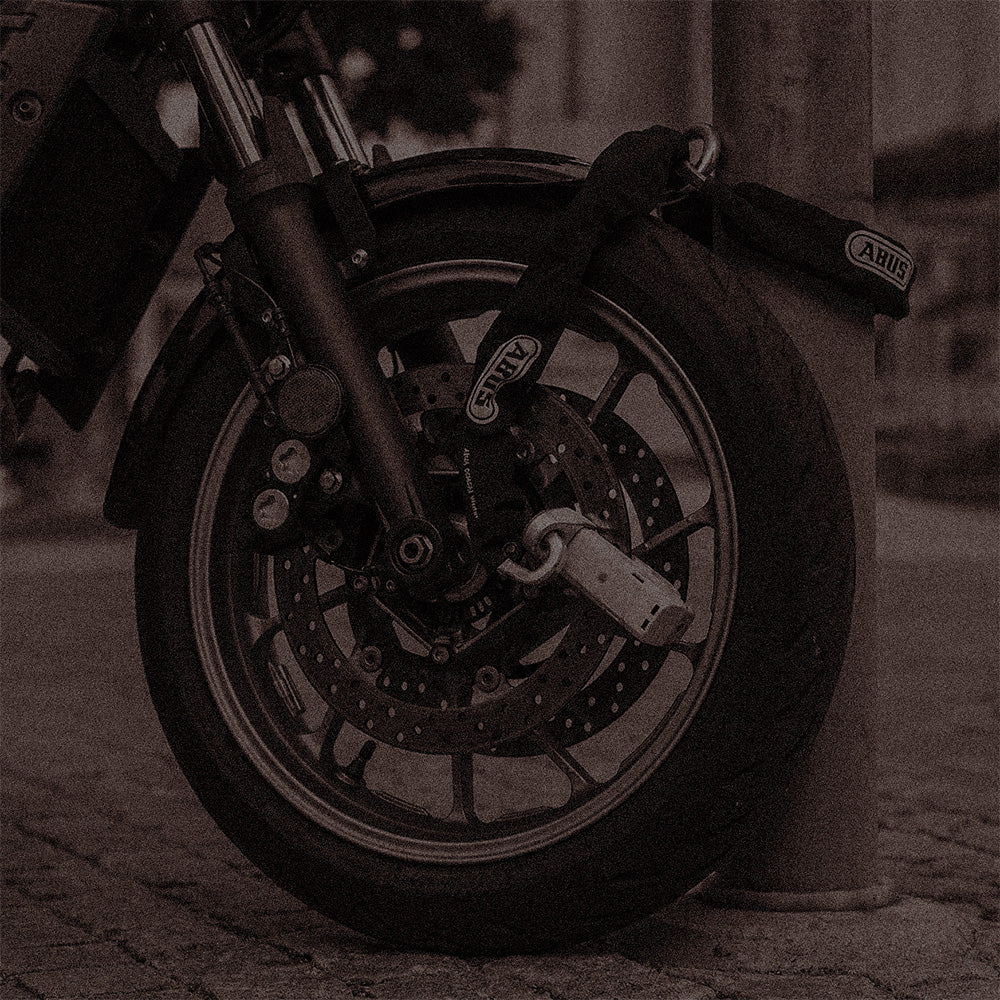
- mo.lock NFC: Keyless motorcycle ignition system. Small, clean and can be fitted anywhere
Lighting and signal components:
- mo.rear: Compact LED rear light and blinker solution to replace the bulky original equipment
- mo.blaze disc: Handlebar end indicators for a cleaner front look
- motoscope chronoclassic: Fits the retro styling of the body. I also show how to install the motoscope pro
Additional motogadget accessories:
- mo.view mirrors: I'm still deciding between two models. But they'll probably be mounted on the handlebar ends, pointing upward.
- mo.grip soft: Clean look, good feel for motorcycle handlebars
- mo.pressure: Because tire pressure is one of the most overlooked but most important aspects of motorcycle riding performance
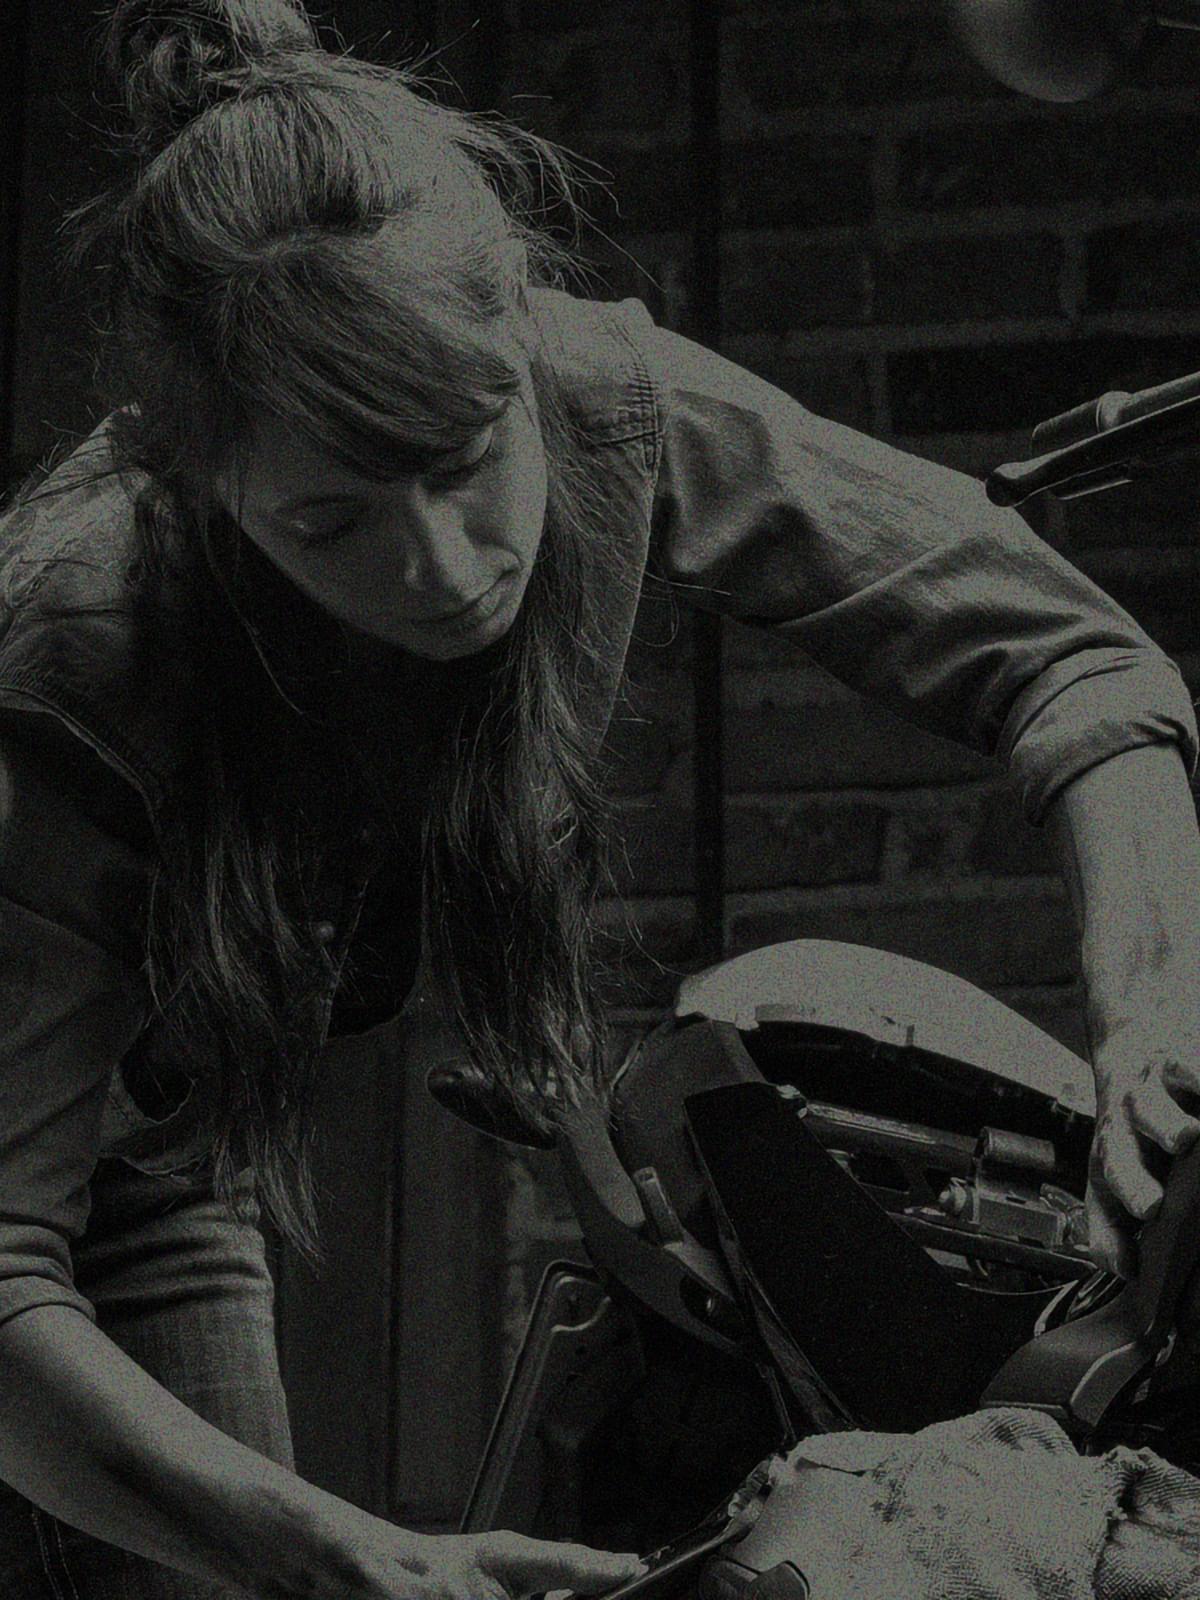
The clever way to dismantle
Before you can install mo.unit blue components, you need to see everything. That means removing the tank, seat, side panels. Whatever it takes to expose the motorcycle wiring harness from start to finish - from the bulb to the relay.
Pro tip: Don't rush when dismantling. Take your time with the disassembly. Take photos of every connection. Label everything systematically. Not to get nostalgic, but this could be the last time you see your machine in its original condition. Say goodbye.
Indispensable motorcycle wiring documentation steps
- Use bags and a marker to organize screws and brackets by system
- Visually trace each wire before you stake anything out
- Take reference photos for later when you are deciding what to reconnect or replace
- Record a walkthrough video of the original wiring (the future you will appreciate your camera skills)
What stays and what can go?
Here's the breakdown of what we're keeping in this first mo.unit blue "swap style" installation:
Motorcycle systems that stay (keep original)
Everything that makes electricity
Alternator, regulator/rectifier and everything that generates juice and supplies it to the battery (which you also keep)
Ignition system stuff
Coils, control units, spark plugs, crankshaft position sensors, etc.
Important motorcycle sensors
Oil pressure switch, idle switch and other engine status signals
Systems that are replaced by mo.unit blue
The mo.unit blue takes over these motorcycle electrical systems:
- Headlight relay
- Turn signal relay
- Switching elements (left/right handlebar switches)
- Dashboard
- The largest part of the original wiring harness
You will be surprised how much of your machine's wiring harness these mo.unit blue spare parts make up...
How to identify the components of your machine
Not everyone wrenches on an air BMW. Here's a universal motorcycle wiring identification process that works on almost any bike:
Step-by-step motorcycle cable identification
-
Get a motorcycle wiring diagram
Your factory service manual or online motorcycle resources can help. This is your electrical road map. -
Use a multimeter (continuity mode)
This helps to trace cables from buttons to relays or from sensors to motorcycle control units. -
Follow the physical motorcycle cables
If you are unsure, remove the tape and physically follow the cables to their destination. The wiring diagram helps, but your eyes and hands often tell the real story. -
Search for motorcycle parts online
If in doubt, look up part numbers or photos of the suspected part online to check what you are working with.
Do not destroy what you have not yet replaced
Golden rule: Do not destroy what you have not yet replaced with mo.unit blue components.
Even if you're not going to reuse that old horn or relay, label the motorcycle cables and leave things intact until the new mo.unit blue system has proven itself. I like to leave everything as is until I'm 100% sure it's not needed for the mo.unit blue installation. When you're finally ready to part ways, try selling it to a fellow motorcyclist or giving it away.
The wiring harness: out and on the table
At the end of this motorcycle disassembly you should have:
- Removed the complete original wiring harness (minus charging, ignition and sensor systems)
- Lay it out so that it mimics how it was laid in the machine
- Each plug and larger branch for mo.unit blue integration labeled
- Identified your remaining ignition and charging cables that are connected to the mo.unit blue
This motorcycle cable preparation prepares you to move on to mo.unit blue integration without any confusion.
The unexpected 10 percent
No matter how well prepared you are for your mo.unit blue installation, you will probably come across something strange. In my case, the BMW's charge indicator light runs through a diode that must remain in the circuit, otherwise the battery will not charge properly with the mo.unit blue.
Solution: I bought a specialty cable from a third party to replicate that signal. This is the kind of thing I meant in part 1 when I said you probably bought about 90 percent of what you need for your mo.unit blue installation.
What to do before part 3
You are now ready to plan your mo.unit blue installation. Here's your motorcycle preparation to-do list:
Important mo.unit blue pre-installation steps
-
Prepare and label your most important motorcycle electronics
Keep your remaining ignition/charging cables labeled and separated from everything else. -
Try out your mo.unit blue position
Use cardboard and hot glue to simulate a mounting plate. Do not weld anything permanently. -
Purchase the last 10 percent of the motorcycle cable parts
This includes missing cable types, brackets or one-off adapters that you had not planned for the mo.unit blue installation. -
Start visualizing your motorcycle cable routing
Think about where cables will enter and exit the mo.unit blue. Start planning routes for instruments, indicators and power sources.
My expectation here is that I have put you in a position where you have MANY more questions about the mo.unit blue installation than before you started. That's a good thing. This is exactly how we learn motorcycle wiring. Go out, search the internet and figure out the missing pieces to your mo.unit blue puzzle.
motogadget Ultimate Builder Kit for mo.unit blue wiring
I use the motogadget Ultimate Builder Kit for the mo.unit blue wiring. It has almost everything you need to wire the system, including fuses, heat shrink tubing, motorcycle cables in various cross sections and clamps. Depending on your mo.unit blue setup, it may not be 100% of what you need, but it gets you close to a complete motorcycle wiring solution. If you want to mount your mo.unit blue miles away from your battery or go crazy with plugs, you'll need some extra motorcycle cable parts.
What happens next
In part 3 of the mo.unit blue series, we'll finally connect the mo.unit blue to the motorcycle wiring you've now exposed and organized. I'll cover:
- How the mo.unit blue motorcycle control system works
- Which tools and techniques make mo.unit blue cabling easier
- Exactly how to integrate the mo.unit blue system into your remaining original motorcycle components
Until then, follow motogadget on Instagram and TikTok for quick motorcycle tips, mo.unit blue inspiration and short content between the full installation episodes.
Until next time - have fun screwing with your mo.unit blue setup.
- Jacob Baldry, for motogadget