


Converting conventional indicators to modern LED indicators is a popular way to improve the visibility and appearance of your motorcycle. LED indicators are not only brighter and more durable, but also consume less energy. Here is a detailed guide on how to convert your standard indicators to LED indicators:
Preparation:
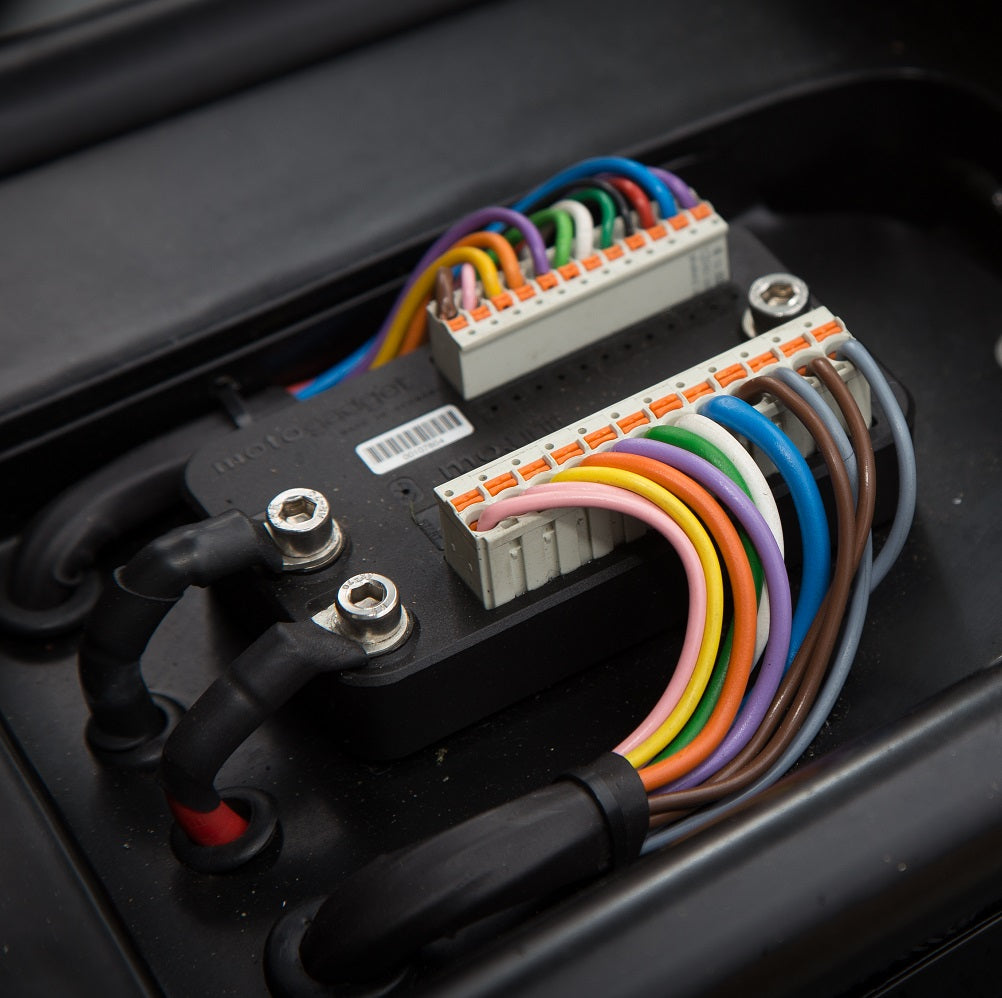
To start converting to LED indicators, you need a special LED flasher relay, as conventional flasher relays are often not compatible with the lower load of LEDs.
Step 1: Locating the old flasher relay
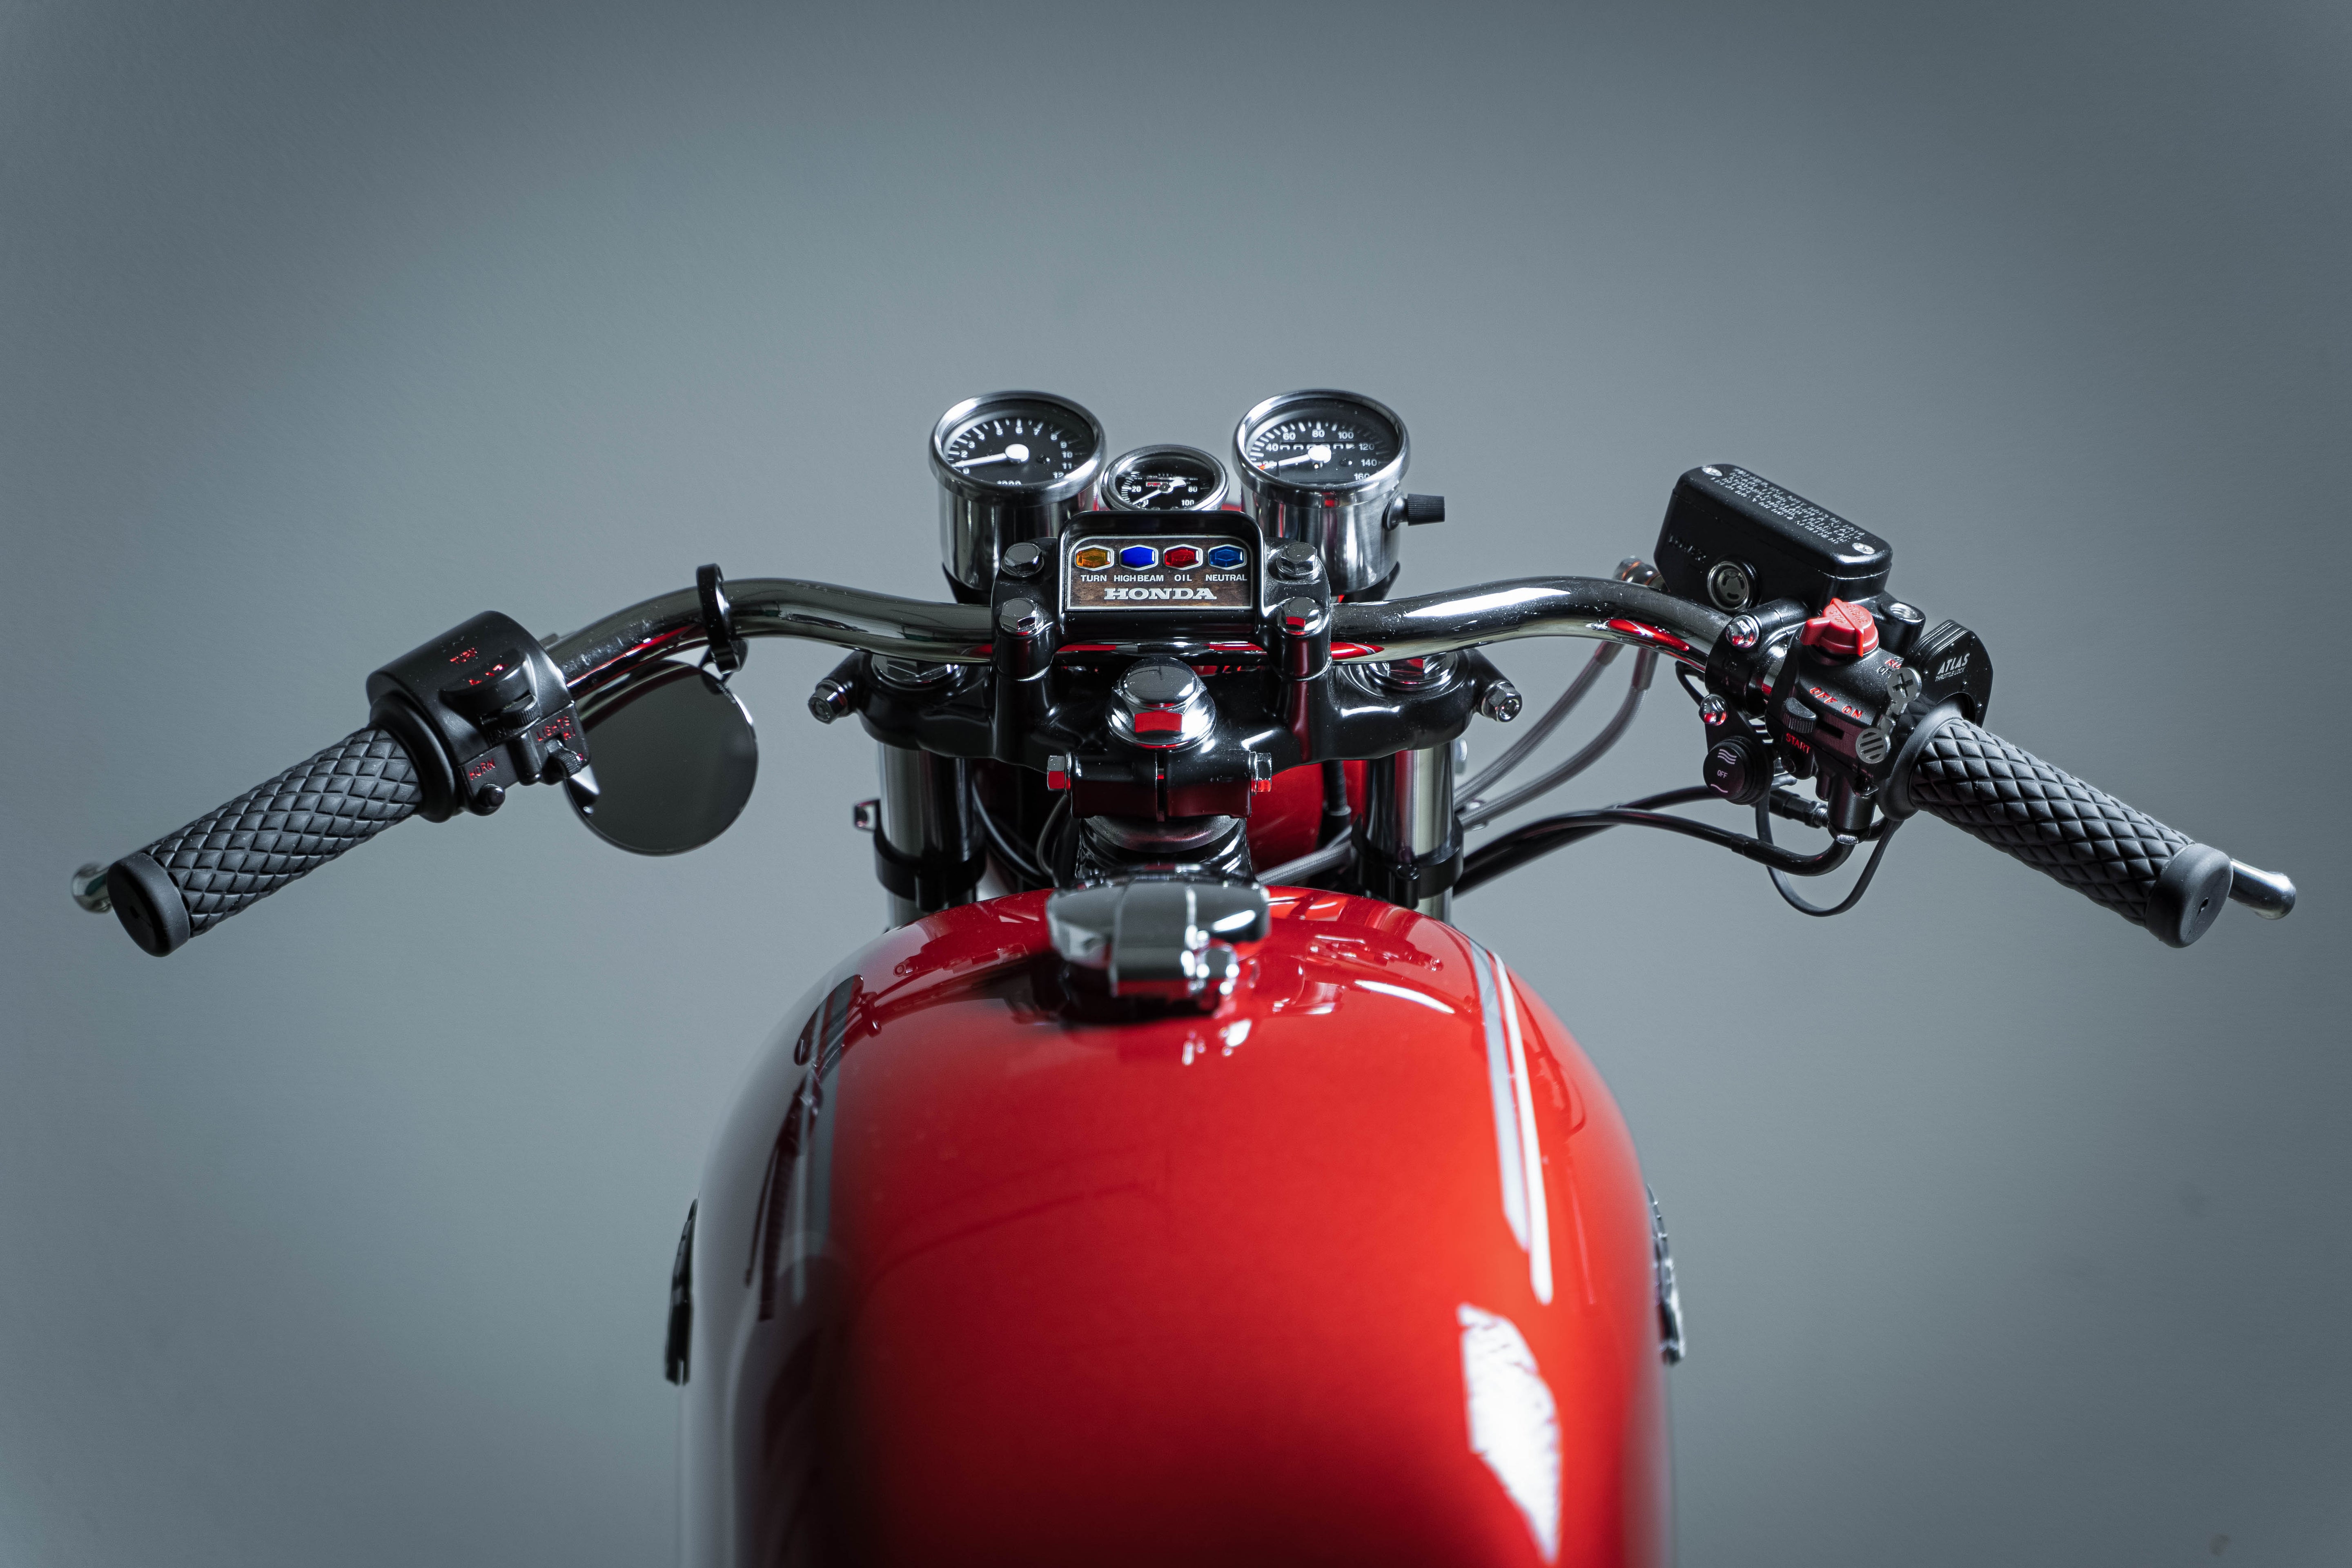
Switch on the ignition and activate the indicators. Follow the clicking sound, which is typically found under the seat or behind the fairing of your motorcycle. This noise comes from the mechanical flasher relay, which needs to be replaced.
Step 2: Removing the old flasher relay
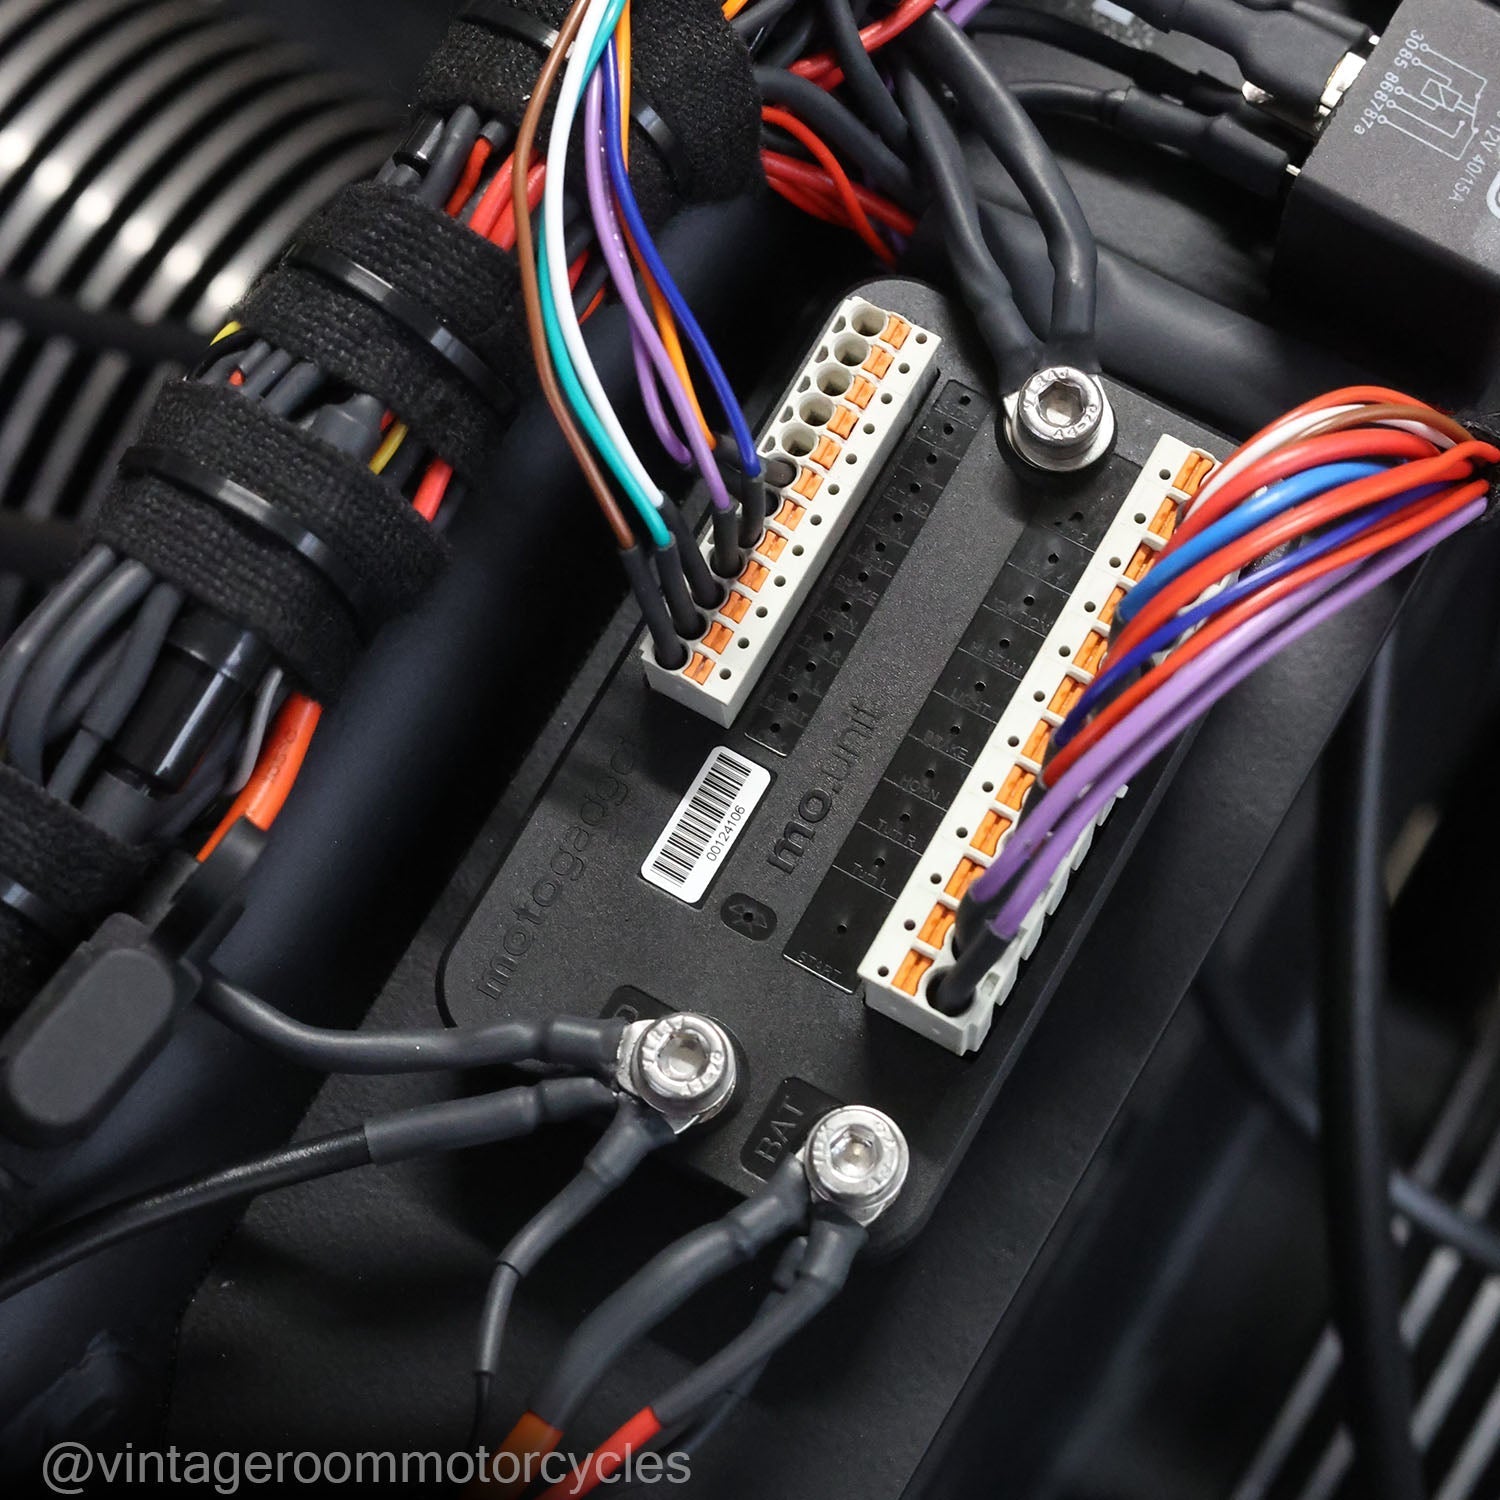
Remove the old flasher relay. Note how the cables are connected to ensure correct installation of the new relay later.
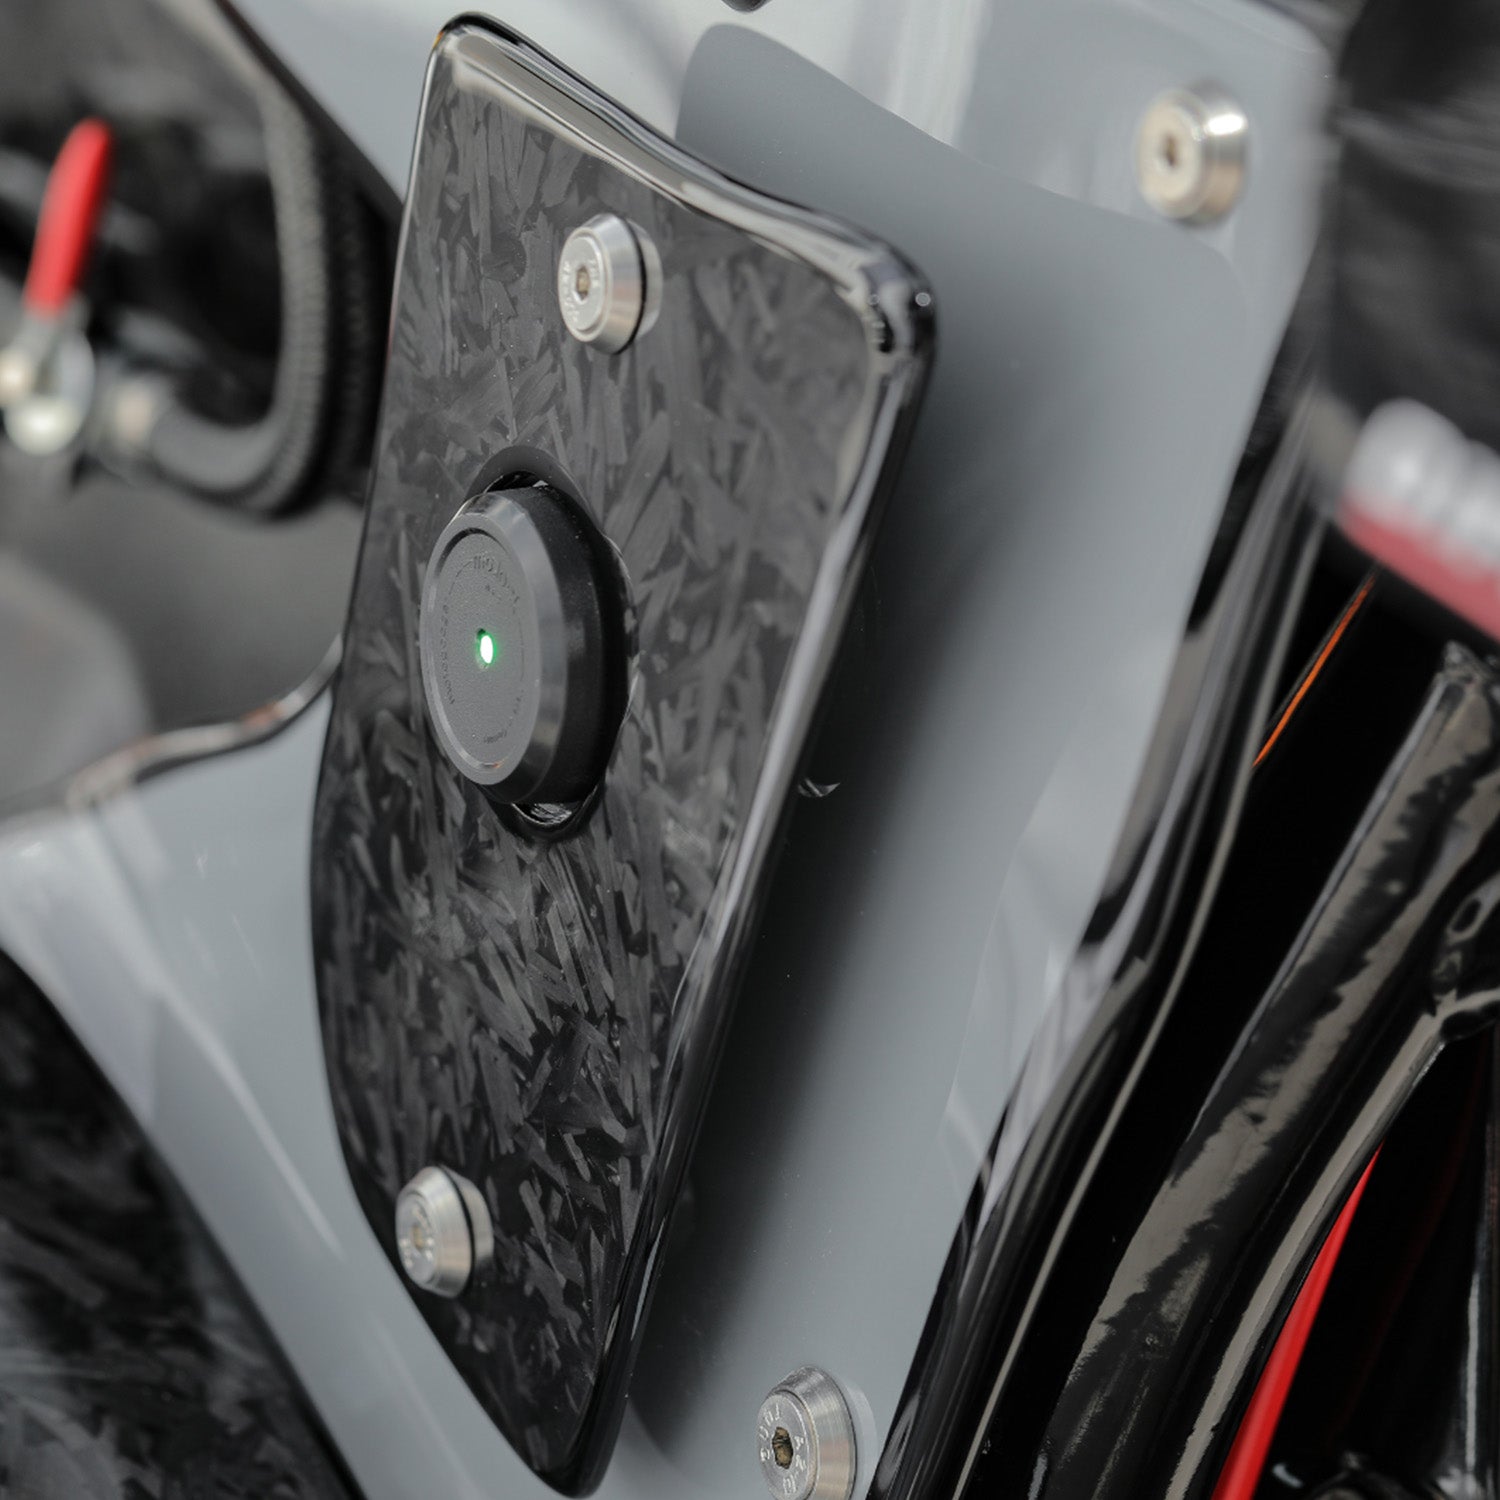
Step 3: Preparing the mo.flash
If you have a 3-pole flasher relay, proceed as follows:
- Cut the heat-shrink tubing to the right length to insulate the cables of the new mo.flash LED flasher relay.
- Pull the heat-shrink tubing over the cable ends.
- Use the correct size of cable lugs for the cables of the mo.flash.
Step 4: Connecting the mo.flash
- Connect the red cable of the mo.flash to connection 49 (power supply).
- Connect the black cable to 49a (to the blinker switch).
- A remaining cable that serves as an earth cable is not used in this configuration and should be safely insulated.
For simpler 2-pole flasher relays:
- Make sure that you connect the mo.flash correctly, without an additional earth connection. The correct positioning of the cables is particularly important here to ensure correct functioning.
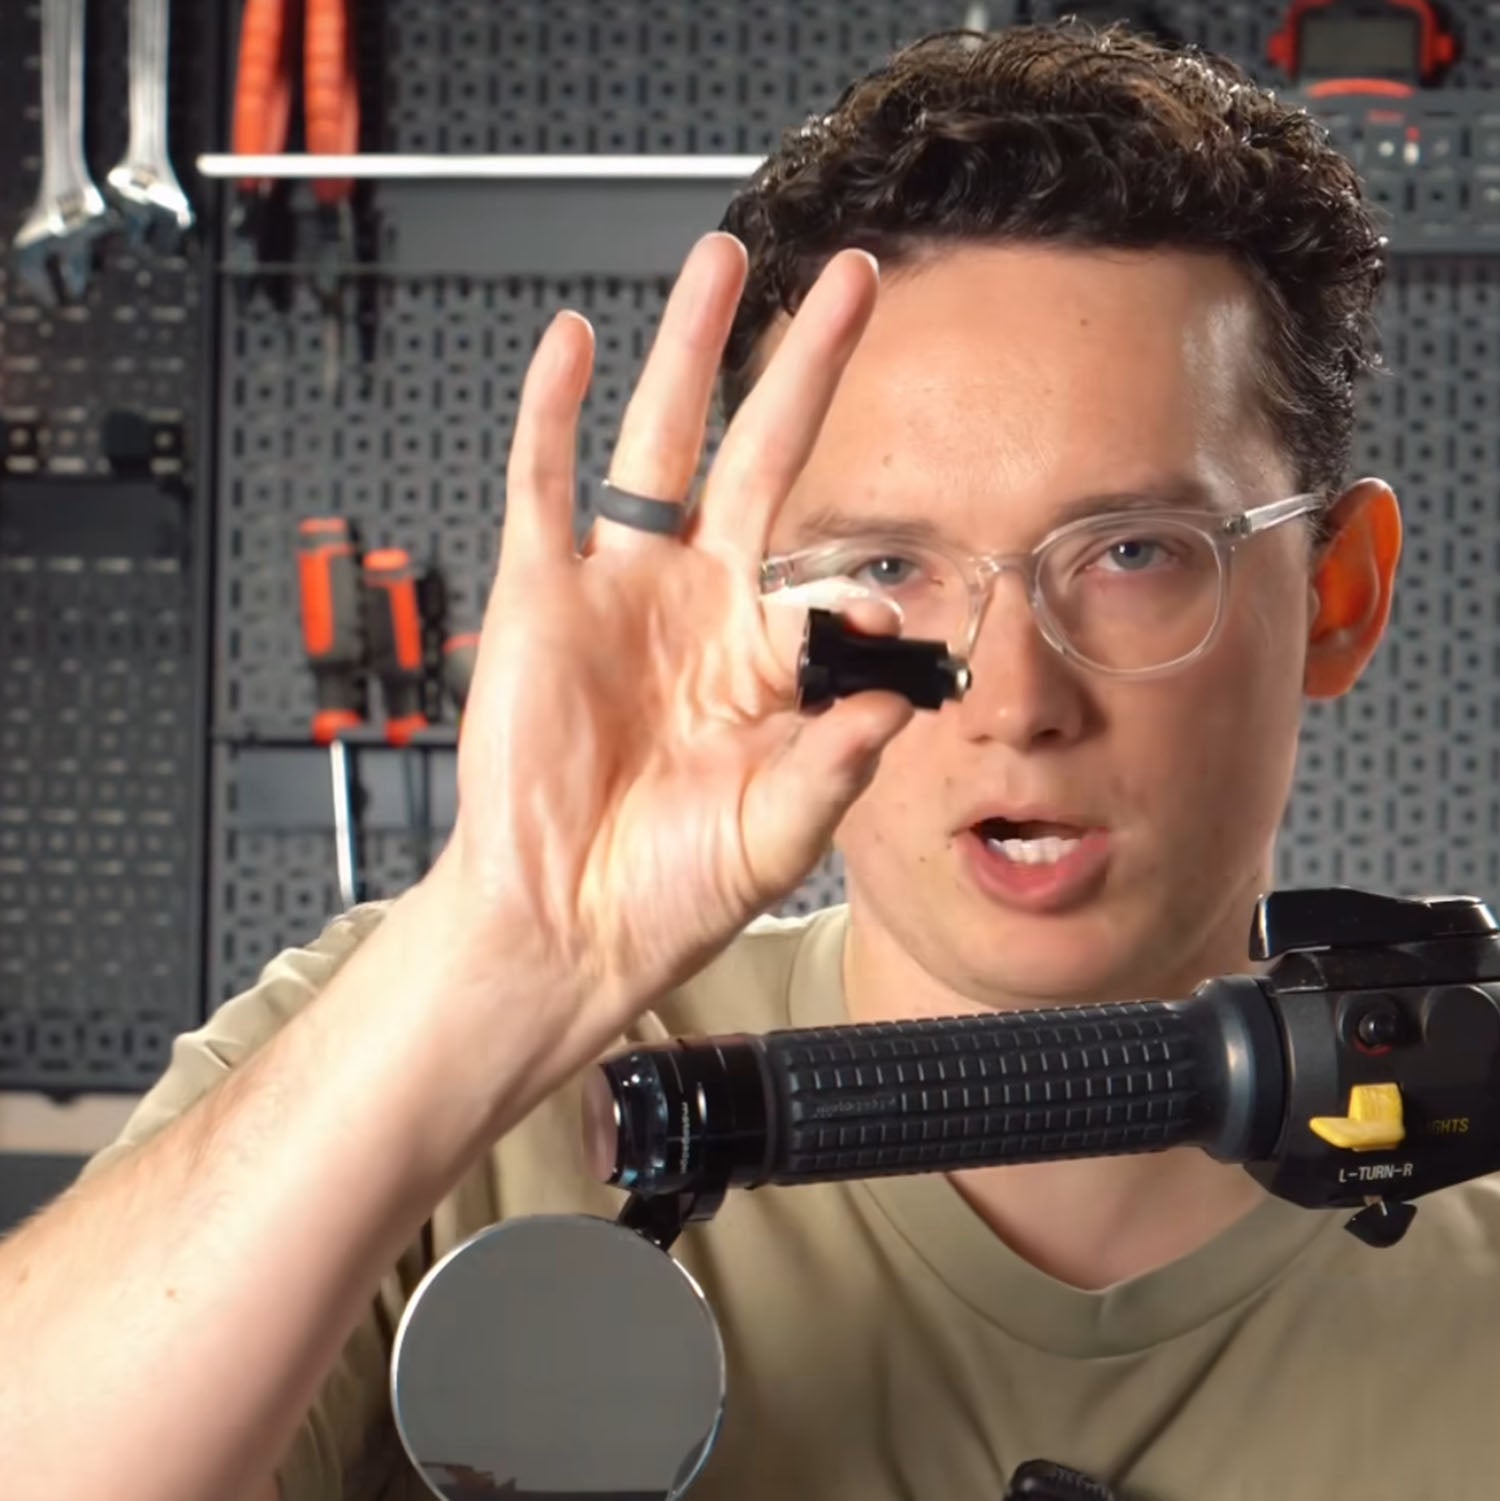
Step 5: Testing the new LED indicators
After everything is connected, turn on the ignition and test the turn signals on both sides. Check the flashing frequency; LED specific relays should ensure the correct flashing speed without the hyper flashing that often occurs when using standard relays with LEDs.
Additional information:
- Check all connections for tight fit and correct insulation to avoid short circuits or cable breaks.
- If you are unsure about the cable colors and assignment, you should take a look at your motorcycle's manual or consult a specialist.
By following these steps, you can effectively and safely replace your old indicators with modern, efficient LED indicators. Not only will your motorcycle become more modern and safer, you will also help protect the environment by using less energy.