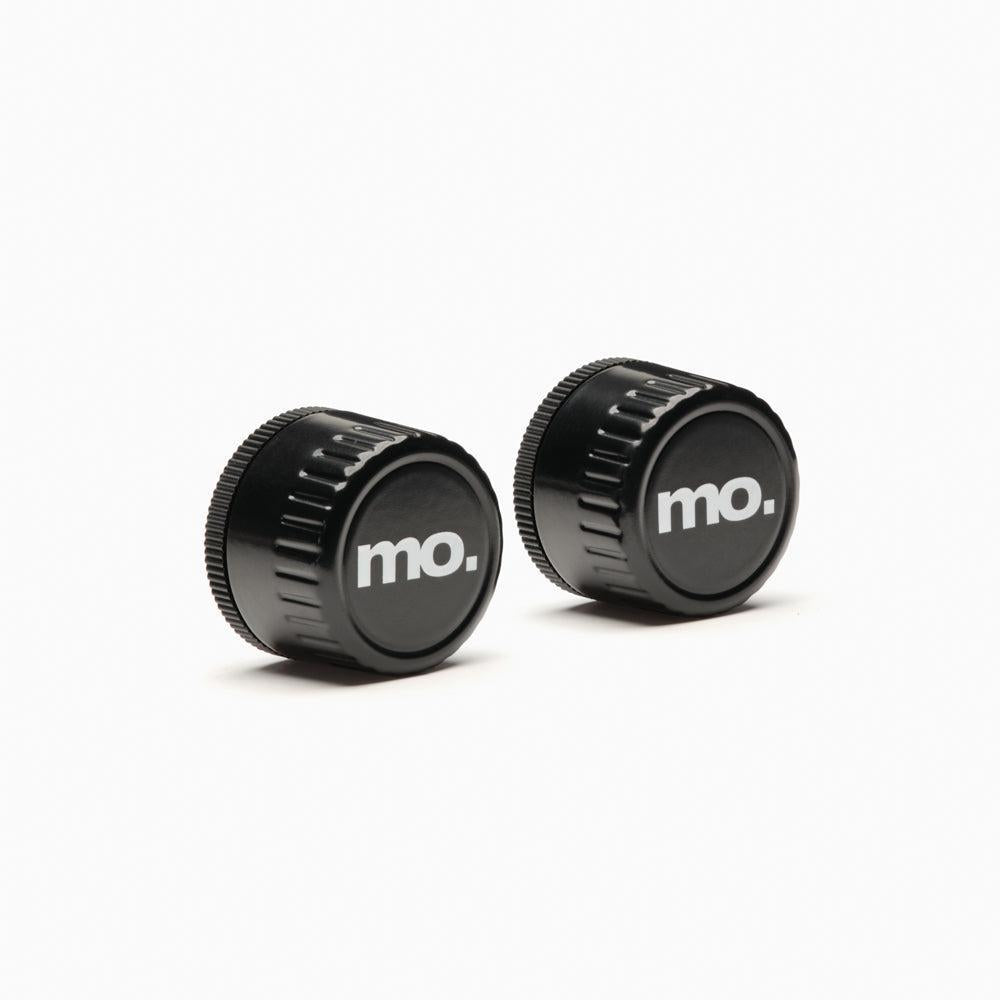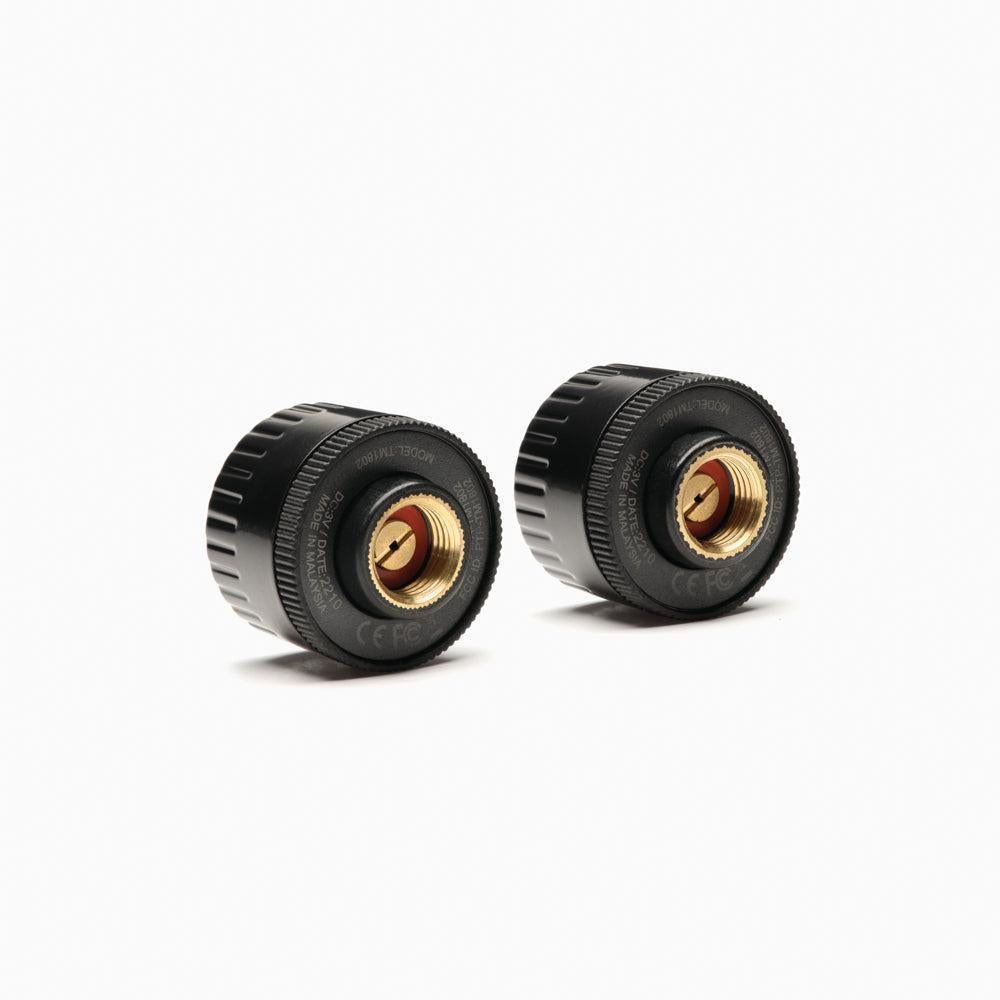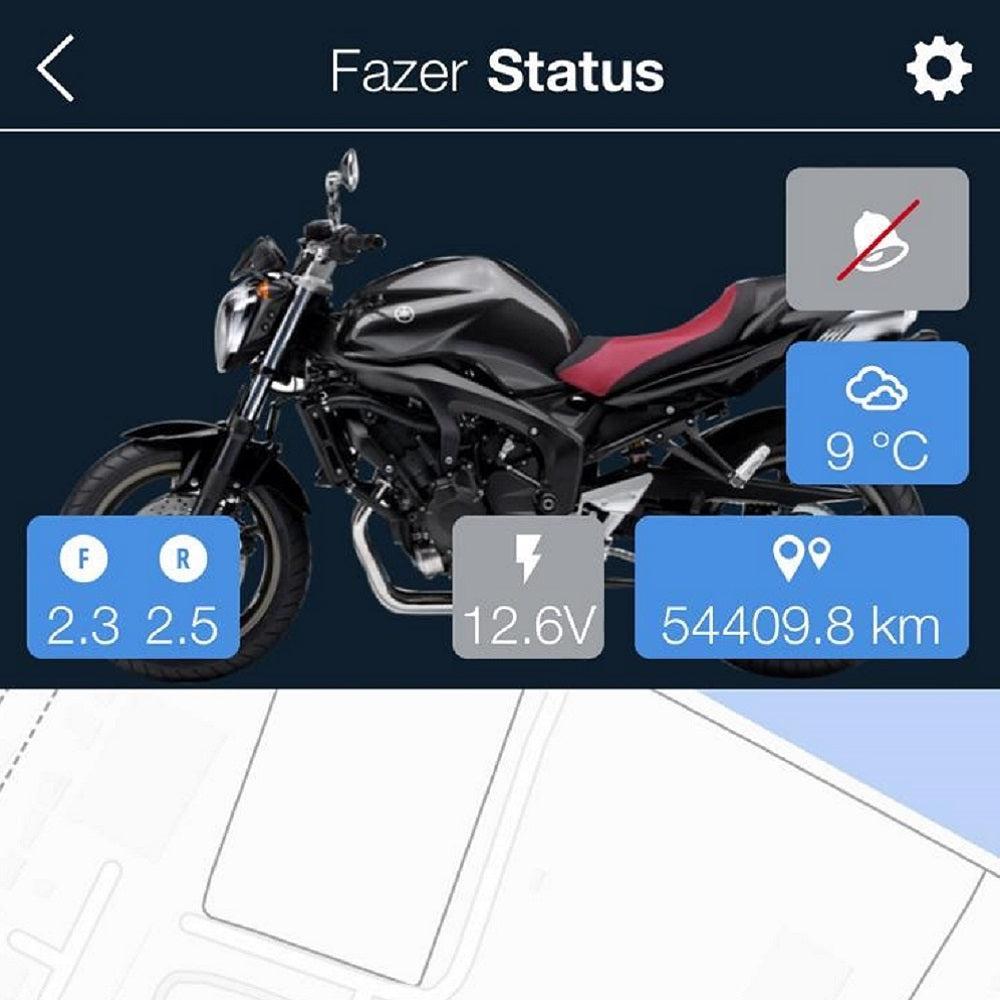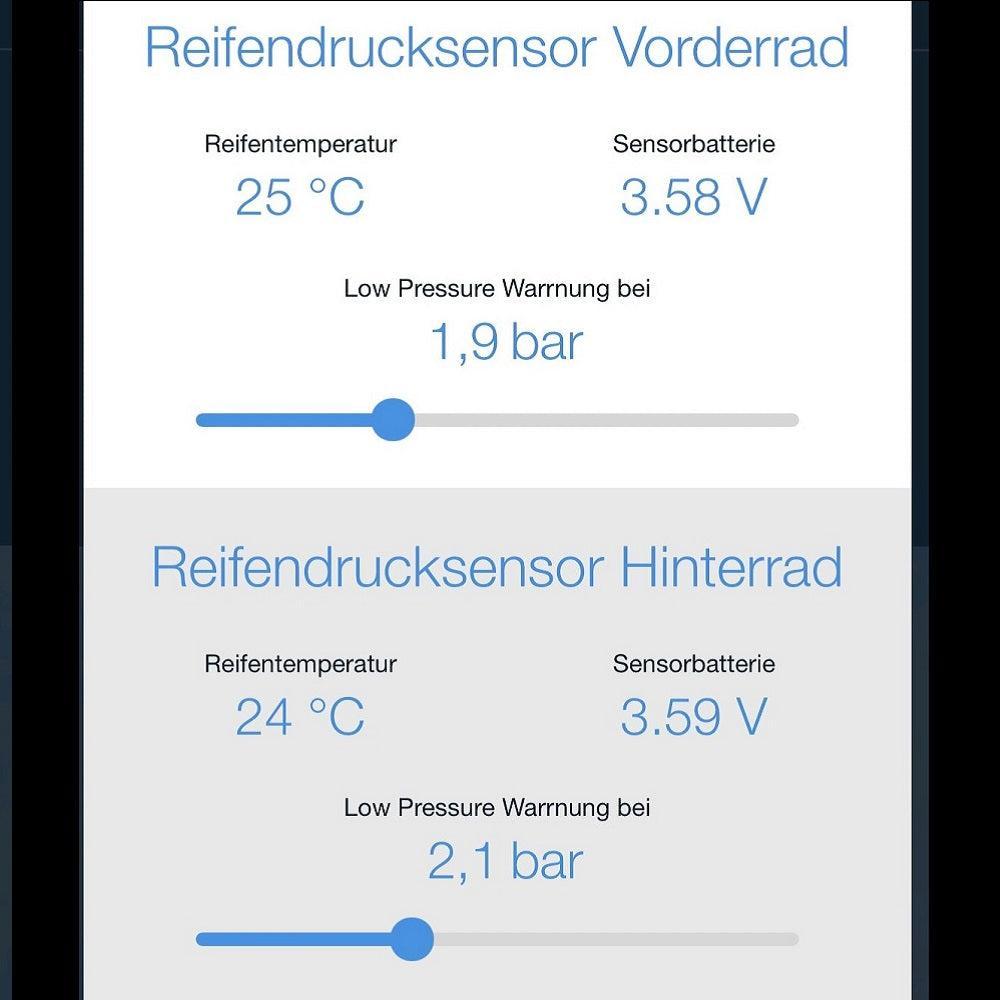


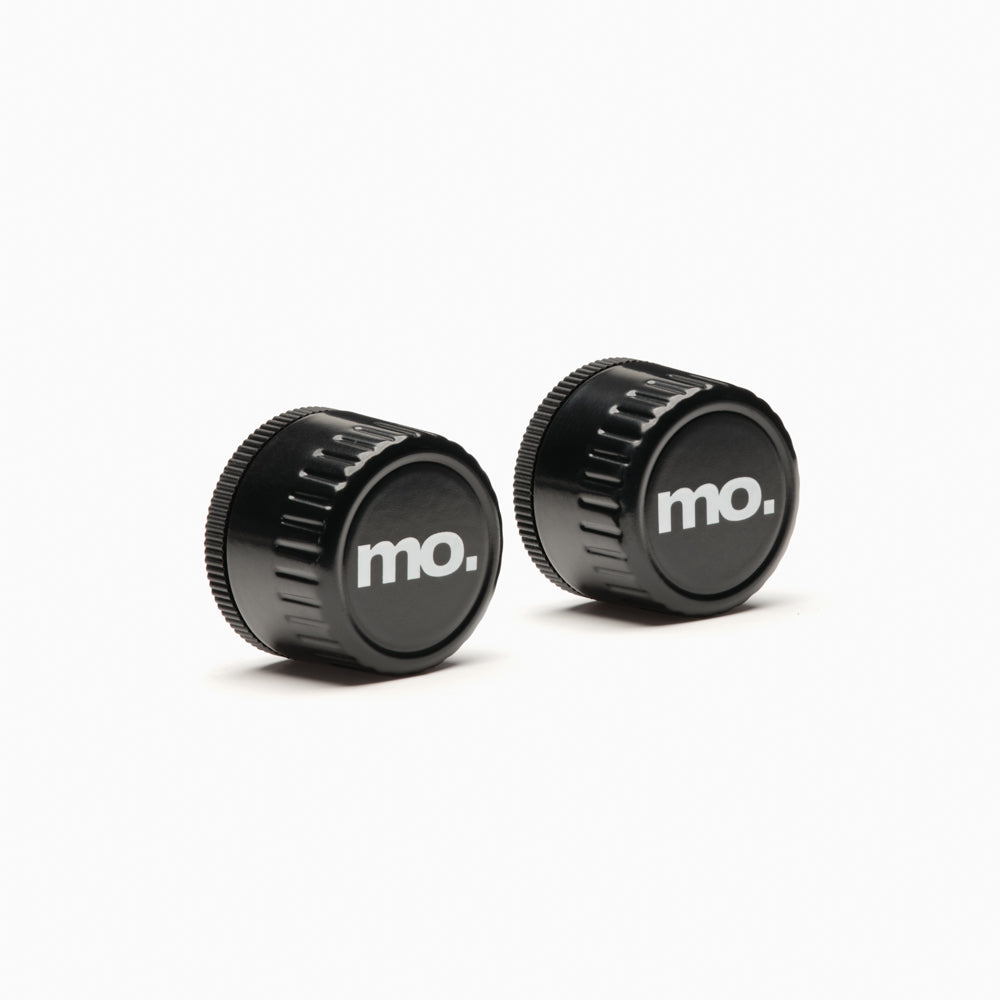
The mo.pressure from Motogadget is the ideal solution for anyone who always wants to be well informed about their tire pressure on their motorcycle tour. This small but powerful device can be easily installed on the valve stem and delivers all the important data directly to your smartphone via Bluetooth. But what happens when the battery runs out? Does the whole device have to be replaced? No, and I'll show you how easy it is to change the battery.
How to change the battery on the Mo Pressure
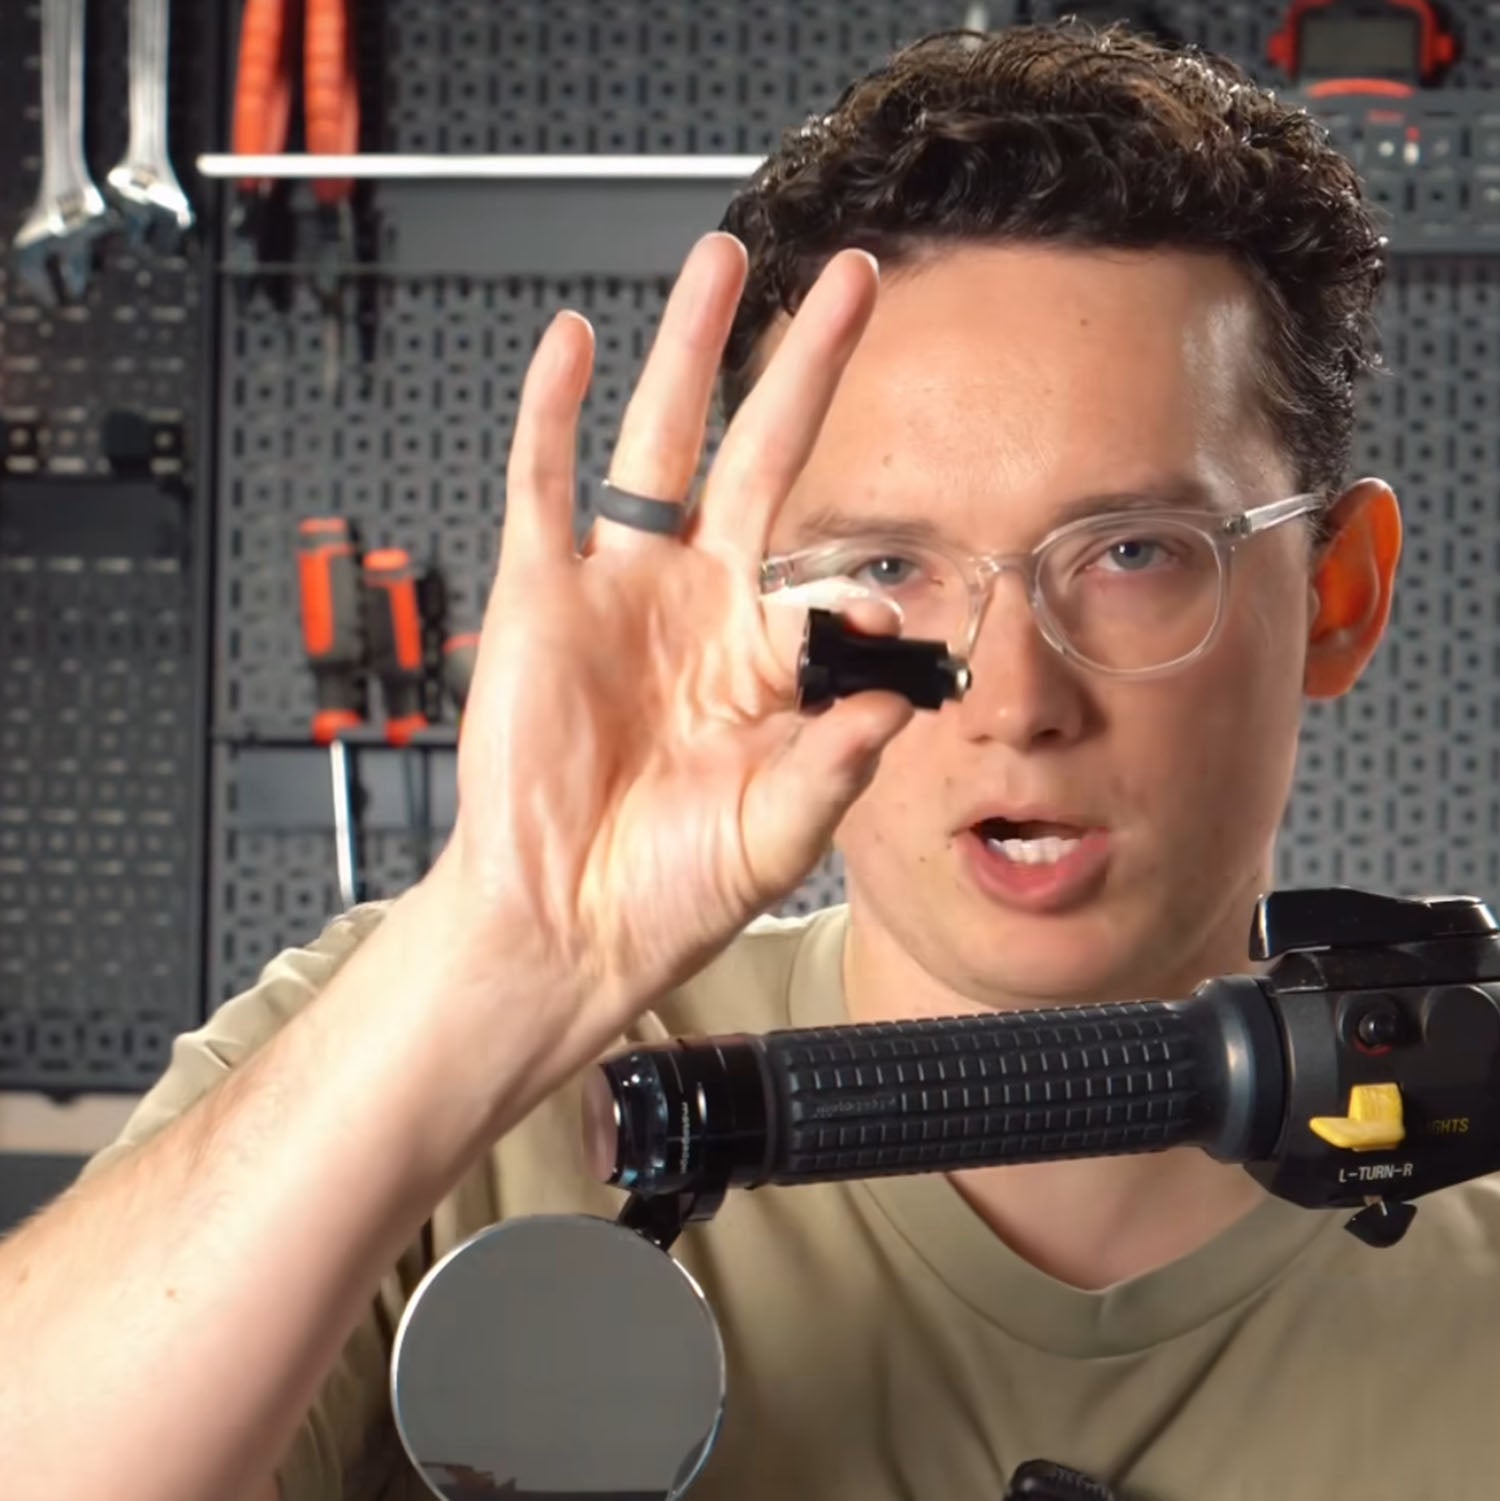
- Opening the device: Start by removing the rear cap of the mo.pressure. This is very easy and can even be done directly on the motorcycle.
- Remove the battery: Under the cap you will find a small battery, a CR1632 to be precise. You can simply remove it.
- Insert a new battery: Take a new CR1632 battery and insert it. These batteries are inexpensive and available everywhere.
- Checking the O-ring: Before you put the cap back on, check the O-ring that makes the device waterproof. The O-ring should be clean and undamaged to ensure IP68 watertightness.
- Close the cap: Replace the cap on the device. Make sure that it is firmly in place to ensure that it is watertight.
- Done: Your Mo Pressure is now ready for use again and should work for another two years without you having to change the battery again.
Advantages of the Mo Pressure
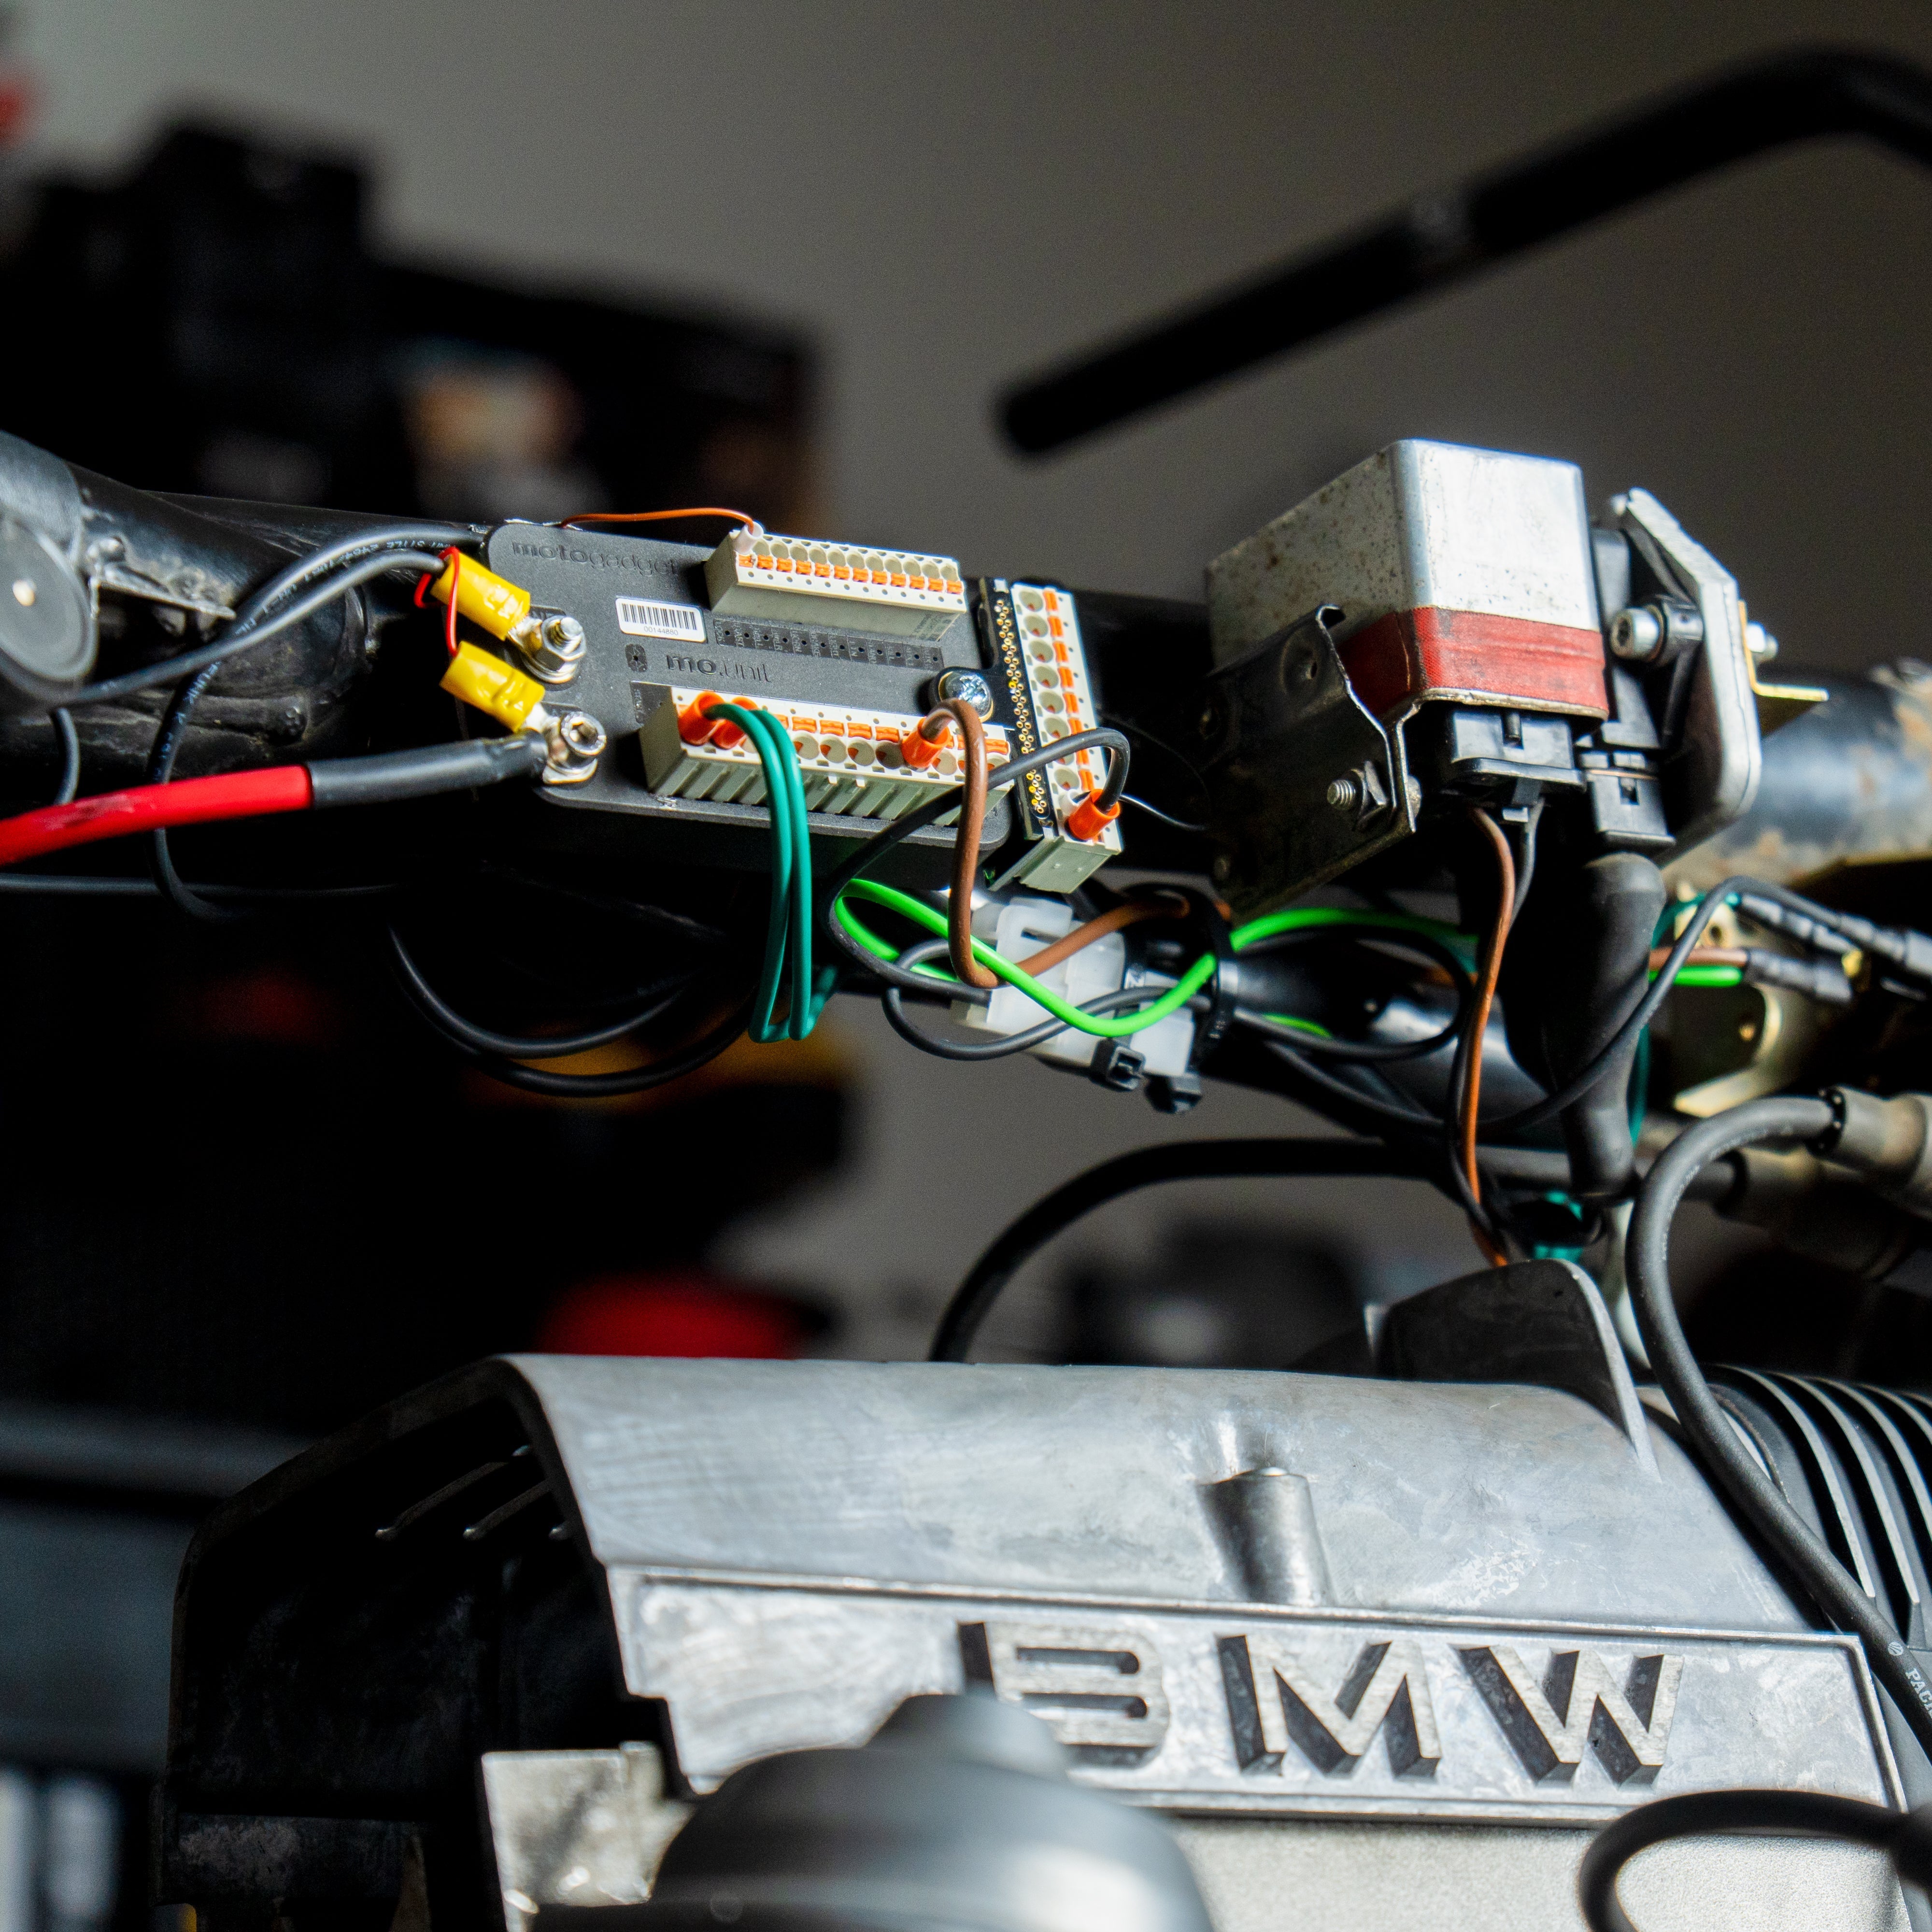
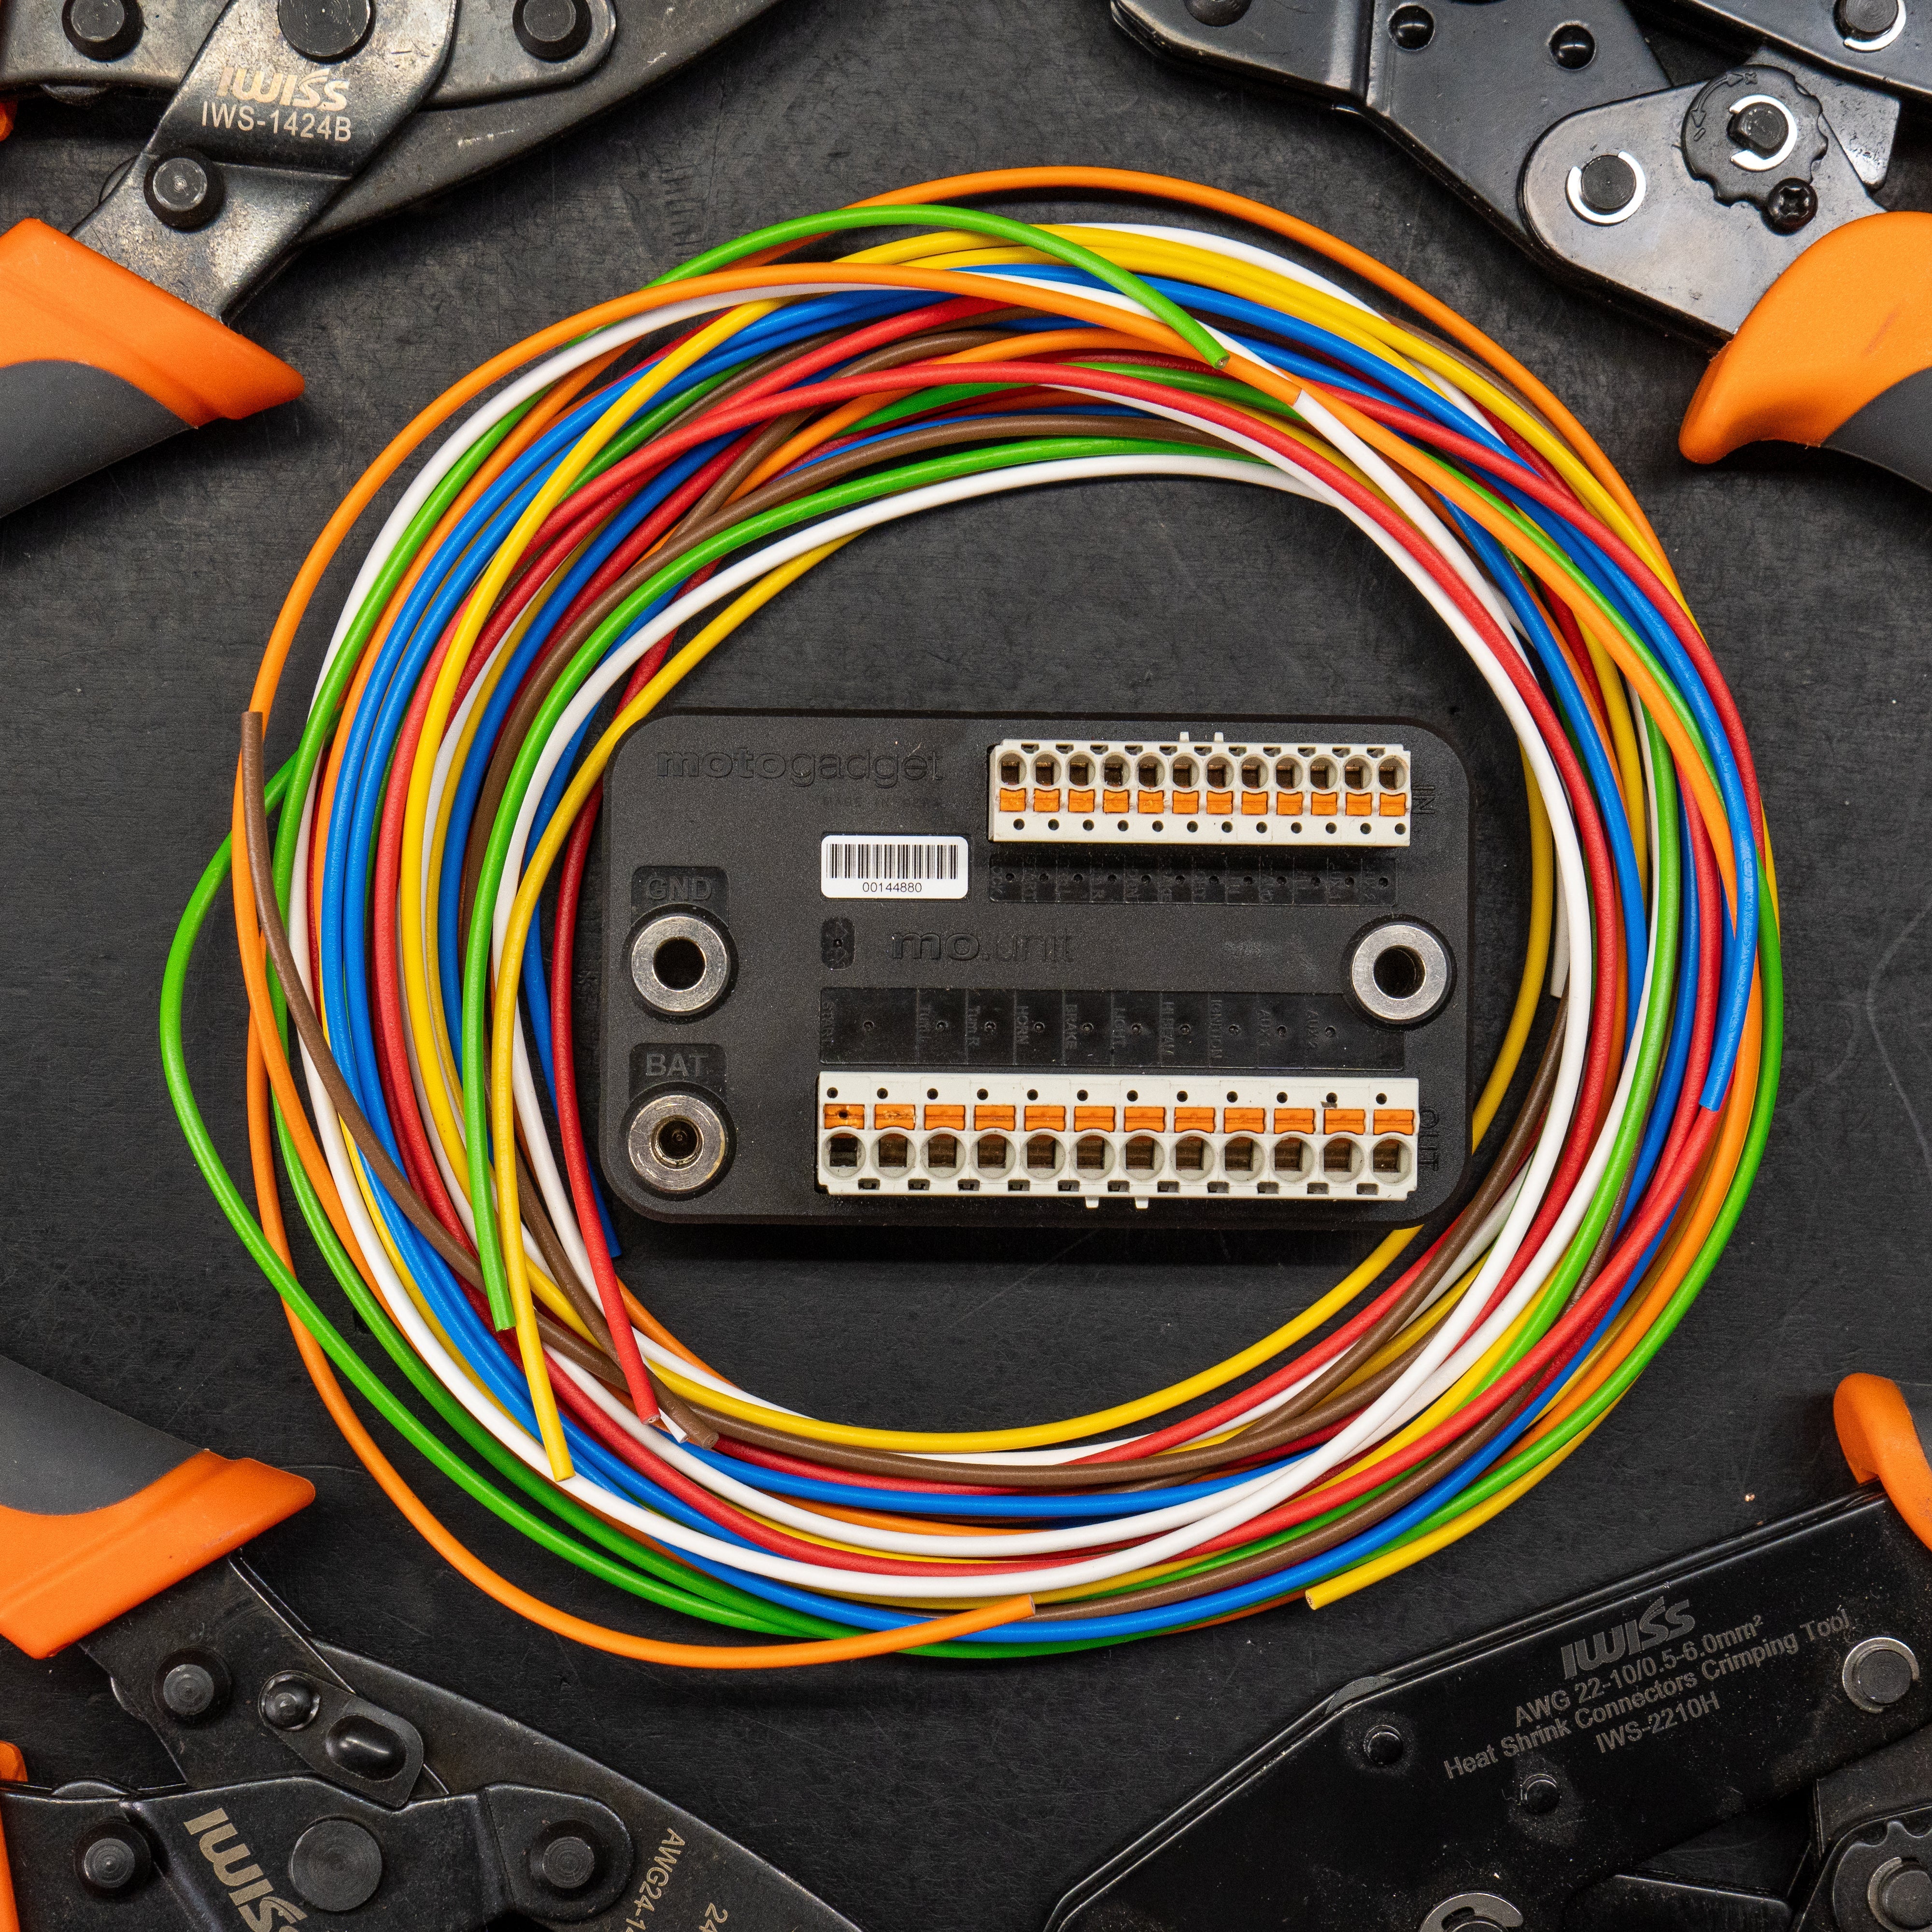
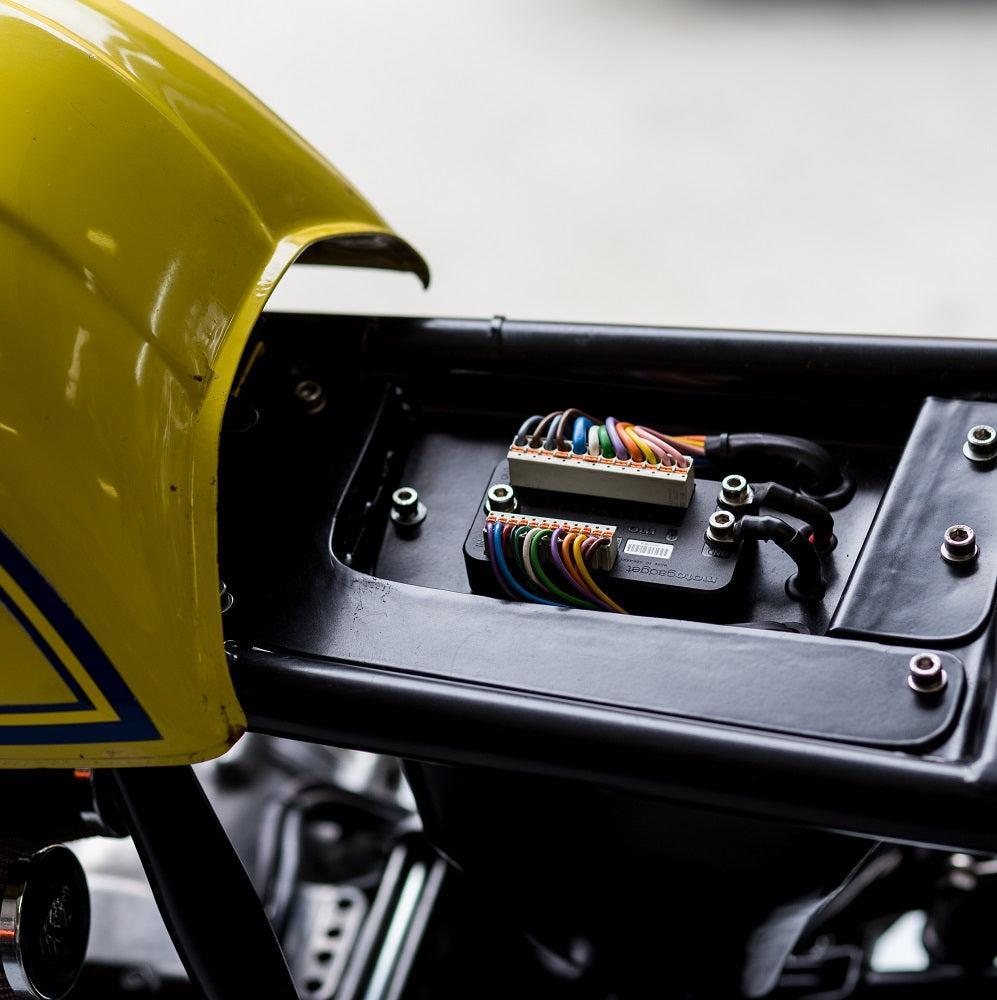
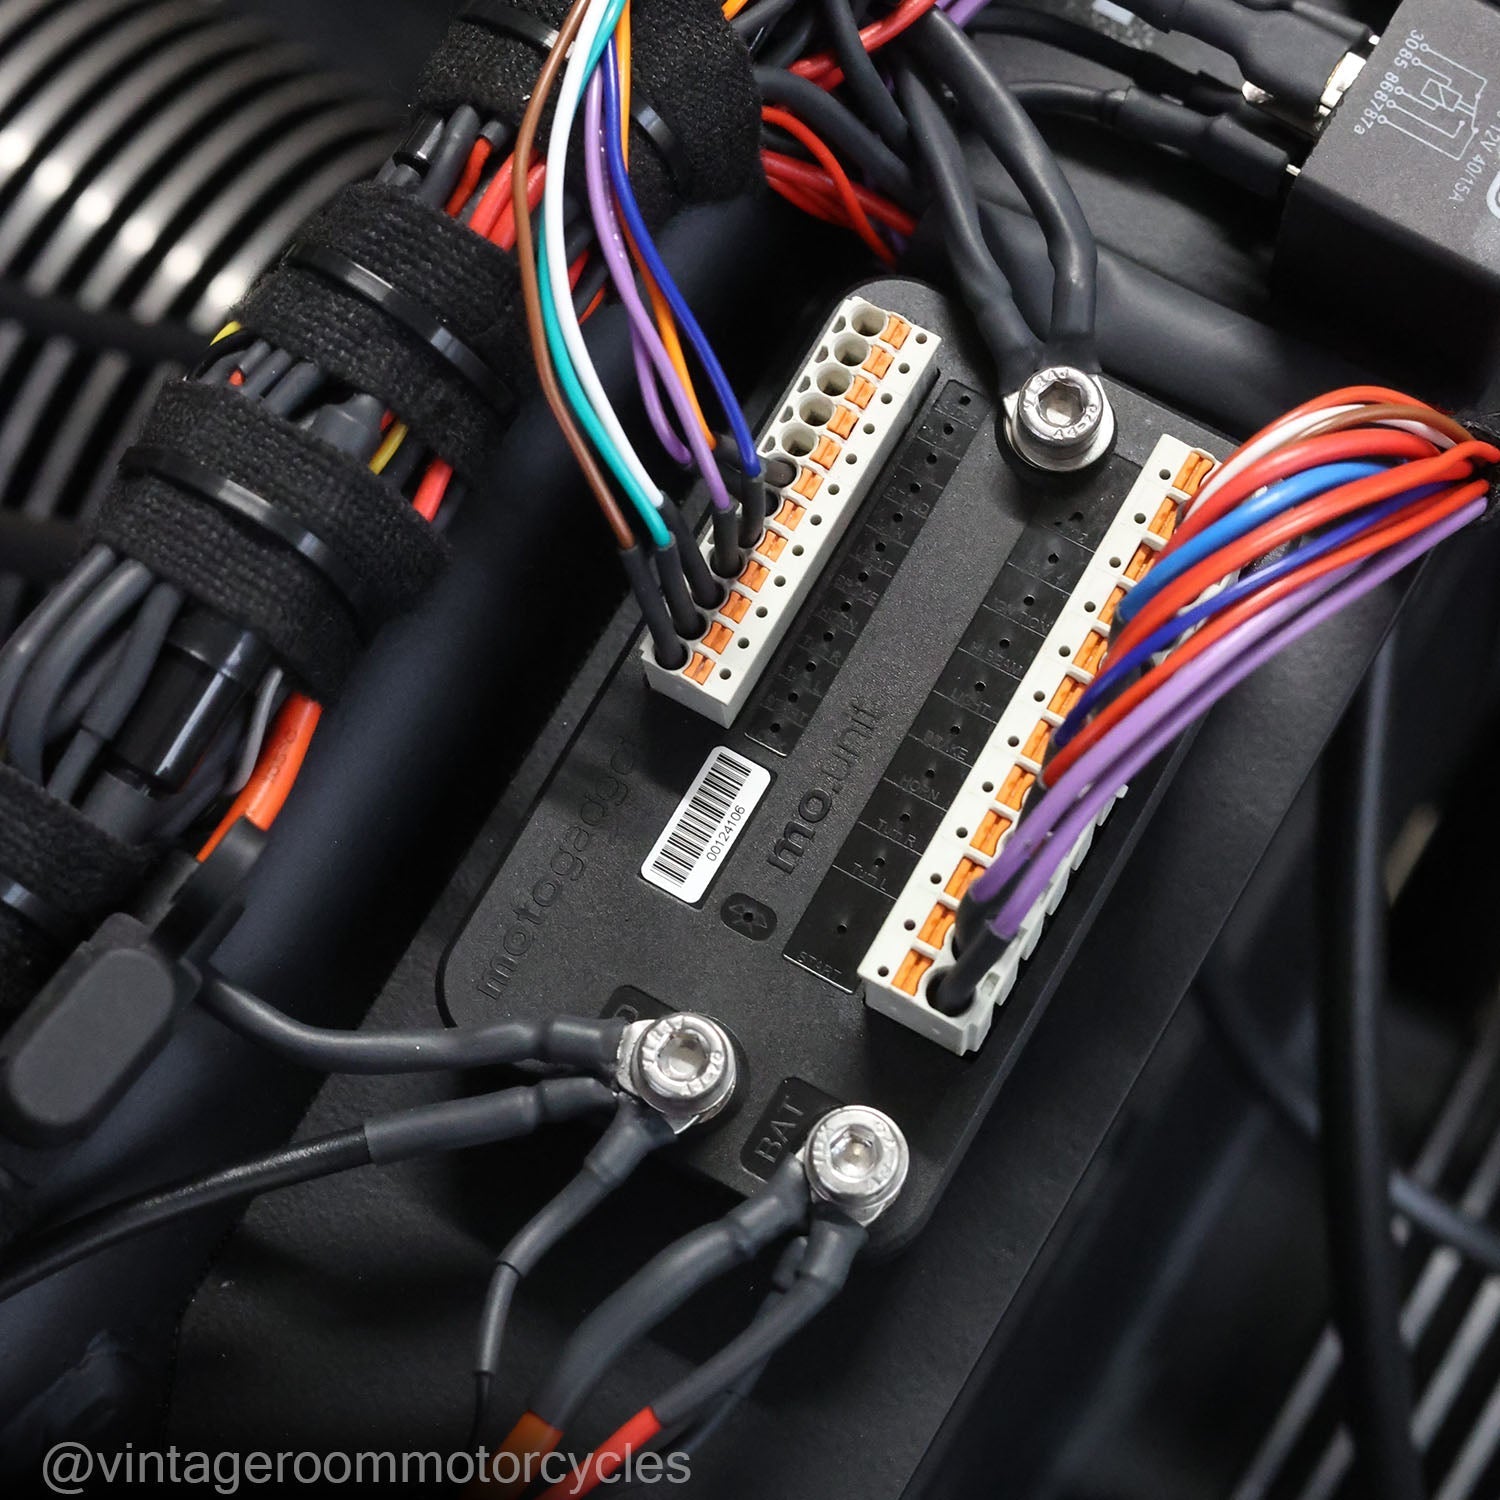
The mo.pressure is not only easy to use and maintain, but also extremely reliable. It is part of the Motogadget mo.unit Blue system, which enables comprehensive monitoring and control of motorcycle electronics. You can find the system and more information on the Motogadget.com or Motogadgetus.com websites.
Conclusion
With the Mo Pressure from Motogadget, you can always keep an eye on your tire pressure. The simple battery change makes it a low-maintenance, efficient tool that won't let you down. Whether on short rides or long tours, with the Mo Pressure you can ride more safely and comfortably.