

Riding your bike should be a pleasure, but often long rides are marred by tired hands. The trick is to keep your grips as relaxed as an ice cream in the sun, rather than clutching them like dumbbells. Are your current grips worn out or uncomfortable? Here's a simple step-by-step guide to changing your bike grips that will not only improve your handling, but also increase your comfort on the road.
Step 1: Remove the old handles
Start by cutting open the old handles with a knife to make them easier to remove. A little WD40 can make the process easier by making the rubber more pliable.
Step 2: Clean the handlebars or throttle tube
Clean the handlebars or throttle tube thoroughly with an alcohol-based liquid. This ensures that all residues and lubricants are removed that could impair the fitting of the new grips.
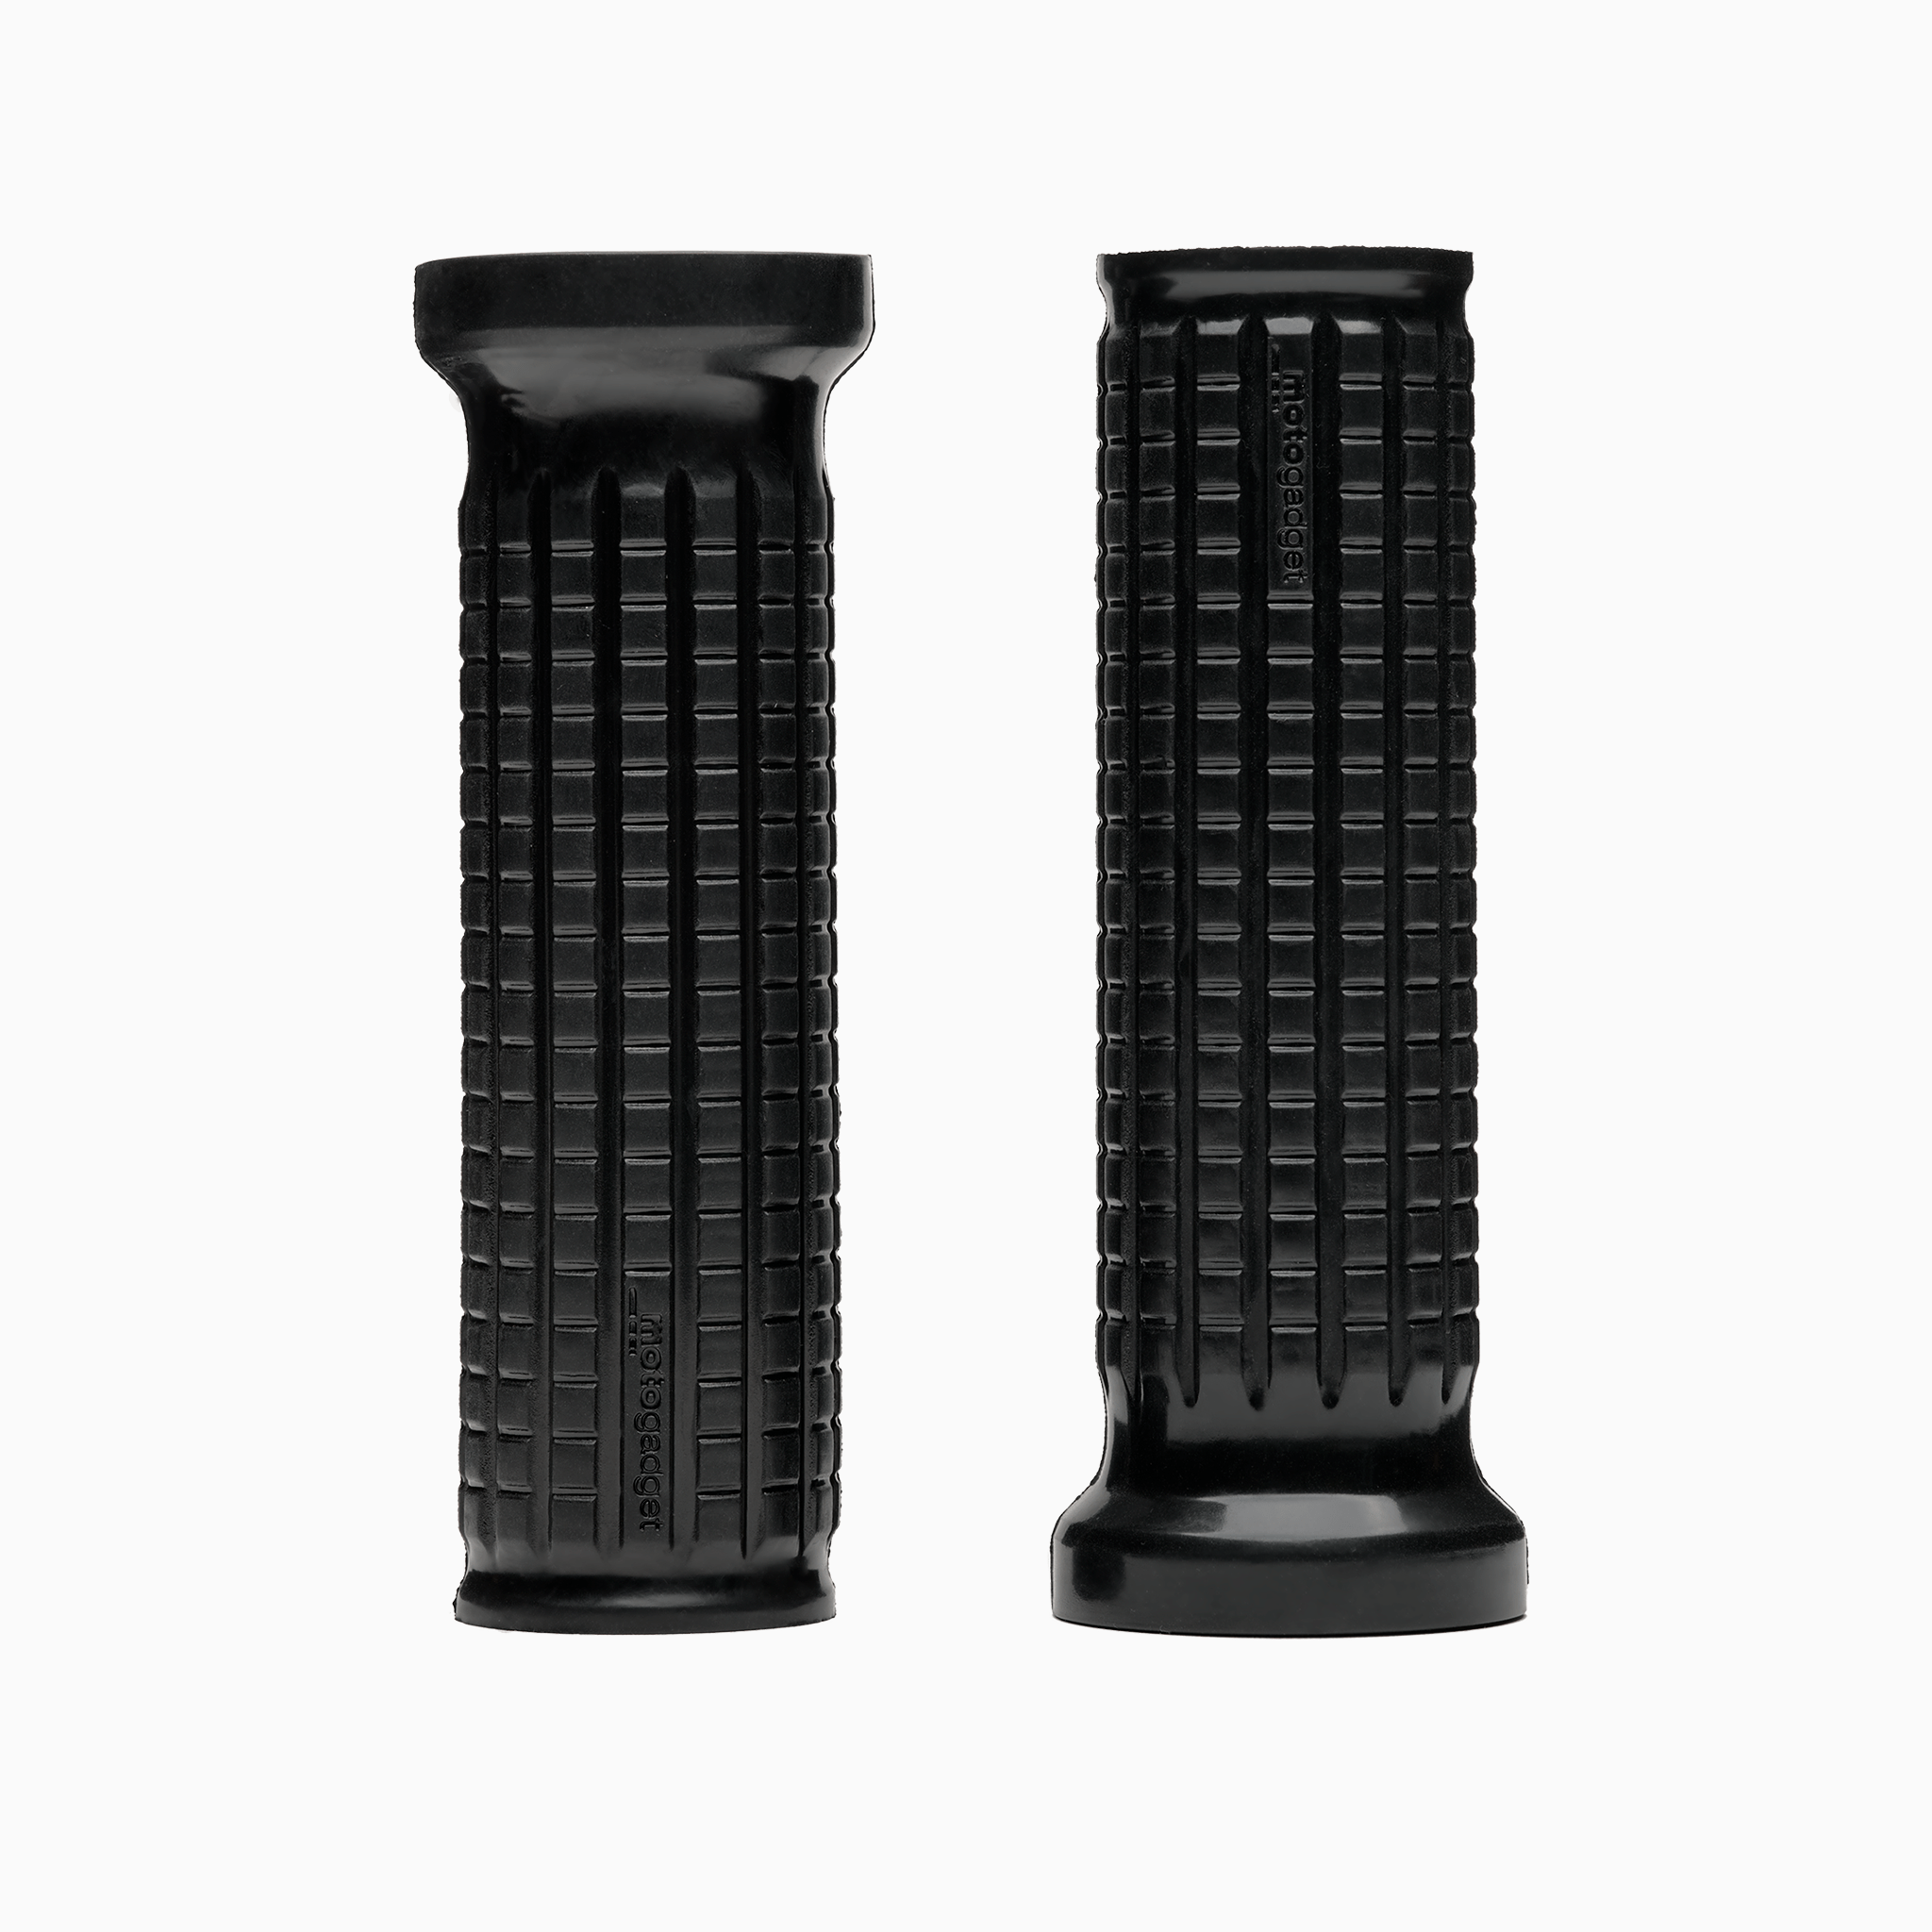
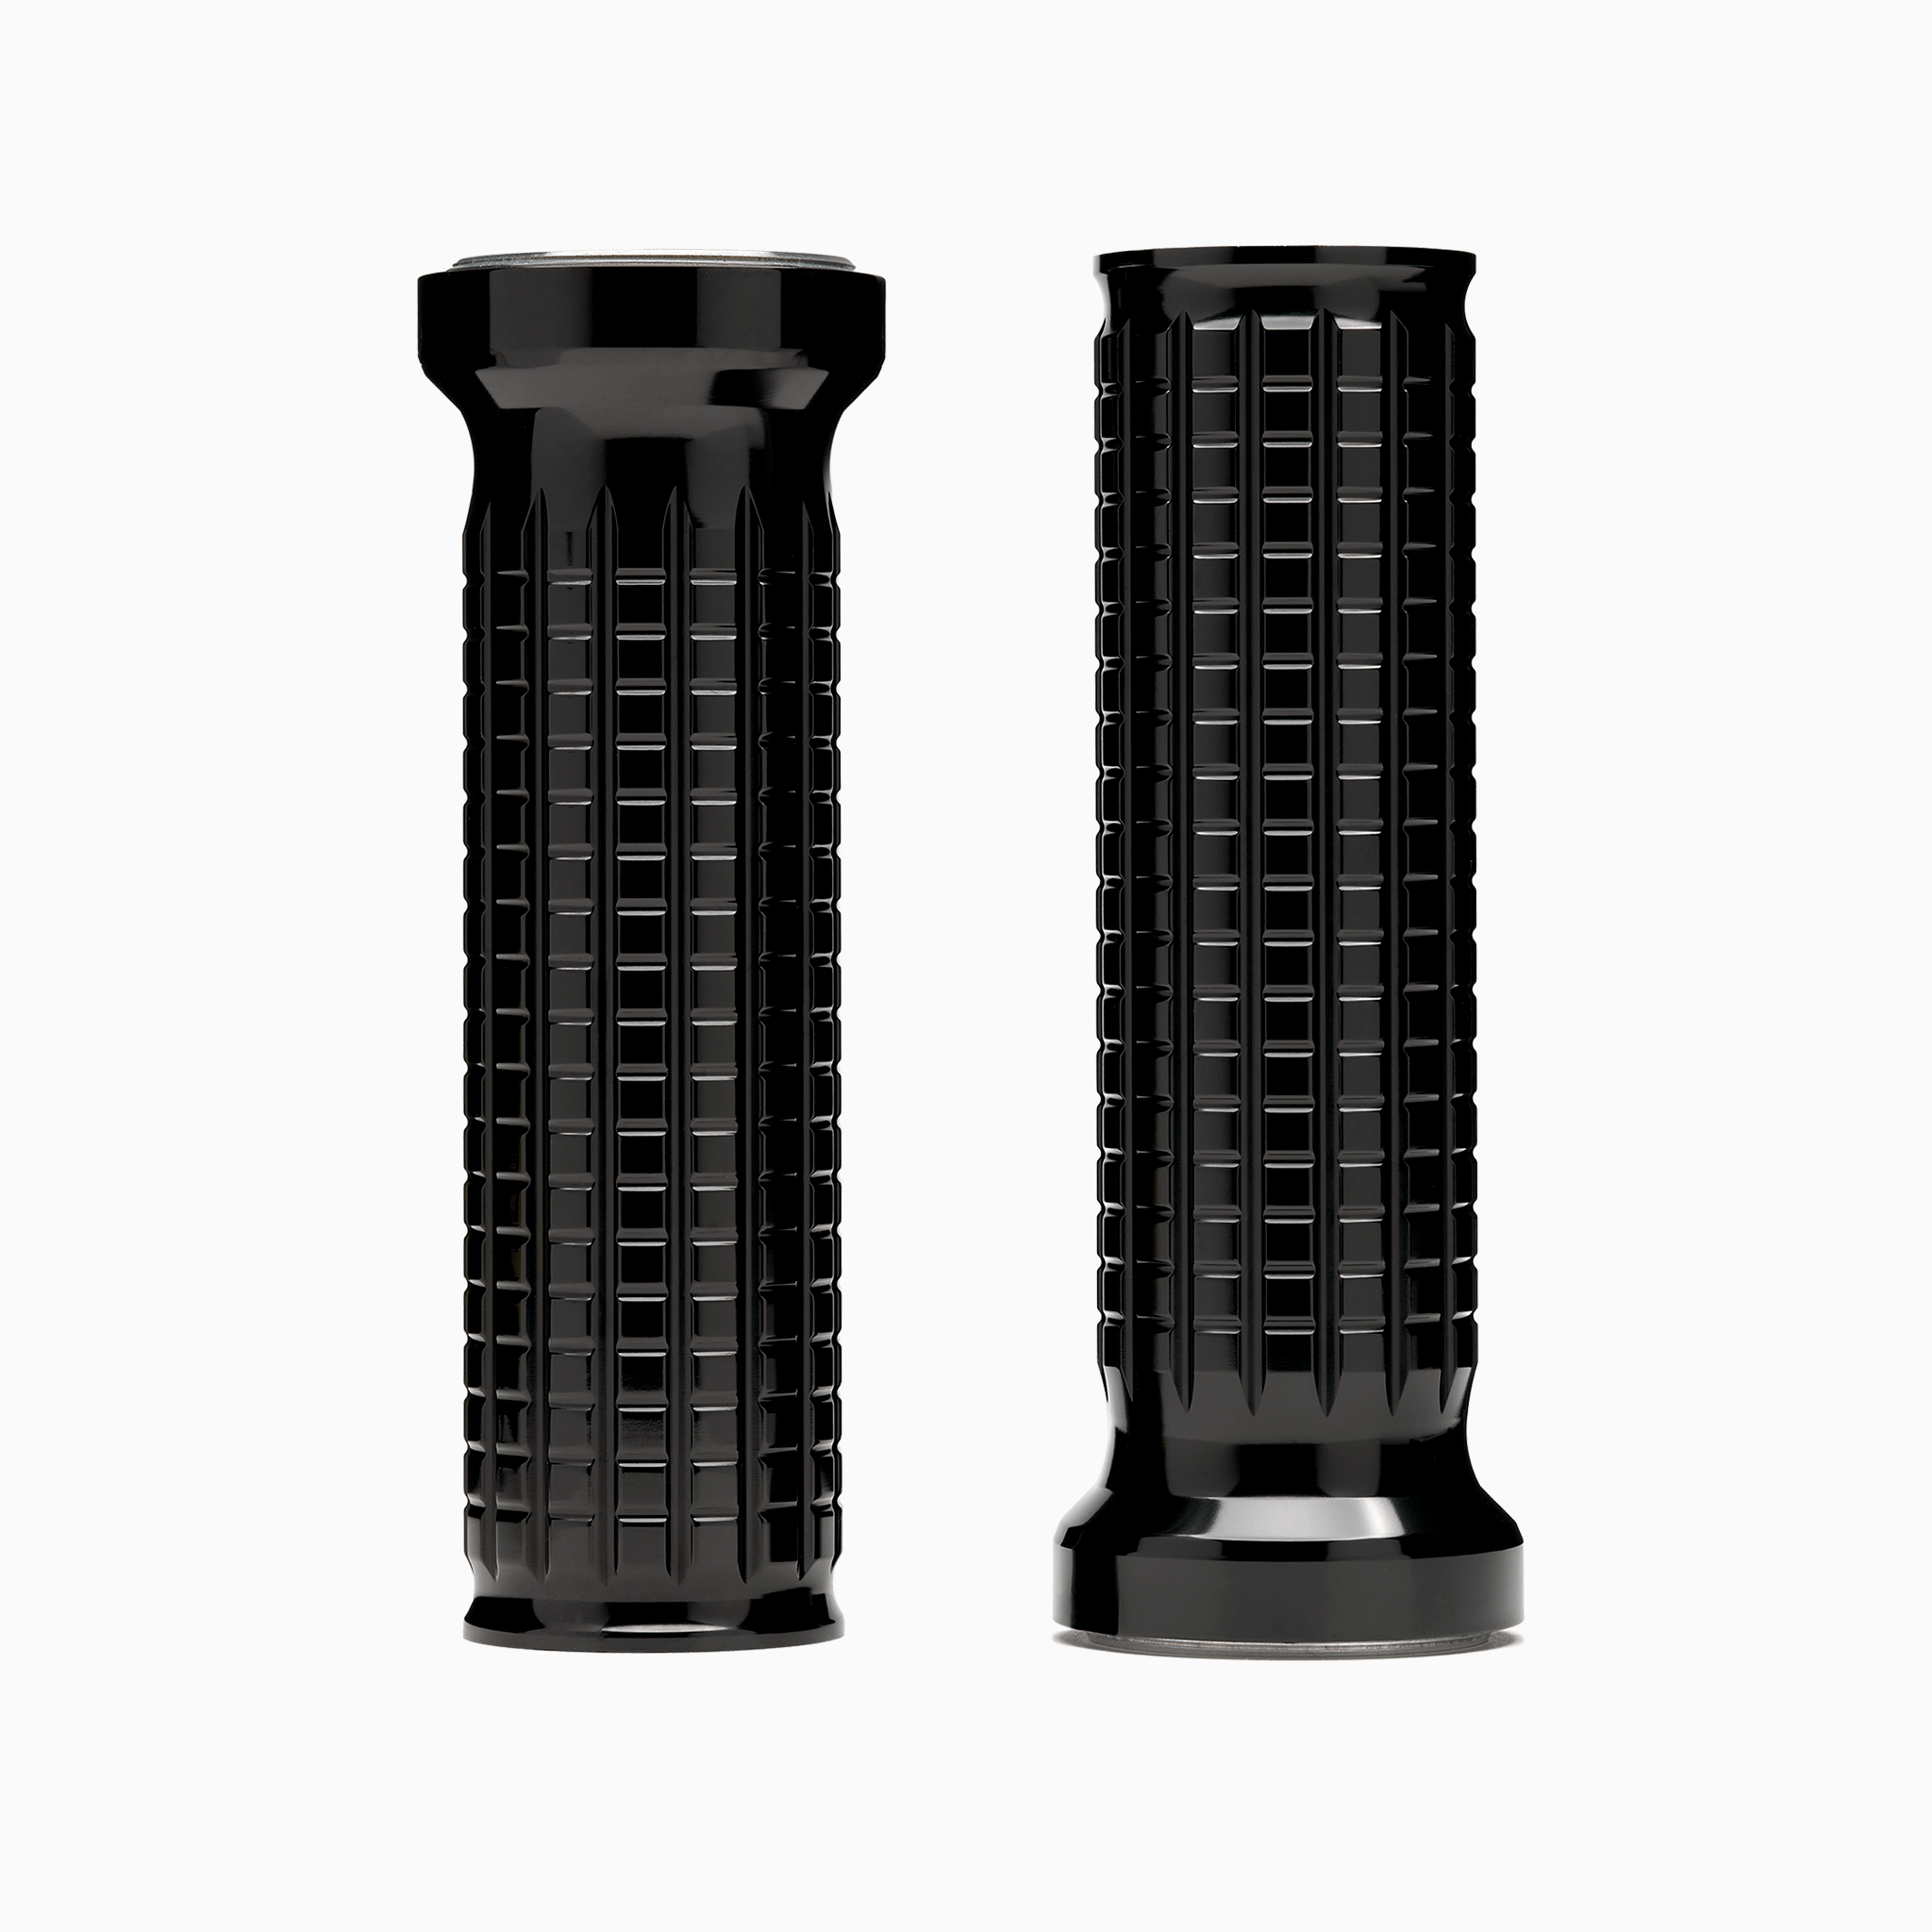
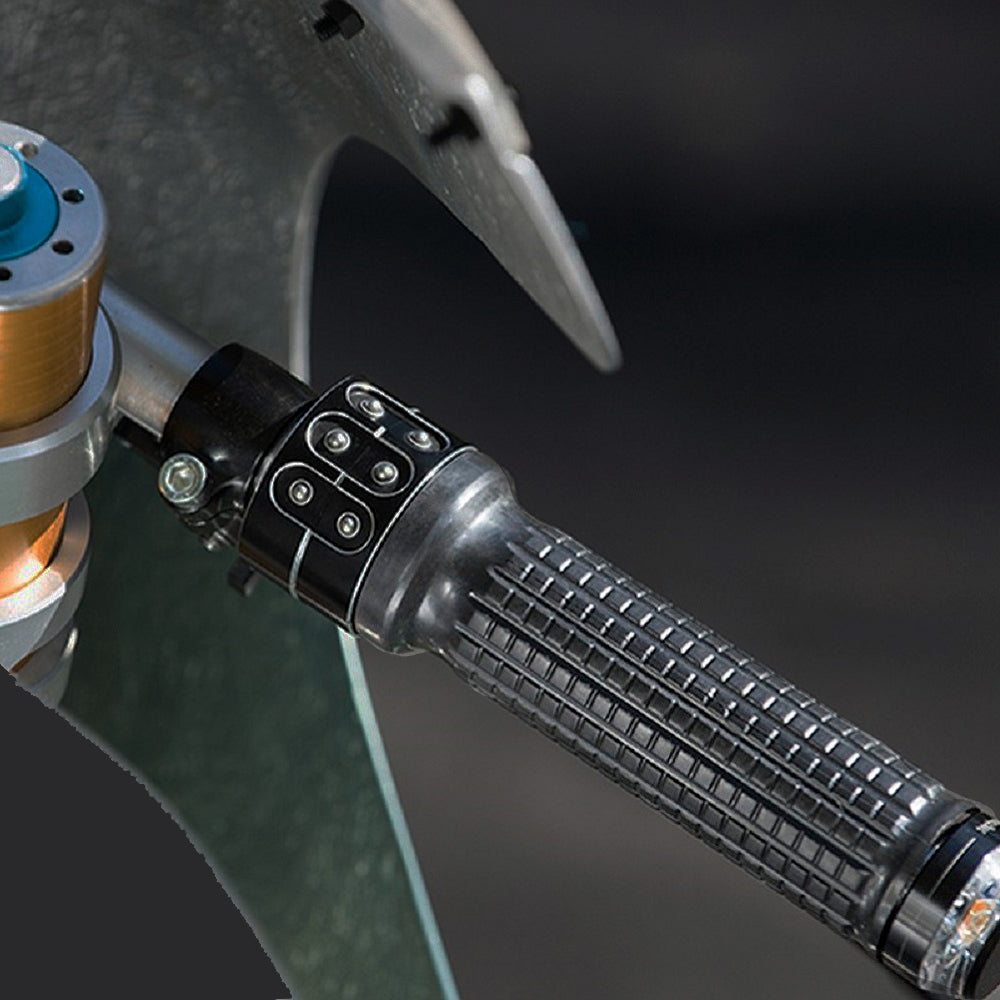
Step 3: Choose the right handle
Make sure you choose the right handle for the respective side. You can recognize this by the inner diameter for the throttle side or the left side. Another tip: If you cannot read our logo correctly, the handle is on the wrong side.
Step 4: Prepare for mounting
Once everything is clean and dry, wet the handlebars and the inside of the grip. Use hairspray, which is slippery when applied and becomes sticky when dry, to make it easier to slide the grip over the handlebars.
Step 5: Attach the handle
Slide the grip onto the handlebars. Leave some space to the throttle cable to allow smooth movement.
Step 6: Align the handle
If the handle was twisted when you slid it on, straighten the pattern and the logo.
Step 7: Clean the new handle
Finally, clean the new handle with alcohol to remove any residue from the manufacturing process.
These simple steps will help you to fit your new grips correctly and safely. They not only improve comfort, but also reduce hand fatigue on long rides. Enjoy the improved control and comfort that your new grips offer.